Ion Exchange
- Page ID
- 150658
\( \newcommand{\vecs}[1]{\overset { \scriptstyle \rightharpoonup} {\mathbf{#1}} } \)
\( \newcommand{\vecd}[1]{\overset{-\!-\!\rightharpoonup}{\vphantom{a}\smash {#1}}} \)
\( \newcommand{\dsum}{\displaystyle\sum\limits} \)
\( \newcommand{\dint}{\displaystyle\int\limits} \)
\( \newcommand{\dlim}{\displaystyle\lim\limits} \)
\( \newcommand{\id}{\mathrm{id}}\) \( \newcommand{\Span}{\mathrm{span}}\)
( \newcommand{\kernel}{\mathrm{null}\,}\) \( \newcommand{\range}{\mathrm{range}\,}\)
\( \newcommand{\RealPart}{\mathrm{Re}}\) \( \newcommand{\ImaginaryPart}{\mathrm{Im}}\)
\( \newcommand{\Argument}{\mathrm{Arg}}\) \( \newcommand{\norm}[1]{\| #1 \|}\)
\( \newcommand{\inner}[2]{\langle #1, #2 \rangle}\)
\( \newcommand{\Span}{\mathrm{span}}\)
\( \newcommand{\id}{\mathrm{id}}\)
\( \newcommand{\Span}{\mathrm{span}}\)
\( \newcommand{\kernel}{\mathrm{null}\,}\)
\( \newcommand{\range}{\mathrm{range}\,}\)
\( \newcommand{\RealPart}{\mathrm{Re}}\)
\( \newcommand{\ImaginaryPart}{\mathrm{Im}}\)
\( \newcommand{\Argument}{\mathrm{Arg}}\)
\( \newcommand{\norm}[1]{\| #1 \|}\)
\( \newcommand{\inner}[2]{\langle #1, #2 \rangle}\)
\( \newcommand{\Span}{\mathrm{span}}\) \( \newcommand{\AA}{\unicode[.8,0]{x212B}}\)
\( \newcommand{\vectorA}[1]{\vec{#1}} % arrow\)
\( \newcommand{\vectorAt}[1]{\vec{\text{#1}}} % arrow\)
\( \newcommand{\vectorB}[1]{\overset { \scriptstyle \rightharpoonup} {\mathbf{#1}} } \)
\( \newcommand{\vectorC}[1]{\textbf{#1}} \)
\( \newcommand{\vectorD}[1]{\overrightarrow{#1}} \)
\( \newcommand{\vectorDt}[1]{\overrightarrow{\text{#1}}} \)
\( \newcommand{\vectE}[1]{\overset{-\!-\!\rightharpoonup}{\vphantom{a}\smash{\mathbf {#1}}}} \)
\( \newcommand{\vecs}[1]{\overset { \scriptstyle \rightharpoonup} {\mathbf{#1}} } \)
\(\newcommand{\longvect}{\overrightarrow}\)
\( \newcommand{\vecd}[1]{\overset{-\!-\!\rightharpoonup}{\vphantom{a}\smash {#1}}} \)
\(\newcommand{\avec}{\mathbf a}\) \(\newcommand{\bvec}{\mathbf b}\) \(\newcommand{\cvec}{\mathbf c}\) \(\newcommand{\dvec}{\mathbf d}\) \(\newcommand{\dtil}{\widetilde{\mathbf d}}\) \(\newcommand{\evec}{\mathbf e}\) \(\newcommand{\fvec}{\mathbf f}\) \(\newcommand{\nvec}{\mathbf n}\) \(\newcommand{\pvec}{\mathbf p}\) \(\newcommand{\qvec}{\mathbf q}\) \(\newcommand{\svec}{\mathbf s}\) \(\newcommand{\tvec}{\mathbf t}\) \(\newcommand{\uvec}{\mathbf u}\) \(\newcommand{\vvec}{\mathbf v}\) \(\newcommand{\wvec}{\mathbf w}\) \(\newcommand{\xvec}{\mathbf x}\) \(\newcommand{\yvec}{\mathbf y}\) \(\newcommand{\zvec}{\mathbf z}\) \(\newcommand{\rvec}{\mathbf r}\) \(\newcommand{\mvec}{\mathbf m}\) \(\newcommand{\zerovec}{\mathbf 0}\) \(\newcommand{\onevec}{\mathbf 1}\) \(\newcommand{\real}{\mathbb R}\) \(\newcommand{\twovec}[2]{\left[\begin{array}{r}#1 \\ #2 \end{array}\right]}\) \(\newcommand{\ctwovec}[2]{\left[\begin{array}{c}#1 \\ #2 \end{array}\right]}\) \(\newcommand{\threevec}[3]{\left[\begin{array}{r}#1 \\ #2 \\ #3 \end{array}\right]}\) \(\newcommand{\cthreevec}[3]{\left[\begin{array}{c}#1 \\ #2 \\ #3 \end{array}\right]}\) \(\newcommand{\fourvec}[4]{\left[\begin{array}{r}#1 \\ #2 \\ #3 \\ #4 \end{array}\right]}\) \(\newcommand{\cfourvec}[4]{\left[\begin{array}{c}#1 \\ #2 \\ #3 \\ #4 \end{array}\right]}\) \(\newcommand{\fivevec}[5]{\left[\begin{array}{r}#1 \\ #2 \\ #3 \\ #4 \\ #5 \\ \end{array}\right]}\) \(\newcommand{\cfivevec}[5]{\left[\begin{array}{c}#1 \\ #2 \\ #3 \\ #4 \\ #5 \\ \end{array}\right]}\) \(\newcommand{\mattwo}[4]{\left[\begin{array}{rr}#1 \amp #2 \\ #3 \amp #4 \\ \end{array}\right]}\) \(\newcommand{\laspan}[1]{\text{Span}\{#1\}}\) \(\newcommand{\bcal}{\cal B}\) \(\newcommand{\ccal}{\cal C}\) \(\newcommand{\scal}{\cal S}\) \(\newcommand{\wcal}{\cal W}\) \(\newcommand{\ecal}{\cal E}\) \(\newcommand{\coords}[2]{\left\{#1\right\}_{#2}}\) \(\newcommand{\gray}[1]{\color{gray}{#1}}\) \(\newcommand{\lgray}[1]{\color{lightgray}{#1}}\) \(\newcommand{\rank}{\operatorname{rank}}\) \(\newcommand{\row}{\text{Row}}\) \(\newcommand{\col}{\text{Col}}\) \(\renewcommand{\row}{\text{Row}}\) \(\newcommand{\nul}{\text{Nul}}\) \(\newcommand{\var}{\text{Var}}\) \(\newcommand{\corr}{\text{corr}}\) \(\newcommand{\len}[1]{\left|#1\right|}\) \(\newcommand{\bbar}{\overline{\bvec}}\) \(\newcommand{\bhat}{\widehat{\bvec}}\) \(\newcommand{\bperp}{\bvec^\perp}\) \(\newcommand{\xhat}{\widehat{\xvec}}\) \(\newcommand{\vhat}{\widehat{\vvec}}\) \(\newcommand{\uhat}{\widehat{\uvec}}\) \(\newcommand{\what}{\widehat{\wvec}}\) \(\newcommand{\Sighat}{\widehat{\Sigma}}\) \(\newcommand{\lt}{<}\) \(\newcommand{\gt}{>}\) \(\newcommand{\amp}{&}\) \(\definecolor{fillinmathshade}{gray}{0.9}\)1. INTRODUCTION
In a previous experiment, a complex salt of unknown composition was synthesized. This experiment involves determining both the percent potassium (K) and percent iron (Fe) in a known mass of the complex salt. This will be done using two independent methods found in this experiment and the next experiment. The lab manual presents background and procedural information first for the Ion Exchange Titration method, and in the next experiment, delineates the Atomic Absorption Spectroscopy method.
The objective of this experiment is to determine the percent K and Fe present in the unknown crystals via ion exchange titration.
2. PROCEDURE
Step 1
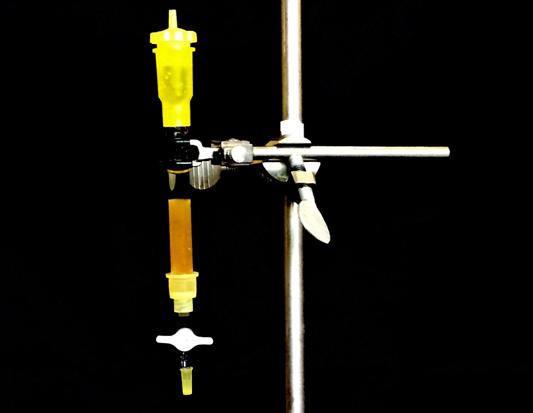
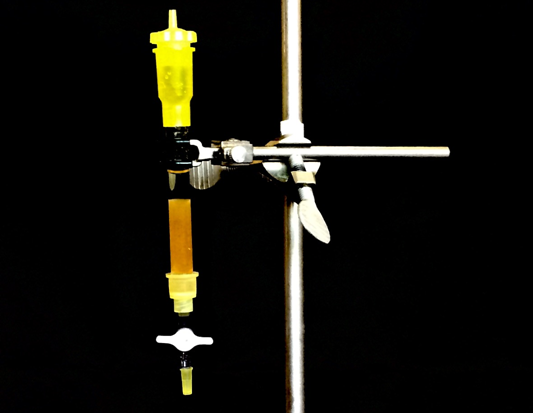
Check out an ion exchange column from the storeroom and mount it on a ring stand. It is important to make sure that the resin bed is filled with liquid at all times.
Step 2
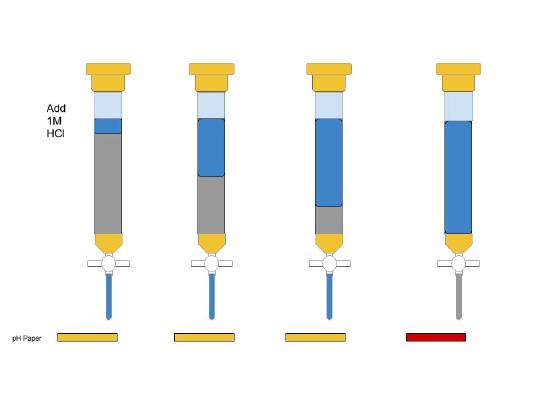
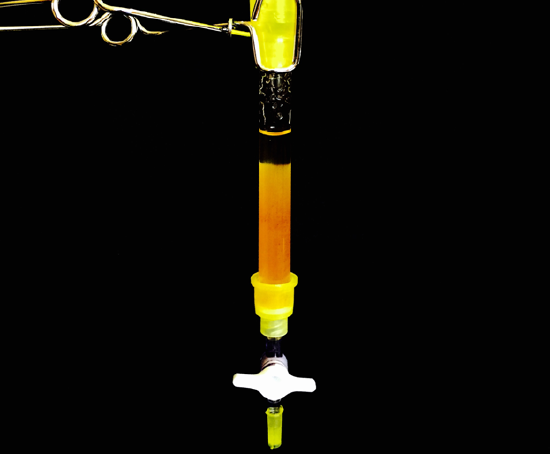
A) Carefully, follow the steps outlined in the manual for proper preparation of ion exchange column. Use HCl(aq) first to "clean" the column.
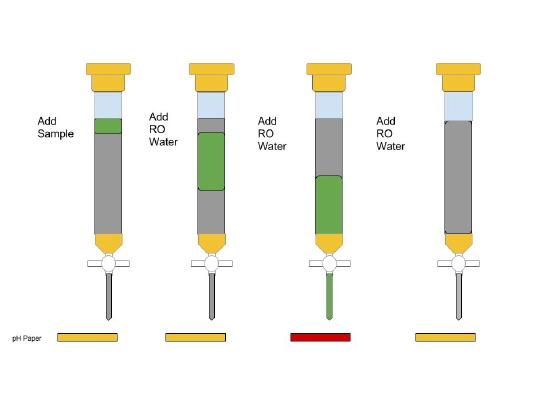
B) Then, having checked that the pH is low with pH paper, rinse at least 2 more times with RO water to ensure the eluate have neutral pH. Make sure you are good to move on to the next steps.
There will be some waiting time accompanying the rinse procedure; make good use of this time by looking ahead and preparing everything that will be needed for this experiment.
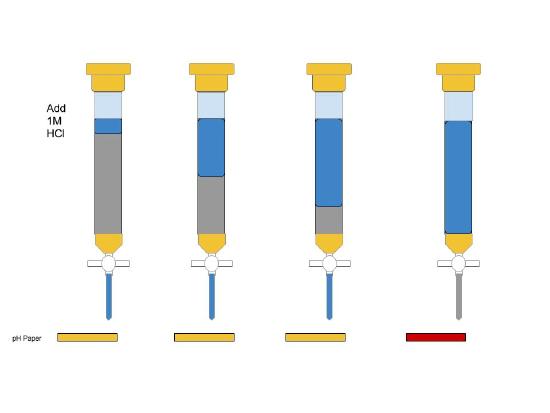
Step 3
Tare a clean, dry empty 50 mL beaker on a 0.1 mg balance and record the zero value in your notebook. Remove the beaker from the balance and add an estimated amount of unknown crystals to the beaker as specified in the manual. Return the beaker to the balance and note the weight. If you need more or less of the sample, remove the beaker from the balance and make the appropriate adjustment to the amount of unknown crystals. Record the final mass the nearest 0.0001 g in your notebook. Do not exceed 0.165 g and remember chemicals are not added to or removed from a container when the container is in the balance compartment.
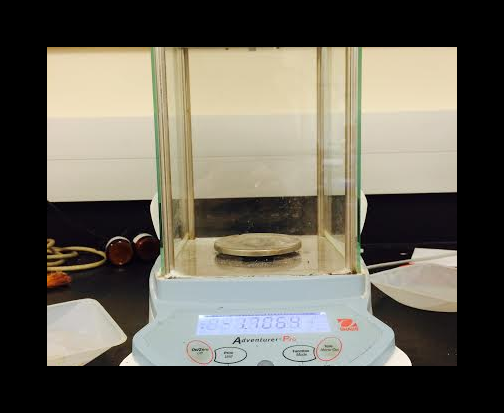
Step 4
Using the 10 mL graduated cylinder add some amount of RO water to the sample of green salt and gently swirl the beaker until the unknown salt is completely dissolved. Then, place a clean 150 mL beaker under the ion exchange column and quantitatively transfer the solution of green salt to the column. Collect the eluate in the 150 mL beaker.
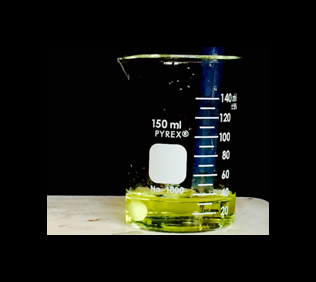
Step 5
A) Carefully, follow the steps outlined in the notebook, run your sample through the column and collect it in the beaker. Following this, rinse 3 times with RO water, noting any pH paper color changes
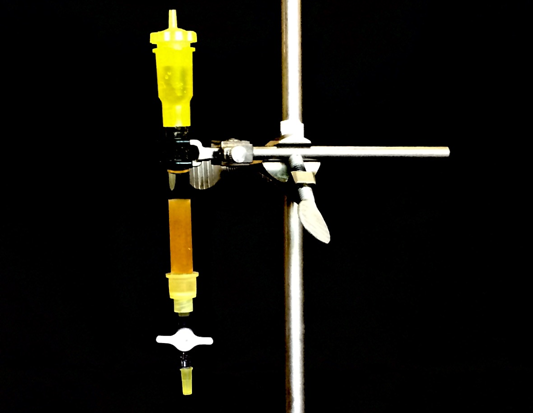
Step 6
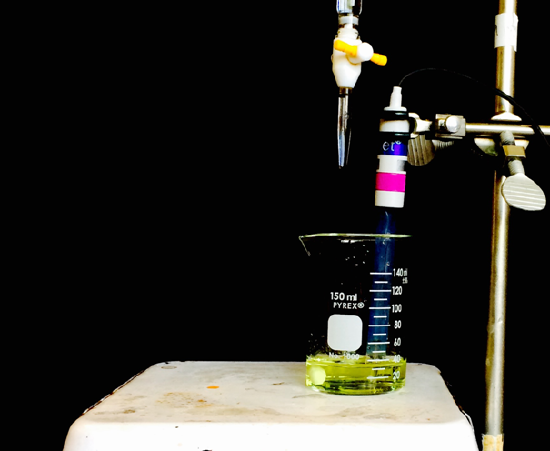
Set up a titration assembly using the eluate as your analyte. Before titrating, calibrate the pH electrode with buffer solutions (pH 4.00 and pH 7.00) following the procedure outlined in section E of Appendix III. Complete the entire process, including the addition of the keyboard as a sensor.
Step 7
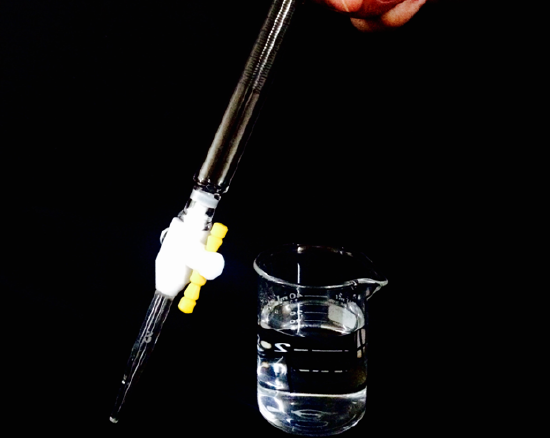
Obtain about enough amount of standard NaOH(aq) (record exact molarity) in a clean dry 50 mL beaker and after rinsing the buret three times with small amounts of the solution fill the buret with the standard NaOH(aq) solution. Then, fill the buret, not necessarily to zero mark. You should discard any NaOH(aq) that is left.

Step 8
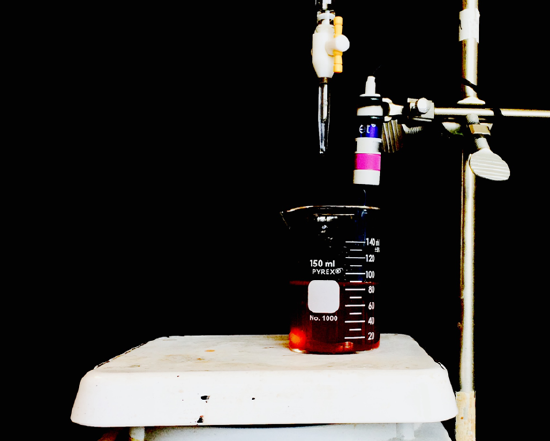
Follow the procedure for pH titrations in Appendix III. Some expectations for what the titration curve should look like is in your lab manual. At the end of the titration be sure to save your data to a unique name such as: section_initials_experiment on your usb or flash drive and to the hard drive.
Before you leave the lab, make sure you follow the clean up procedure for the ion exchange column.
Step 9
Once your sample has been run through the column and produced a chance in the pH paper, you must recharge the column. To do this you will run portions of HCl through the column similar to what you did to clean the column with the RO water. Do this until the pH paper indicates that it is acidic. The column is now recharged and can be turned back in.
