
9: Gas Laws
- Page ID
- 316204
\( \newcommand{\vecs}[1]{\overset { \scriptstyle \rightharpoonup} {\mathbf{#1}} } \)
\( \newcommand{\vecd}[1]{\overset{-\!-\!\rightharpoonup}{\vphantom{a}\smash {#1}}} \)
\( \newcommand{\dsum}{\displaystyle\sum\limits} \)
\( \newcommand{\dint}{\displaystyle\int\limits} \)
\( \newcommand{\dlim}{\displaystyle\lim\limits} \)
\( \newcommand{\id}{\mathrm{id}}\) \( \newcommand{\Span}{\mathrm{span}}\)
( \newcommand{\kernel}{\mathrm{null}\,}\) \( \newcommand{\range}{\mathrm{range}\,}\)
\( \newcommand{\RealPart}{\mathrm{Re}}\) \( \newcommand{\ImaginaryPart}{\mathrm{Im}}\)
\( \newcommand{\Argument}{\mathrm{Arg}}\) \( \newcommand{\norm}[1]{\| #1 \|}\)
\( \newcommand{\inner}[2]{\langle #1, #2 \rangle}\)
\( \newcommand{\Span}{\mathrm{span}}\)
\( \newcommand{\id}{\mathrm{id}}\)
\( \newcommand{\Span}{\mathrm{span}}\)
\( \newcommand{\kernel}{\mathrm{null}\,}\)
\( \newcommand{\range}{\mathrm{range}\,}\)
\( \newcommand{\RealPart}{\mathrm{Re}}\)
\( \newcommand{\ImaginaryPart}{\mathrm{Im}}\)
\( \newcommand{\Argument}{\mathrm{Arg}}\)
\( \newcommand{\norm}[1]{\| #1 \|}\)
\( \newcommand{\inner}[2]{\langle #1, #2 \rangle}\)
\( \newcommand{\Span}{\mathrm{span}}\) \( \newcommand{\AA}{\unicode[.8,0]{x212B}}\)
\( \newcommand{\vectorA}[1]{\vec{#1}} % arrow\)
\( \newcommand{\vectorAt}[1]{\vec{\text{#1}}} % arrow\)
\( \newcommand{\vectorB}[1]{\overset { \scriptstyle \rightharpoonup} {\mathbf{#1}} } \)
\( \newcommand{\vectorC}[1]{\textbf{#1}} \)
\( \newcommand{\vectorD}[1]{\overrightarrow{#1}} \)
\( \newcommand{\vectorDt}[1]{\overrightarrow{\text{#1}}} \)
\( \newcommand{\vectE}[1]{\overset{-\!-\!\rightharpoonup}{\vphantom{a}\smash{\mathbf {#1}}}} \)
\( \newcommand{\vecs}[1]{\overset { \scriptstyle \rightharpoonup} {\mathbf{#1}} } \)
\(\newcommand{\longvect}{\overrightarrow}\)
\( \newcommand{\vecd}[1]{\overset{-\!-\!\rightharpoonup}{\vphantom{a}\smash {#1}}} \)
\(\newcommand{\avec}{\mathbf a}\) \(\newcommand{\bvec}{\mathbf b}\) \(\newcommand{\cvec}{\mathbf c}\) \(\newcommand{\dvec}{\mathbf d}\) \(\newcommand{\dtil}{\widetilde{\mathbf d}}\) \(\newcommand{\evec}{\mathbf e}\) \(\newcommand{\fvec}{\mathbf f}\) \(\newcommand{\nvec}{\mathbf n}\) \(\newcommand{\pvec}{\mathbf p}\) \(\newcommand{\qvec}{\mathbf q}\) \(\newcommand{\svec}{\mathbf s}\) \(\newcommand{\tvec}{\mathbf t}\) \(\newcommand{\uvec}{\mathbf u}\) \(\newcommand{\vvec}{\mathbf v}\) \(\newcommand{\wvec}{\mathbf w}\) \(\newcommand{\xvec}{\mathbf x}\) \(\newcommand{\yvec}{\mathbf y}\) \(\newcommand{\zvec}{\mathbf z}\) \(\newcommand{\rvec}{\mathbf r}\) \(\newcommand{\mvec}{\mathbf m}\) \(\newcommand{\zerovec}{\mathbf 0}\) \(\newcommand{\onevec}{\mathbf 1}\) \(\newcommand{\real}{\mathbb R}\) \(\newcommand{\twovec}[2]{\left[\begin{array}{r}#1 \\ #2 \end{array}\right]}\) \(\newcommand{\ctwovec}[2]{\left[\begin{array}{c}#1 \\ #2 \end{array}\right]}\) \(\newcommand{\threevec}[3]{\left[\begin{array}{r}#1 \\ #2 \\ #3 \end{array}\right]}\) \(\newcommand{\cthreevec}[3]{\left[\begin{array}{c}#1 \\ #2 \\ #3 \end{array}\right]}\) \(\newcommand{\fourvec}[4]{\left[\begin{array}{r}#1 \\ #2 \\ #3 \\ #4 \end{array}\right]}\) \(\newcommand{\cfourvec}[4]{\left[\begin{array}{c}#1 \\ #2 \\ #3 \\ #4 \end{array}\right]}\) \(\newcommand{\fivevec}[5]{\left[\begin{array}{r}#1 \\ #2 \\ #3 \\ #4 \\ #5 \\ \end{array}\right]}\) \(\newcommand{\cfivevec}[5]{\left[\begin{array}{c}#1 \\ #2 \\ #3 \\ #4 \\ #5 \\ \end{array}\right]}\) \(\newcommand{\mattwo}[4]{\left[\begin{array}{rr}#1 \amp #2 \\ #3 \amp #4 \\ \end{array}\right]}\) \(\newcommand{\laspan}[1]{\text{Span}\{#1\}}\) \(\newcommand{\bcal}{\cal B}\) \(\newcommand{\ccal}{\cal C}\) \(\newcommand{\scal}{\cal S}\) \(\newcommand{\wcal}{\cal W}\) \(\newcommand{\ecal}{\cal E}\) \(\newcommand{\coords}[2]{\left\{#1\right\}_{#2}}\) \(\newcommand{\gray}[1]{\color{gray}{#1}}\) \(\newcommand{\lgray}[1]{\color{lightgray}{#1}}\) \(\newcommand{\rank}{\operatorname{rank}}\) \(\newcommand{\row}{\text{Row}}\) \(\newcommand{\col}{\text{Col}}\) \(\renewcommand{\row}{\text{Row}}\) \(\newcommand{\nul}{\text{Nul}}\) \(\newcommand{\var}{\text{Var}}\) \(\newcommand{\corr}{\text{corr}}\) \(\newcommand{\len}[1]{\left|#1\right|}\) \(\newcommand{\bbar}{\overline{\bvec}}\) \(\newcommand{\bhat}{\widehat{\bvec}}\) \(\newcommand{\bperp}{\bvec^\perp}\) \(\newcommand{\xhat}{\widehat{\xvec}}\) \(\newcommand{\vhat}{\widehat{\vvec}}\) \(\newcommand{\uhat}{\widehat{\uvec}}\) \(\newcommand{\what}{\widehat{\wvec}}\) \(\newcommand{\Sighat}{\widehat{\Sigma}}\) \(\newcommand{\lt}{<}\) \(\newcommand{\gt}{>}\) \(\newcommand{\amp}{&}\) \(\definecolor{fillinmathshade}{gray}{0.9}\)Learning Objectives
- To determine what happens to a gas when it is compressed.
- To determine what happens to a gas when it is heated.
- To determine if different gases behave differently.
- To determine the molar volume of a gas.
In this experiment, we will examine some of the properties of variety of gases, and draw some conclusions about how gases behave based on the pressure, temperature, volume and identity of the gas.
In Part I, we will examine the relationship between the volume and pressure for a gas. In Part II, we will examine the temperature-pressure relationship for air. A second gas will be examined if there is sufficient time to complete the experiment. In Part III, we will determine the molar volume of two different gases and compare those values to the theoretical molar volume of an ideal gas.
Pre Lab Video
Safety and Waste Disposal
The solution can go down the drain with plenty of water.
Experiment
Part I: Pressure-Volume Relationships
Step 1
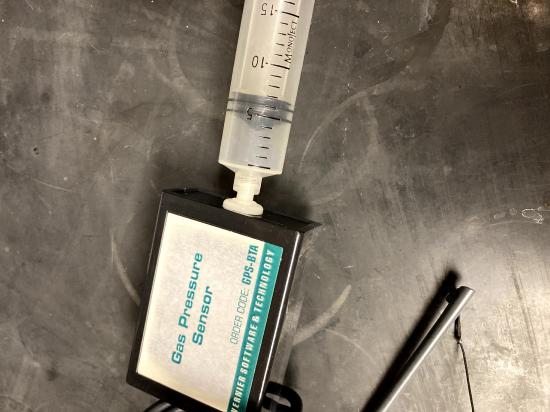
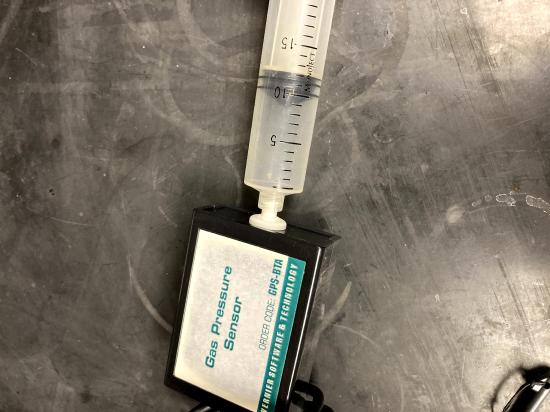
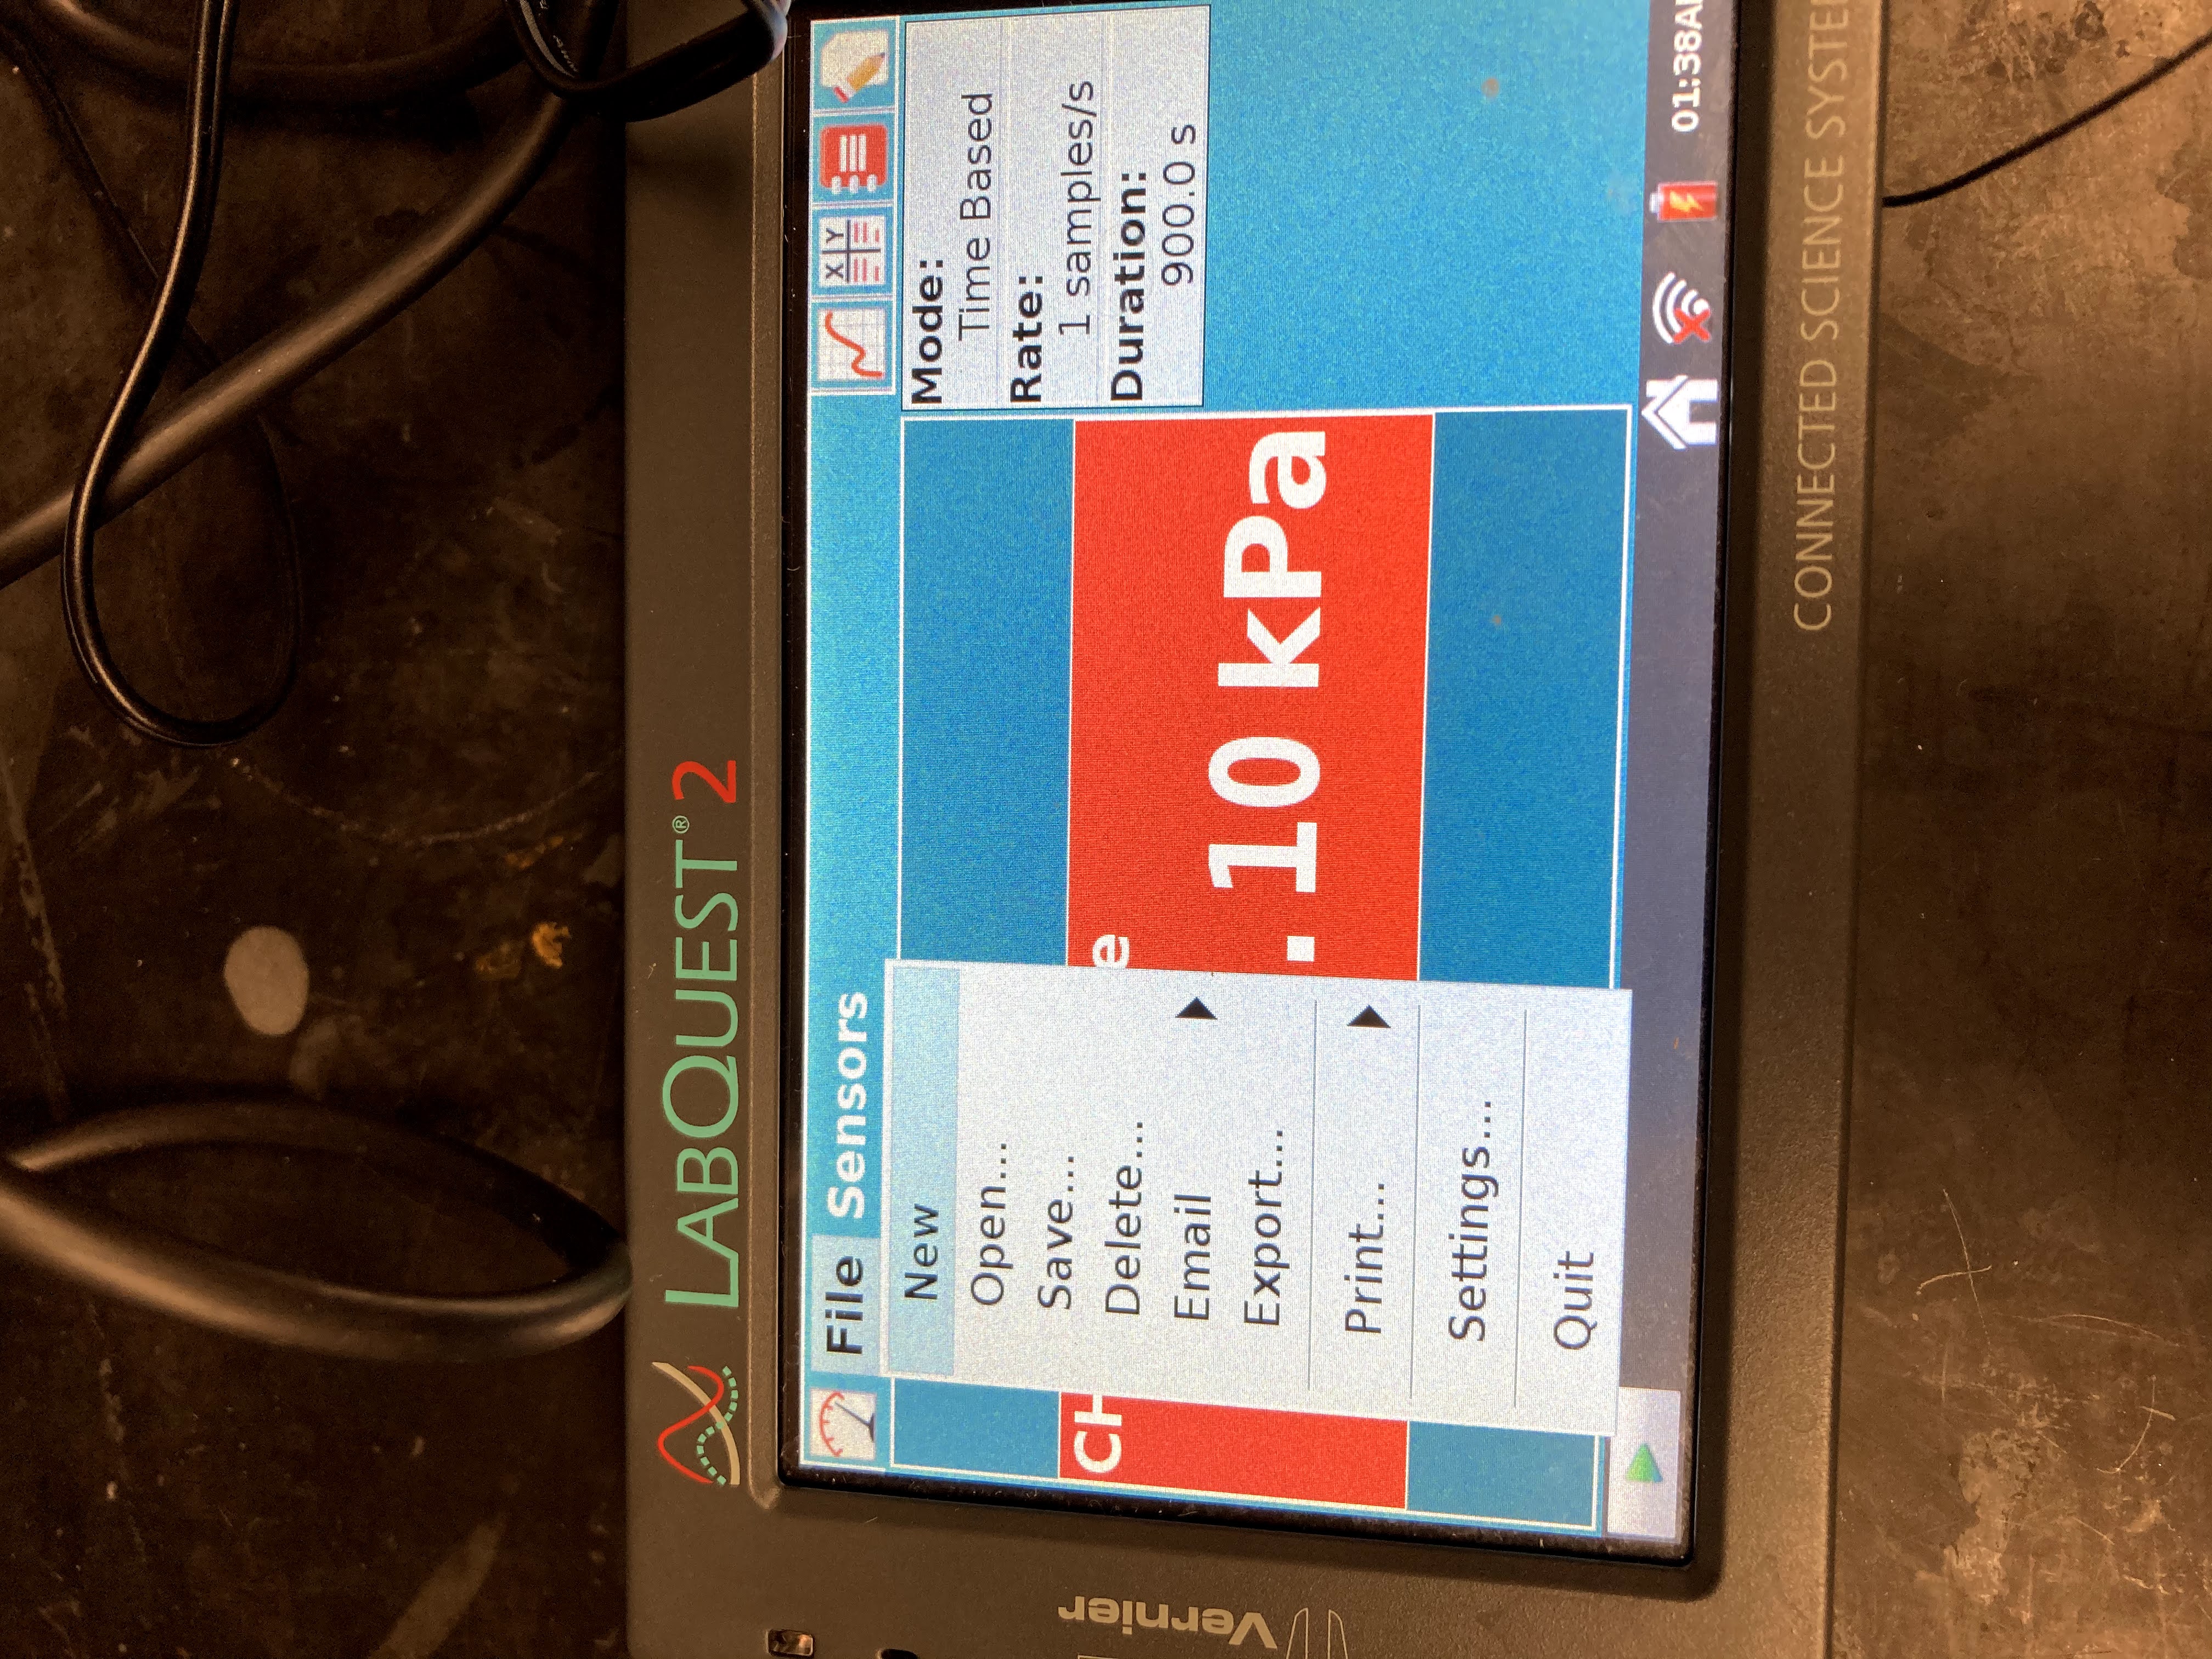 Prepare the Gas Pressure Sensor and an air sample for data collection. Connect the Gas Pressure Sensor to LabQuest and choose New from the File menu.
Step 2
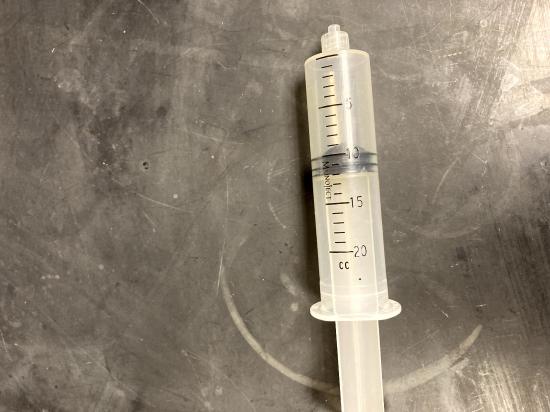 With the 20 mL syringe disconnected from the Gas Pressure Sensor, move the piston of the syringe until the front edge of the inside black ring is positioned at the 10.0 mL mark.
Step 3
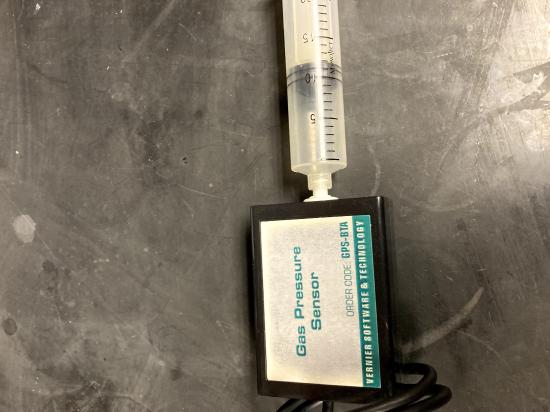 Attach the 20 mL syringe to the valve of the Gas Pressure Sensor.
Step 4
 Set up the data-collection mode. On the Meter screen, tap Mode. Change the mode to Events with Entry.
Step 5
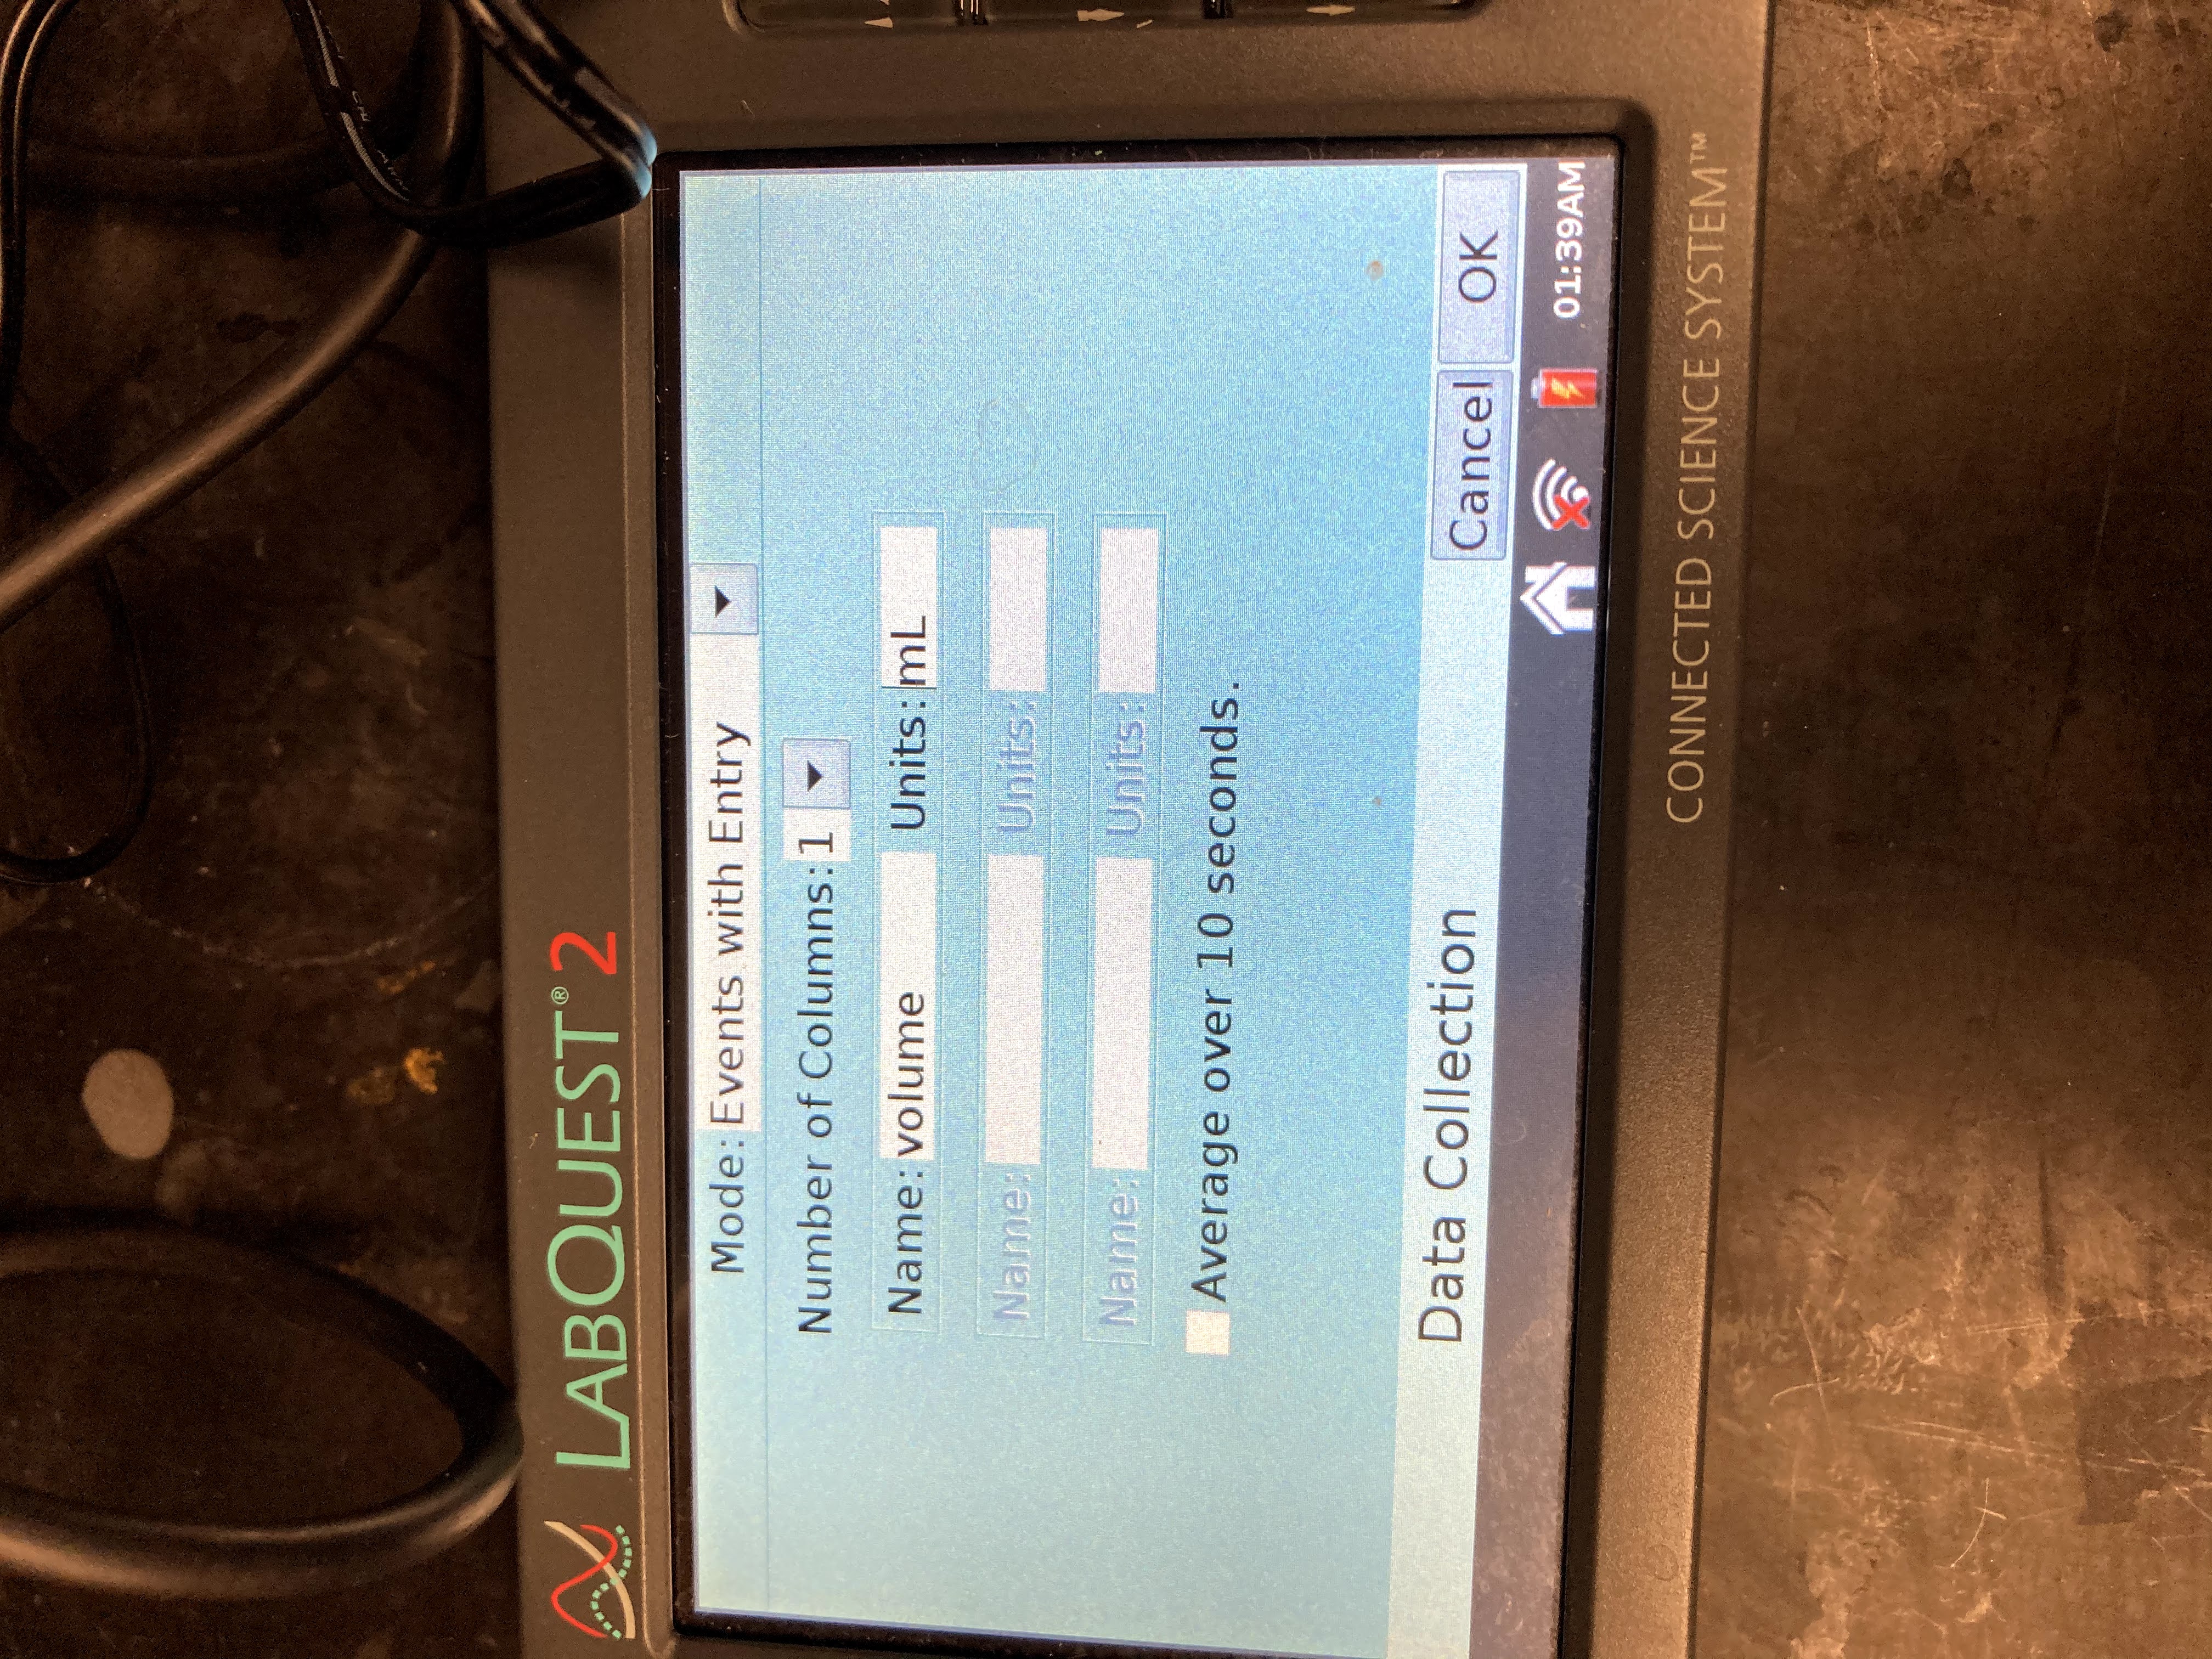 Enter the Name (Volume) and Units (mL). Select OK.
Step 6
To obtain the best data possible, you will need to correct the volume readings from the syringe. Look at the syringe; its scale reports its own internal volume. However, that volume is not the total volume of trapped air in your system since there is a little bit of space inside the pressure sensor. To account for the extra volume in the system, you will need to add 0.8 mL to your syringe readings. For example, with a 5.0 mL syringe volume, the total volume would be 5.8 mL. It is this total volume that you will need for the analysis.
Step 7
 You are now ready to collect pressure and volume data. It is easiest if one person takes care of the gas syringe and another enters volumes. Start data collection. (The green arrow in the bottom left corner or the arrow button on the top of the keyboard).
Step 8
 Move the piston so the front edge of the inside black ring is positioned at the 5.0 mL line on the syringe (see Figure 2). Hold the piston firmly in this position until the pressure value displayed on the screen stabilizes.
Step 9
 Tap Keep and enter 5.8, the gas volume (in mL) on the screen. Remember, you are adding 0.8 mL to the
 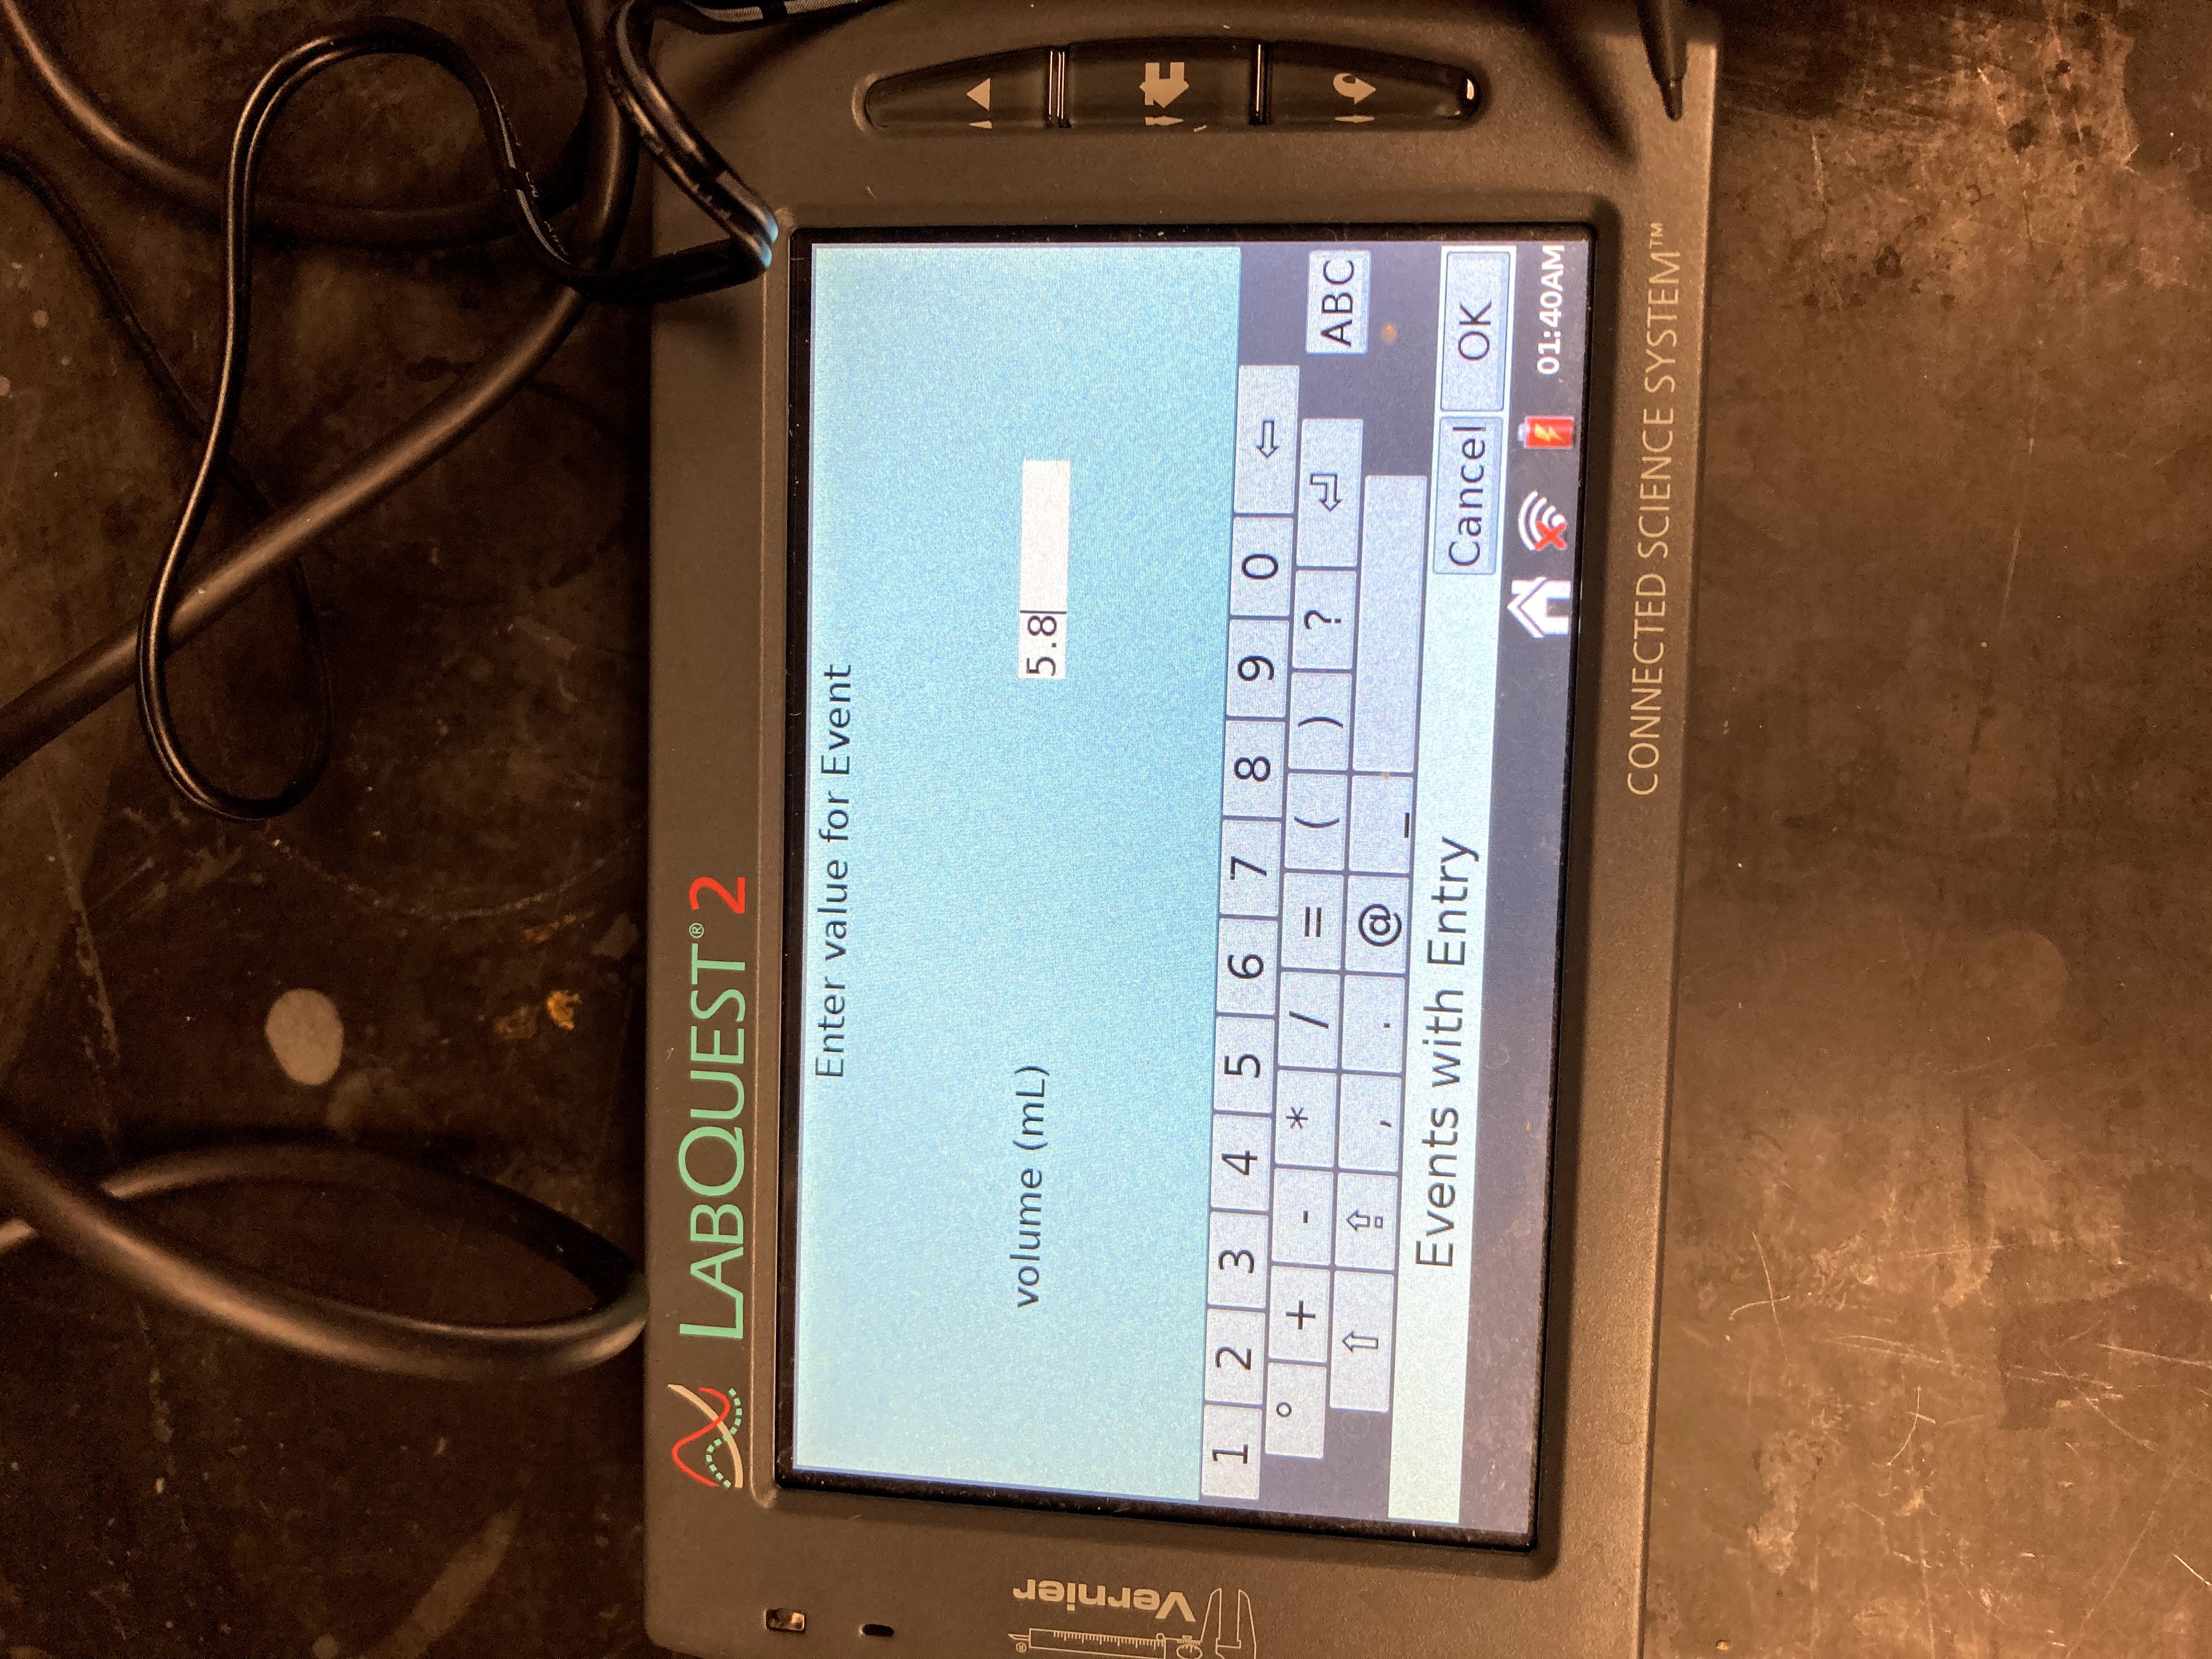 volume of the syringe for the total volume. Select OK to store this pressure-volume data pair.
Step 10
 Continue this procedure using syringe volumes of 10.0, 12.5, 15.0, 17.5, and 20.0 mL adding 0.8 mL each time. Do not remove the syringe in between each volume change.
Step 11
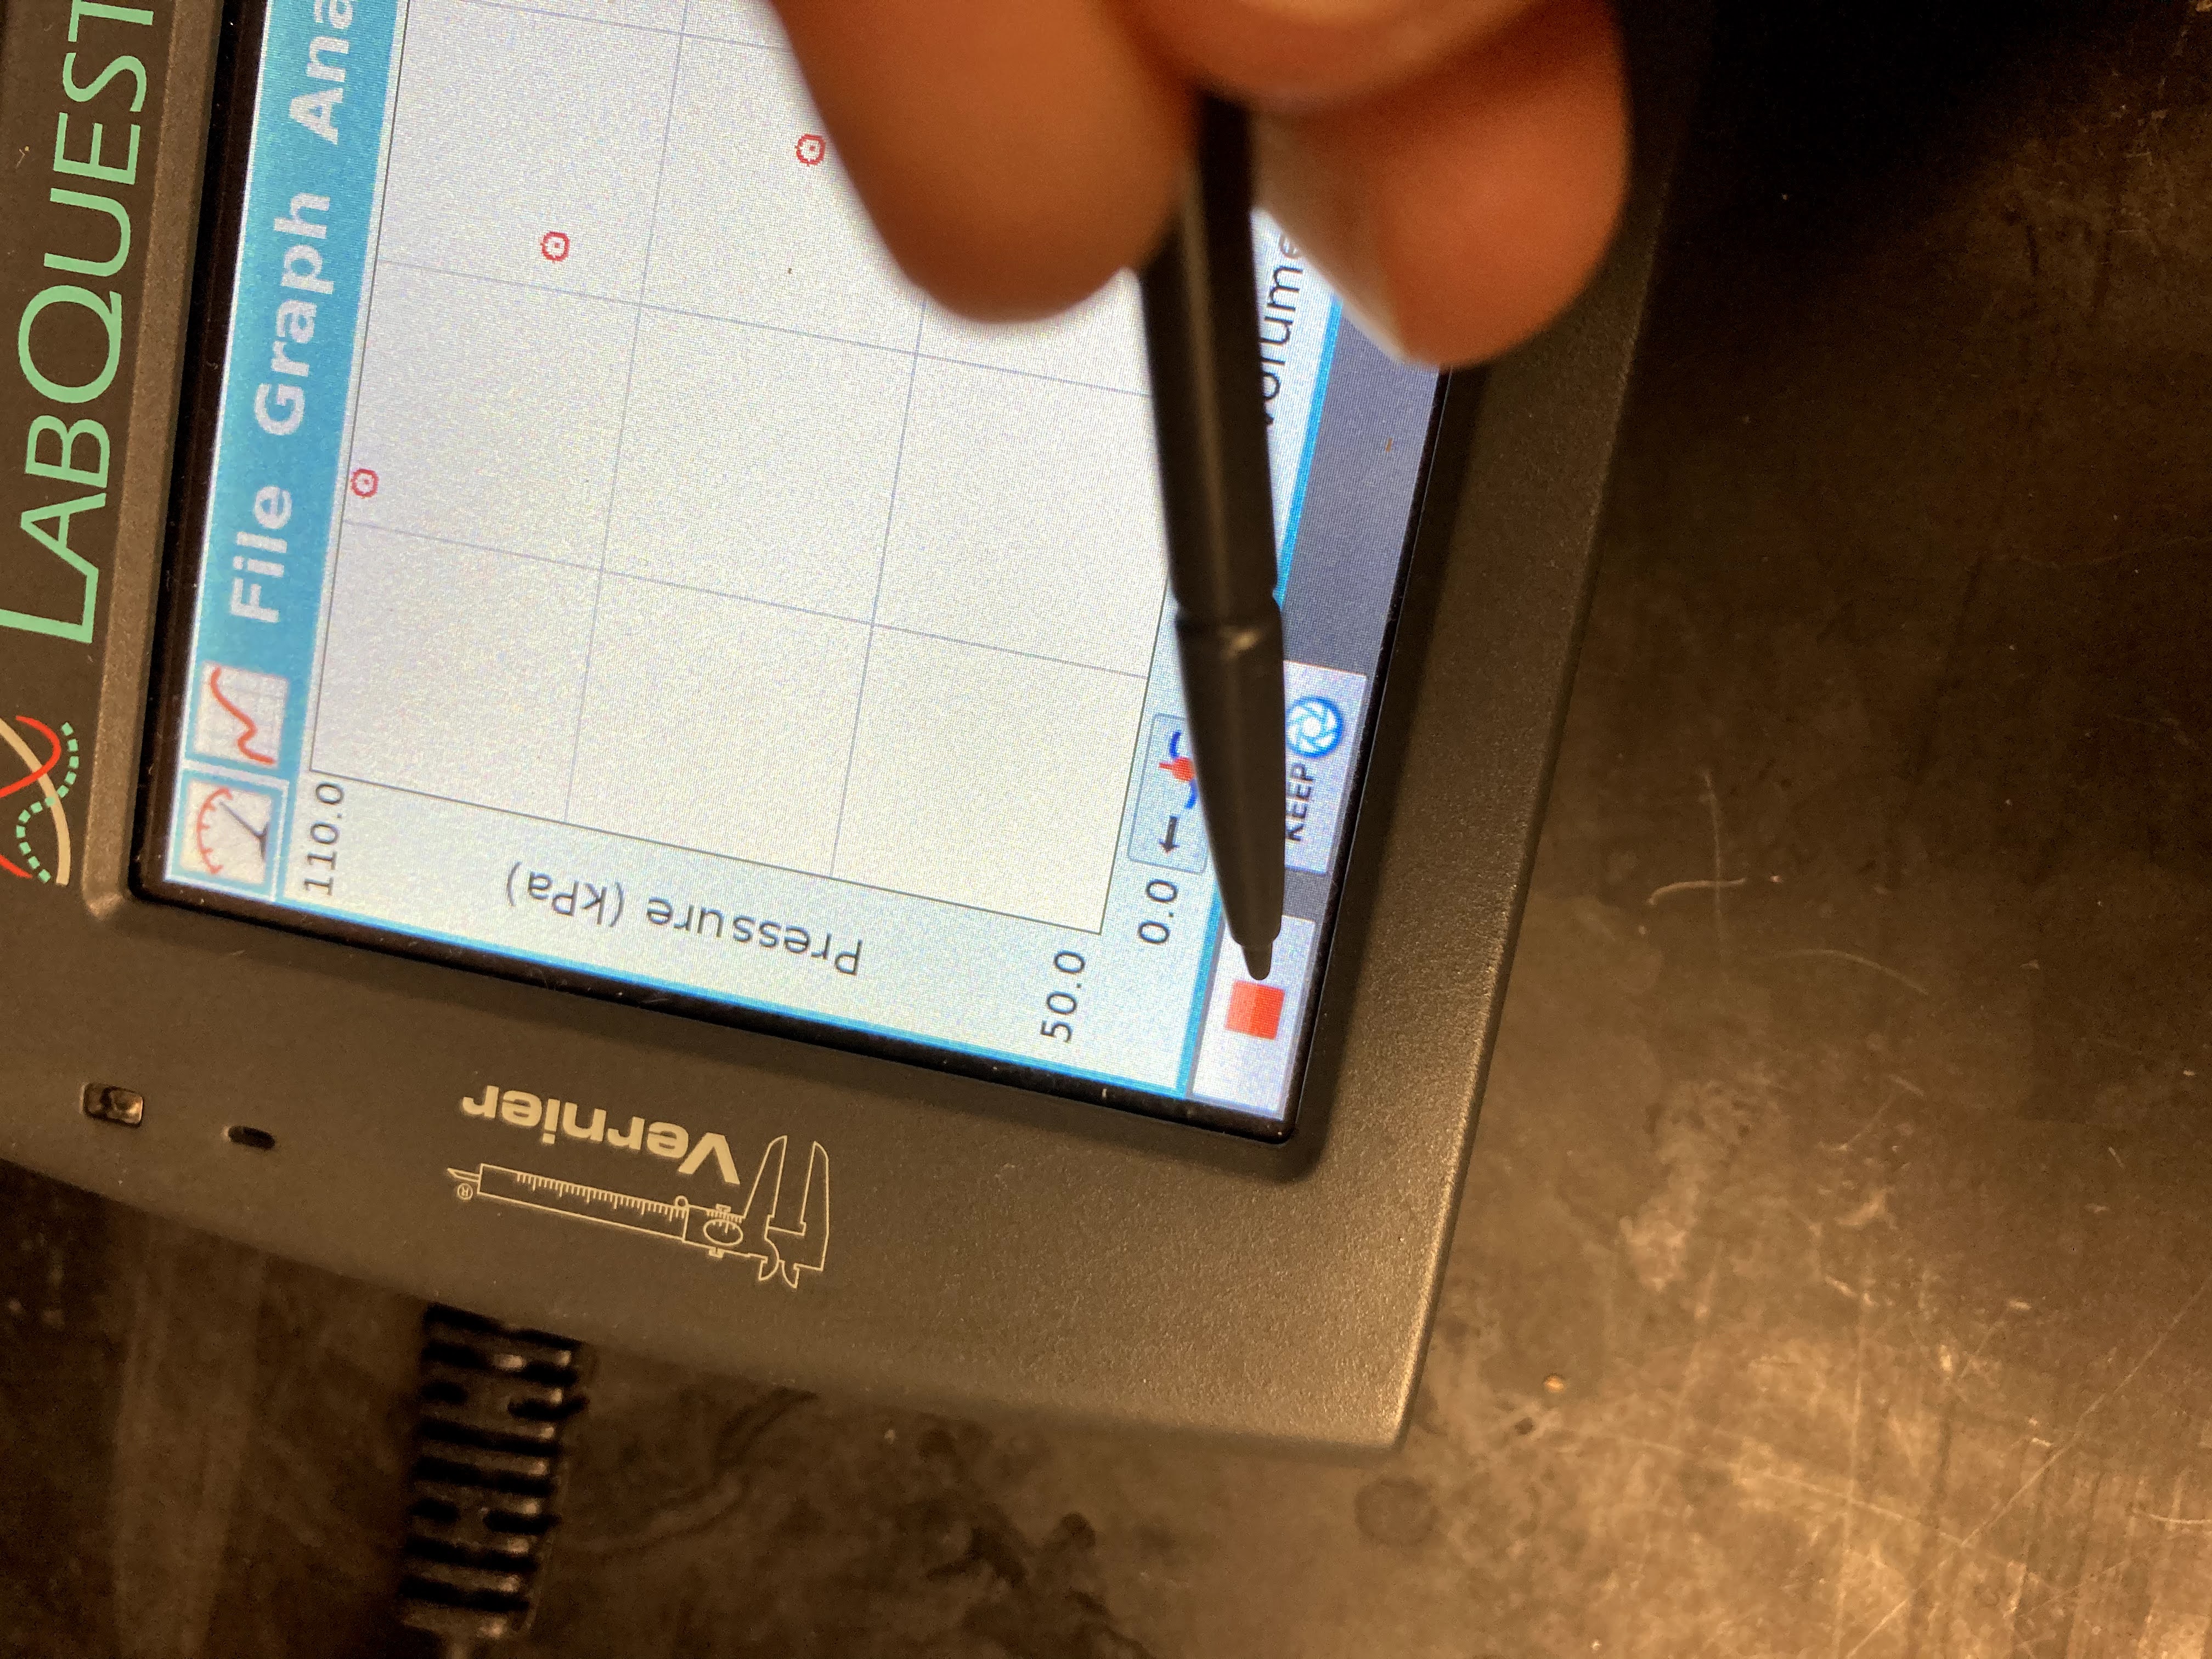 Stop data collection. (The red square on the bottom left of the screen, or the arrow button on the keypad)
Step 12
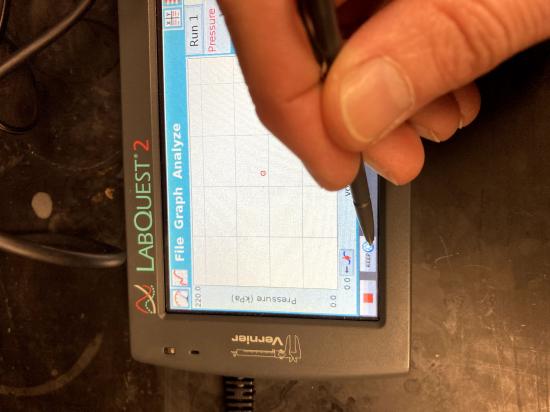
When data collection is complete, a graph of pressure vs. volume will be displayed. To examine the data pairs on the displayed graph, tap any data point. As you tap each data point, the pressure and volume values are displayed to the right of the graph. Record the pressure and volume data values in your notebook.
Step 13
Repeat steps 1-12 with another gas provided by your instructor if there is time.
PART II – Temperature and Pressure Relationships
Step 1
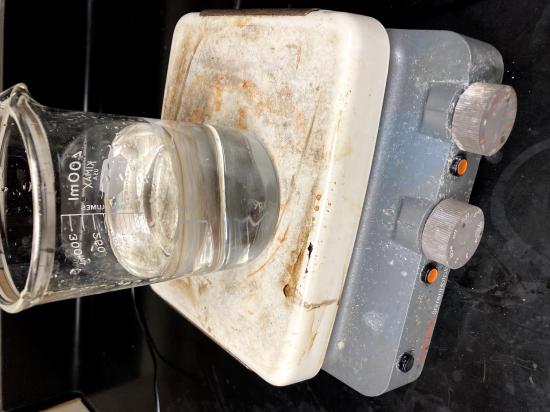 Prepare a hot water bath. Put about 300 mL of water into a large beaker and place it on a hot plate. Turn the hot plate to a medium setting. Do not use this bath unless the temperature is below 80 oC.
Step 2
 Prepare an ice-water bath. Place ice in an ice bath tray and add water.
Step 3
 Put about 300 mL of room temperature water into another beaker (cold tap).
Step 4
Put about 300 mL of warm tap water into a fourth beaker (35 - 40oC) (hot tap).
Step 5
 Prepare the Temperature Probe and Gas Pressure Sensor for data collection. Connect the Gas Pressure Sensor to Channel 1 of LabQuest and the Temperature Probe to Channel 2. Choose New from the File menu.
Step 6
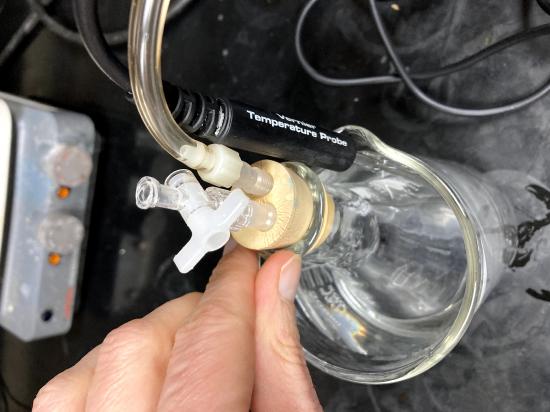
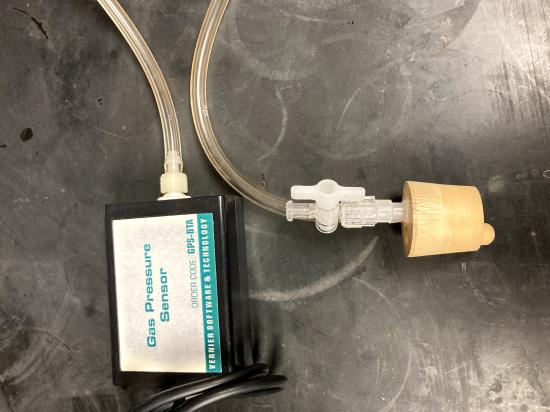 Obtain a rubber-stopper assembly with a piece of heavy-wall plastic tubing connected to one of its two valves. Attach the connector at the free end of the plastic tubing to the open stem of the Gas Pressure Sensor with a clockwise turn. Leave its two-way valve on the rubber stopper open until Step 8.
Step 7
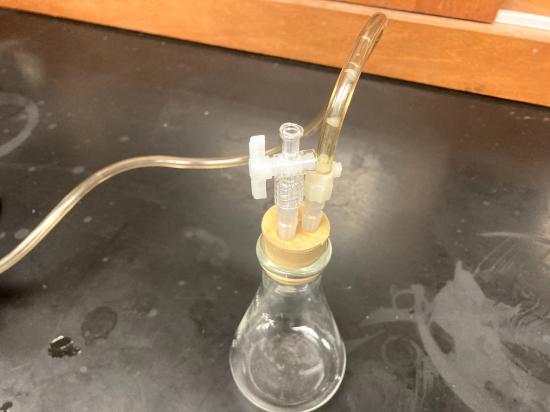 Insert the rubber-stopper assembly into a 125 mL Erlenmeyer flask. Important: Twist the stopper into the neck of the flask to ensure a tight fit.
Step 8
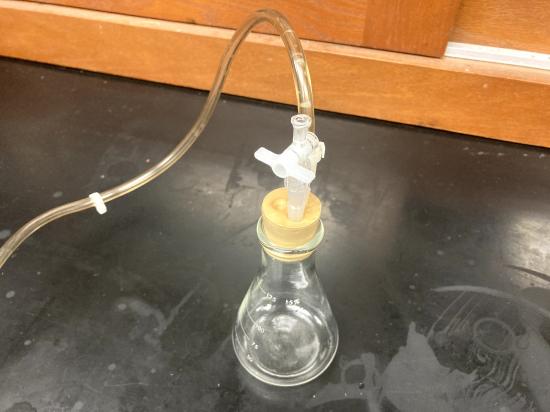 Close the 2-way valve above the rubber stopper—do this by turning the valve handle so it is perpendicular with the valve stem itself. The air sample to be studied is now confined in the flask.
Step 9
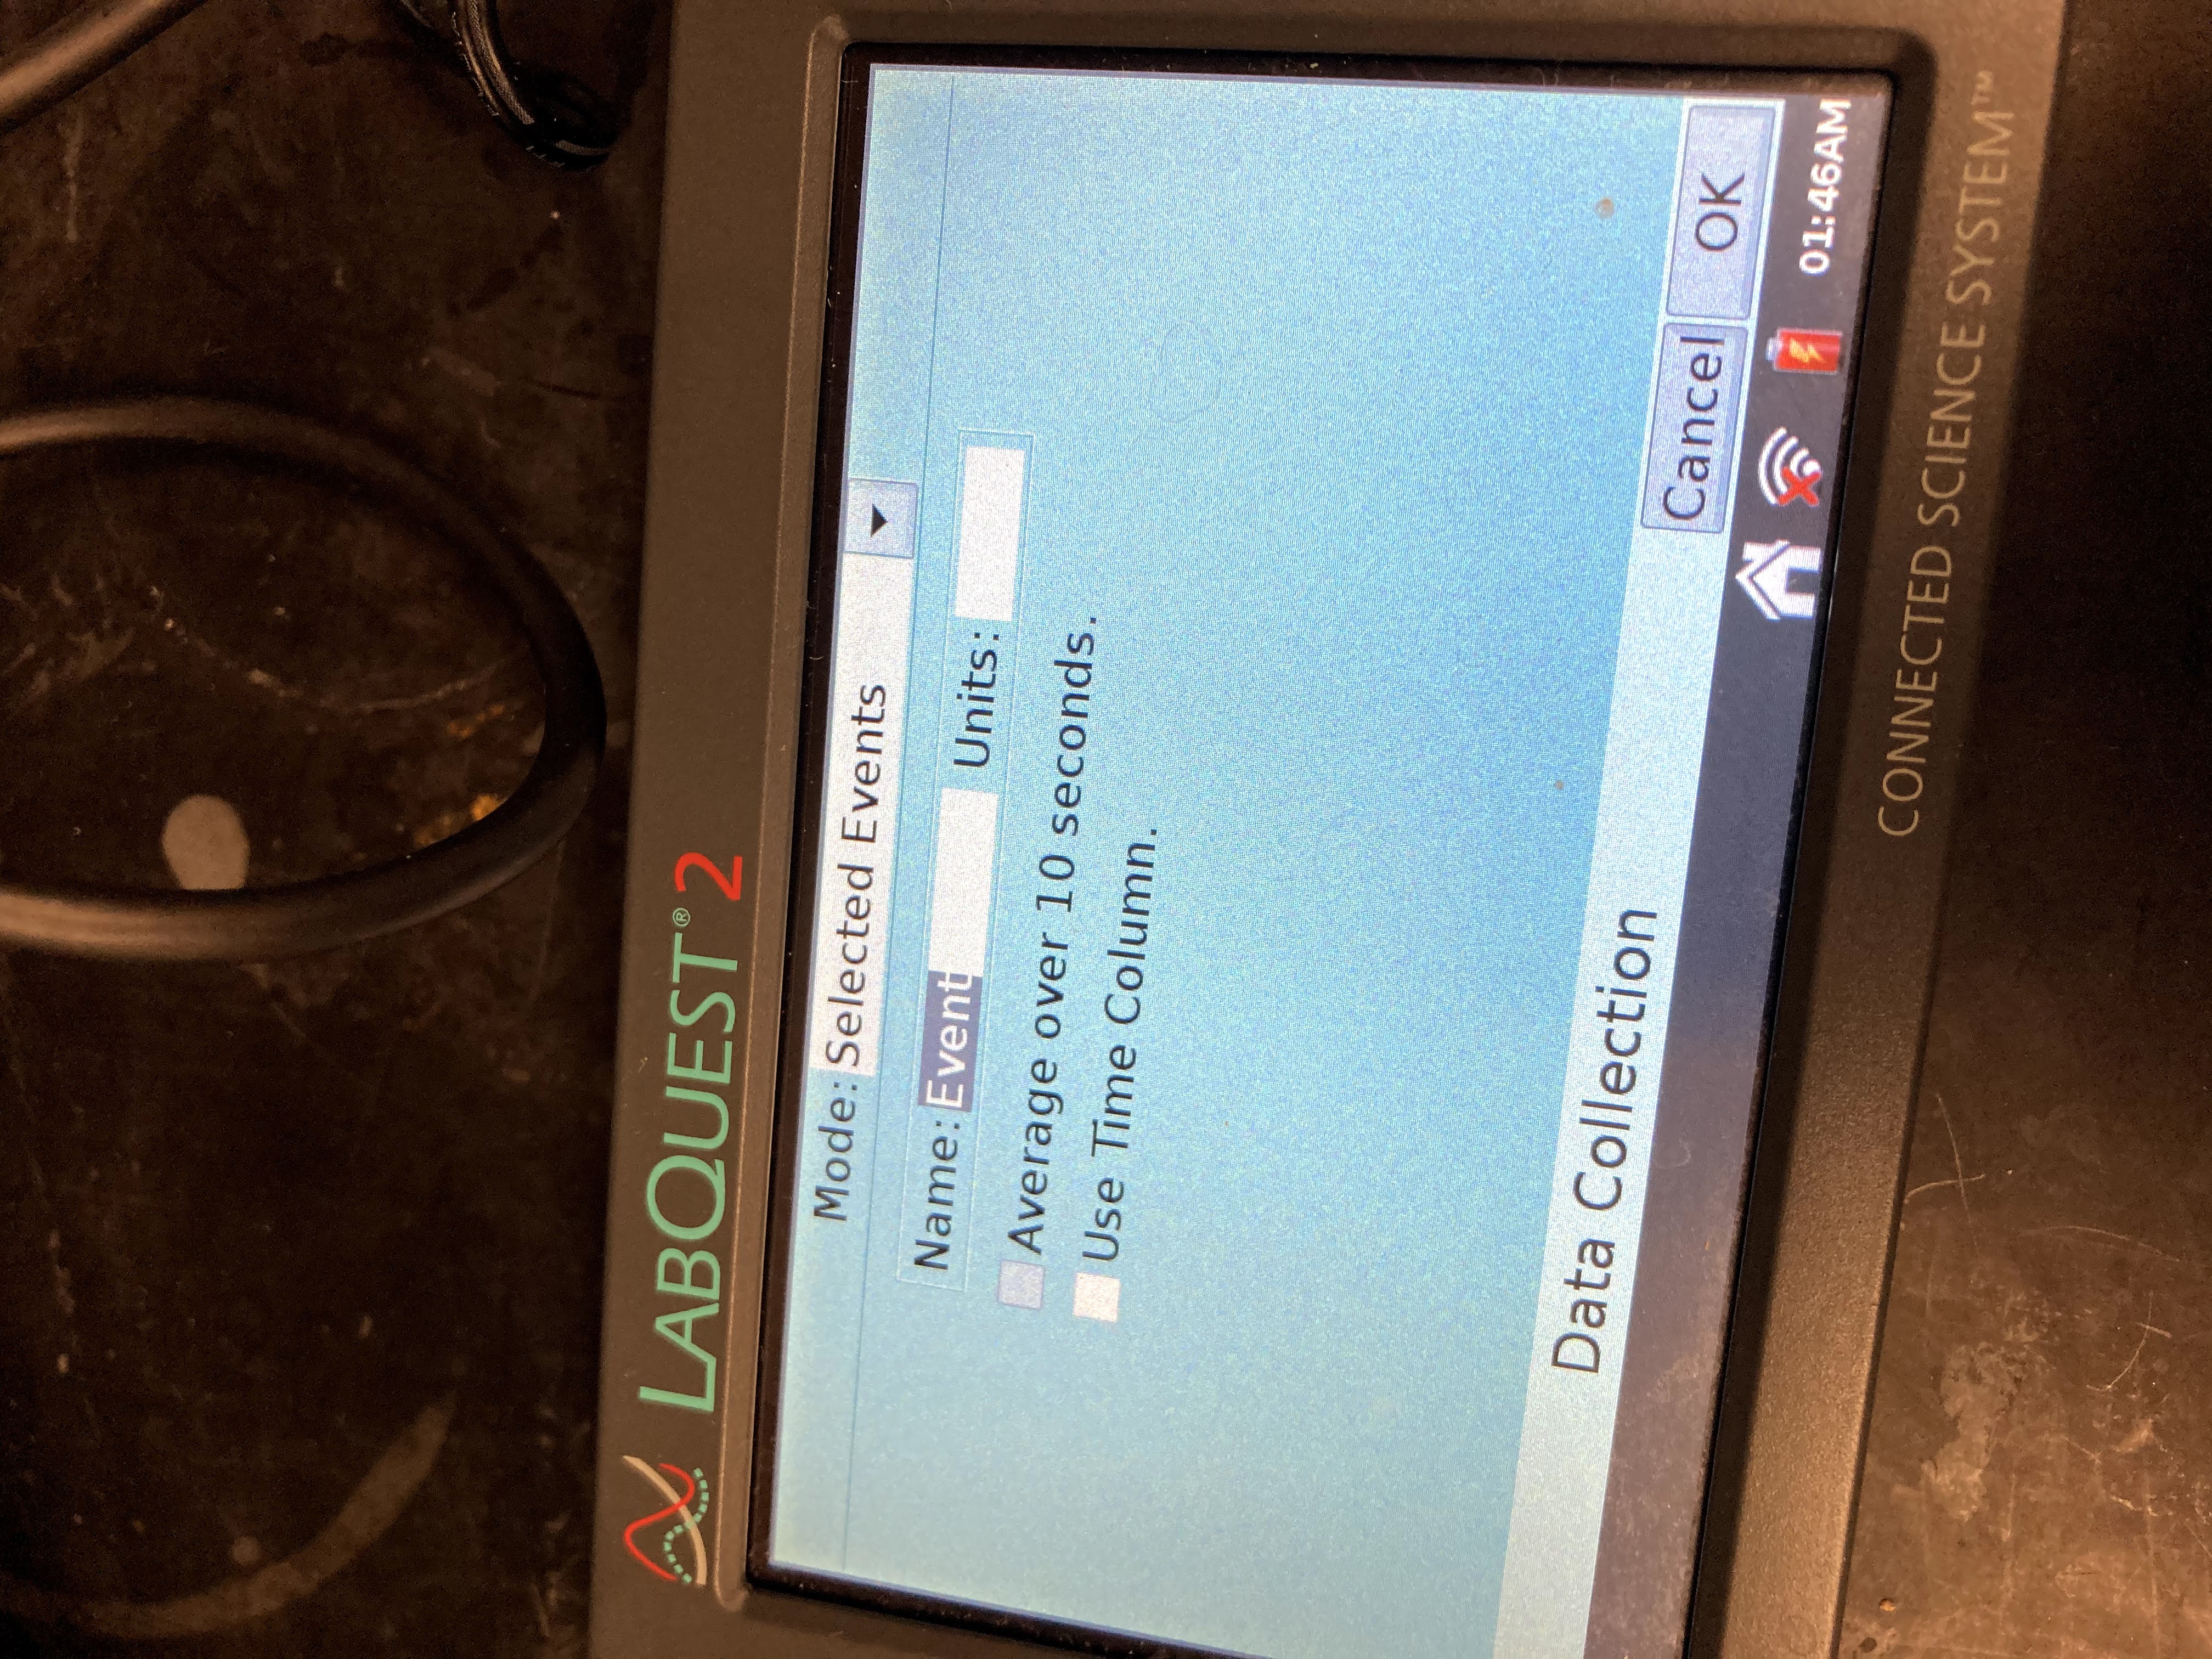 On the Meter screen, tap Mode. Change the mode to Selected Events. Select OK.
Step 10
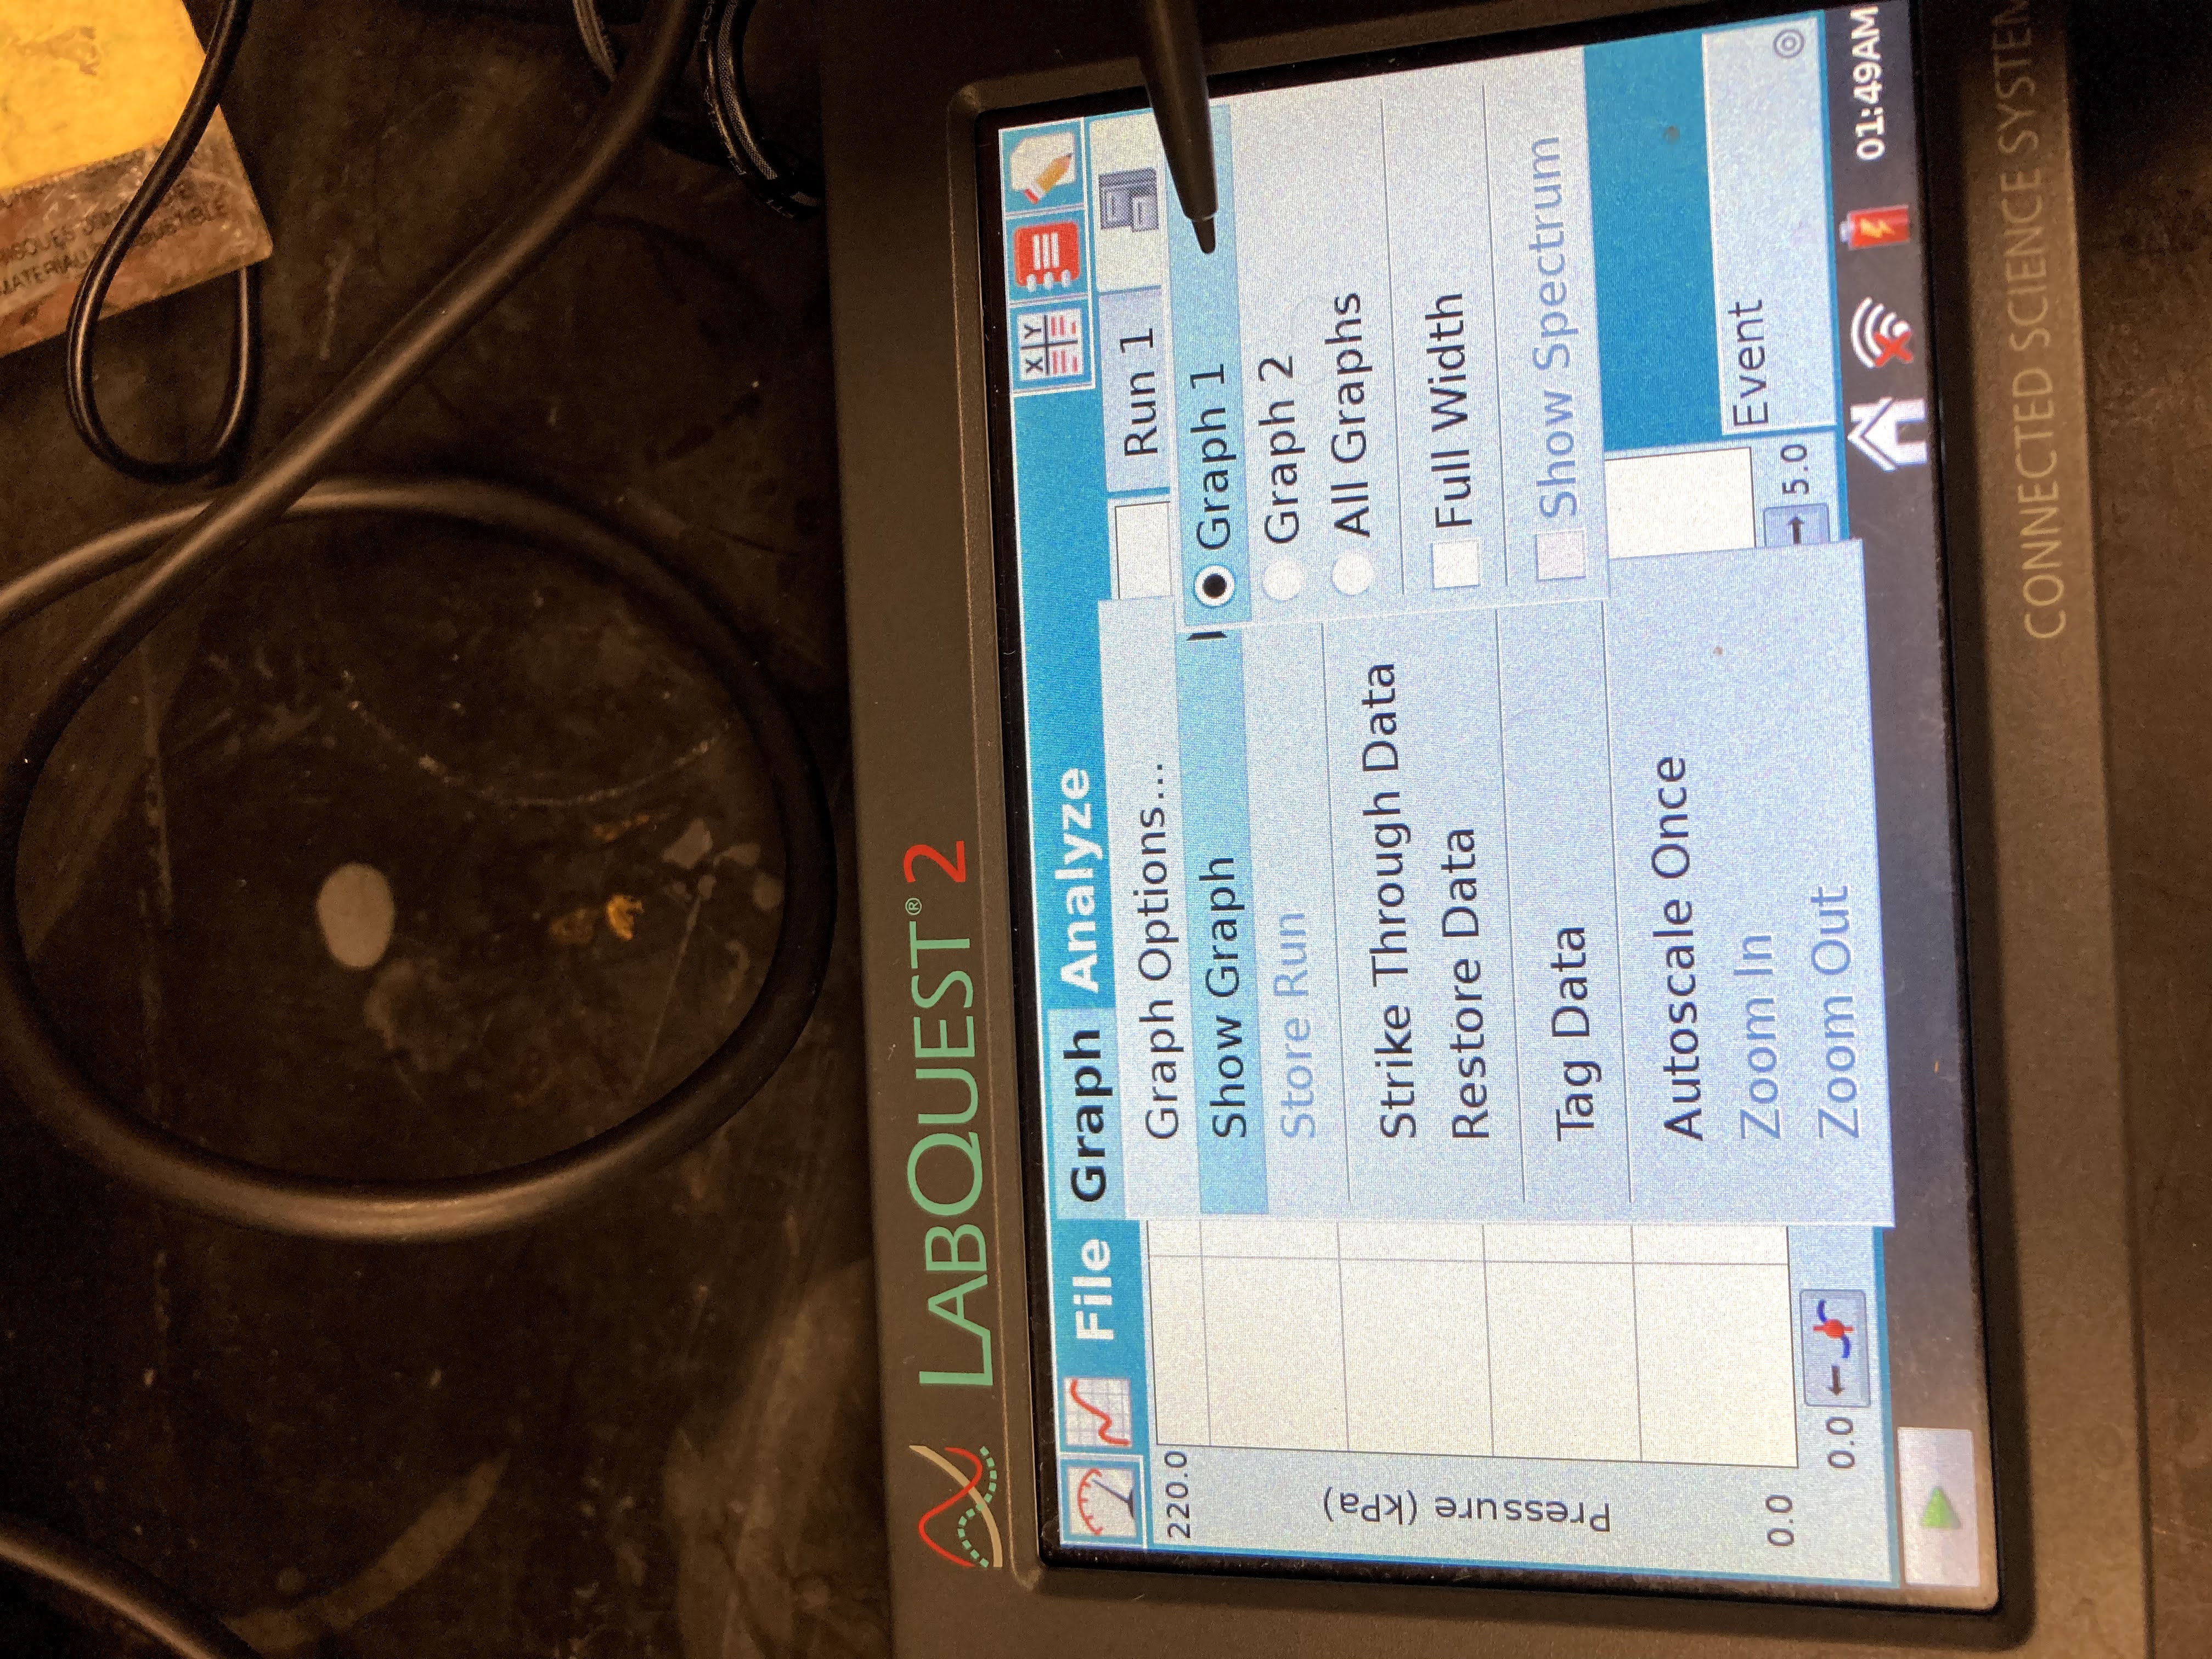
 Change the graph settings to display a graph of pressure vs. temperature. Tap the Graph tab. Choose Show Graph ►Graph 1 from the Graph menu. Tap on the x-axis label and choose Temperature.
Step 11
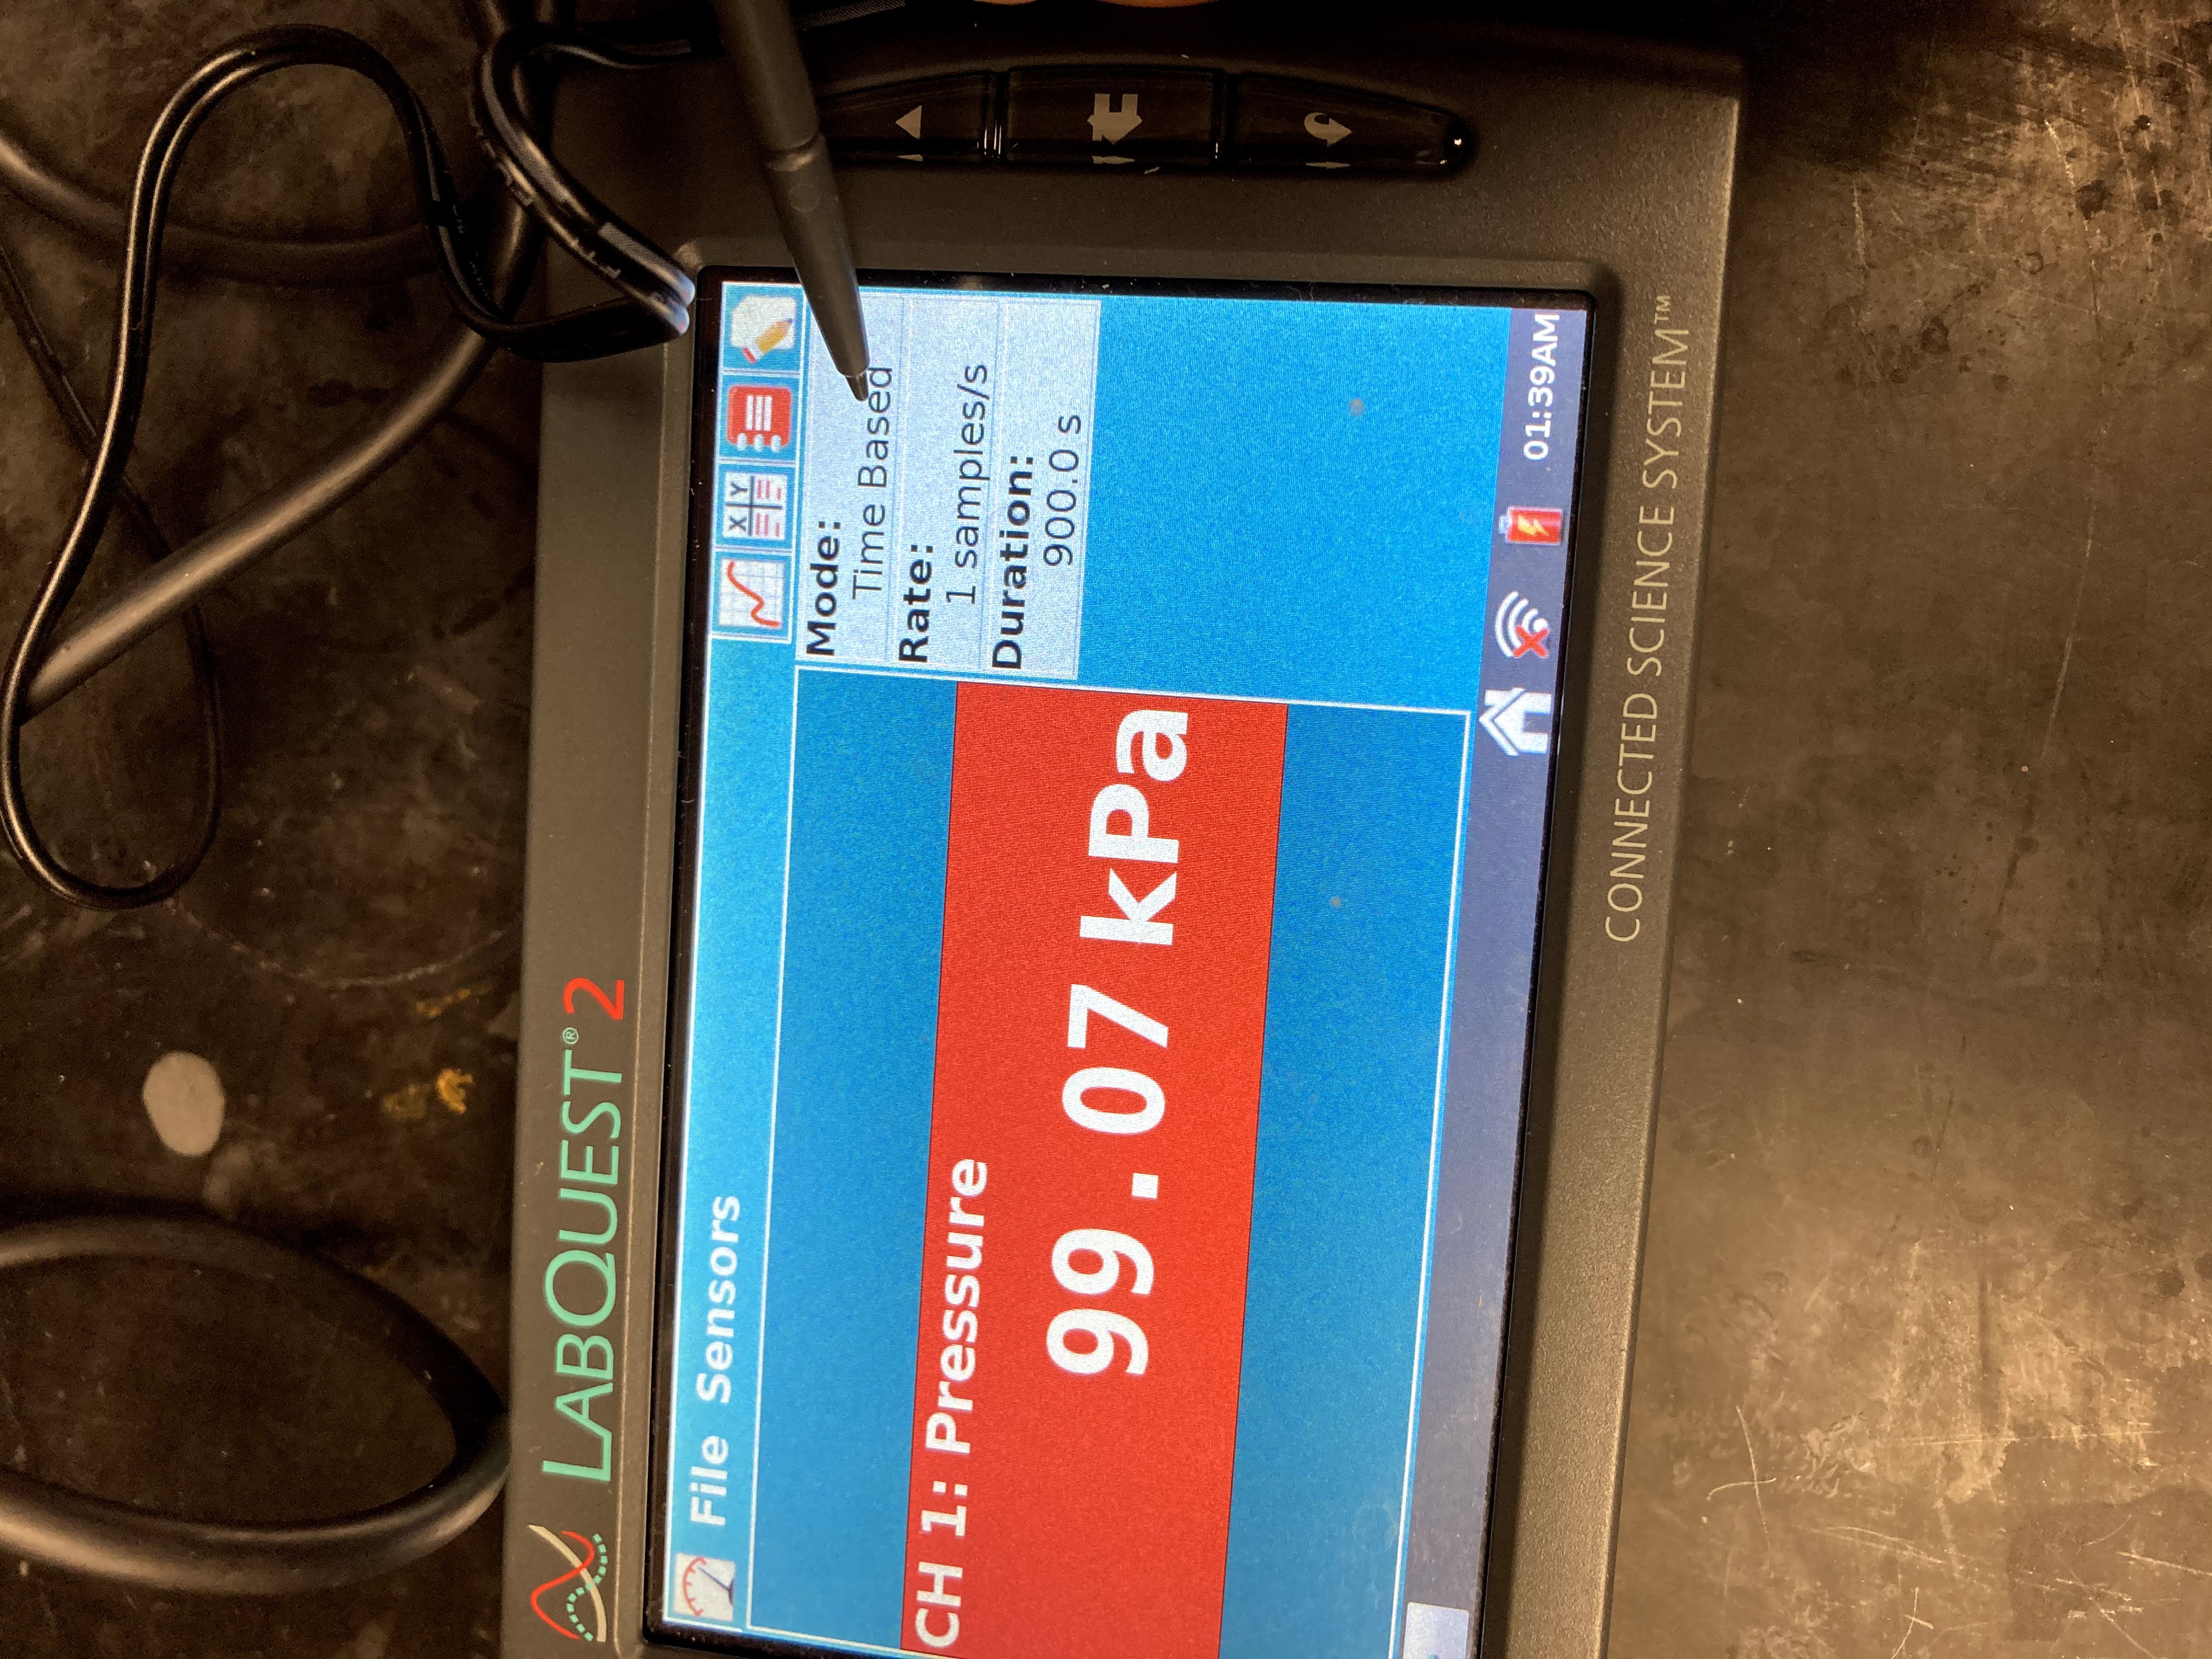
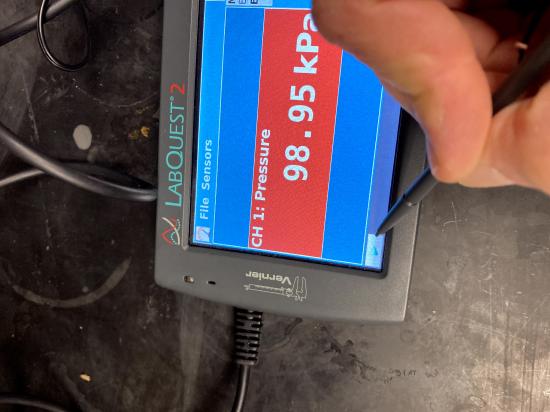
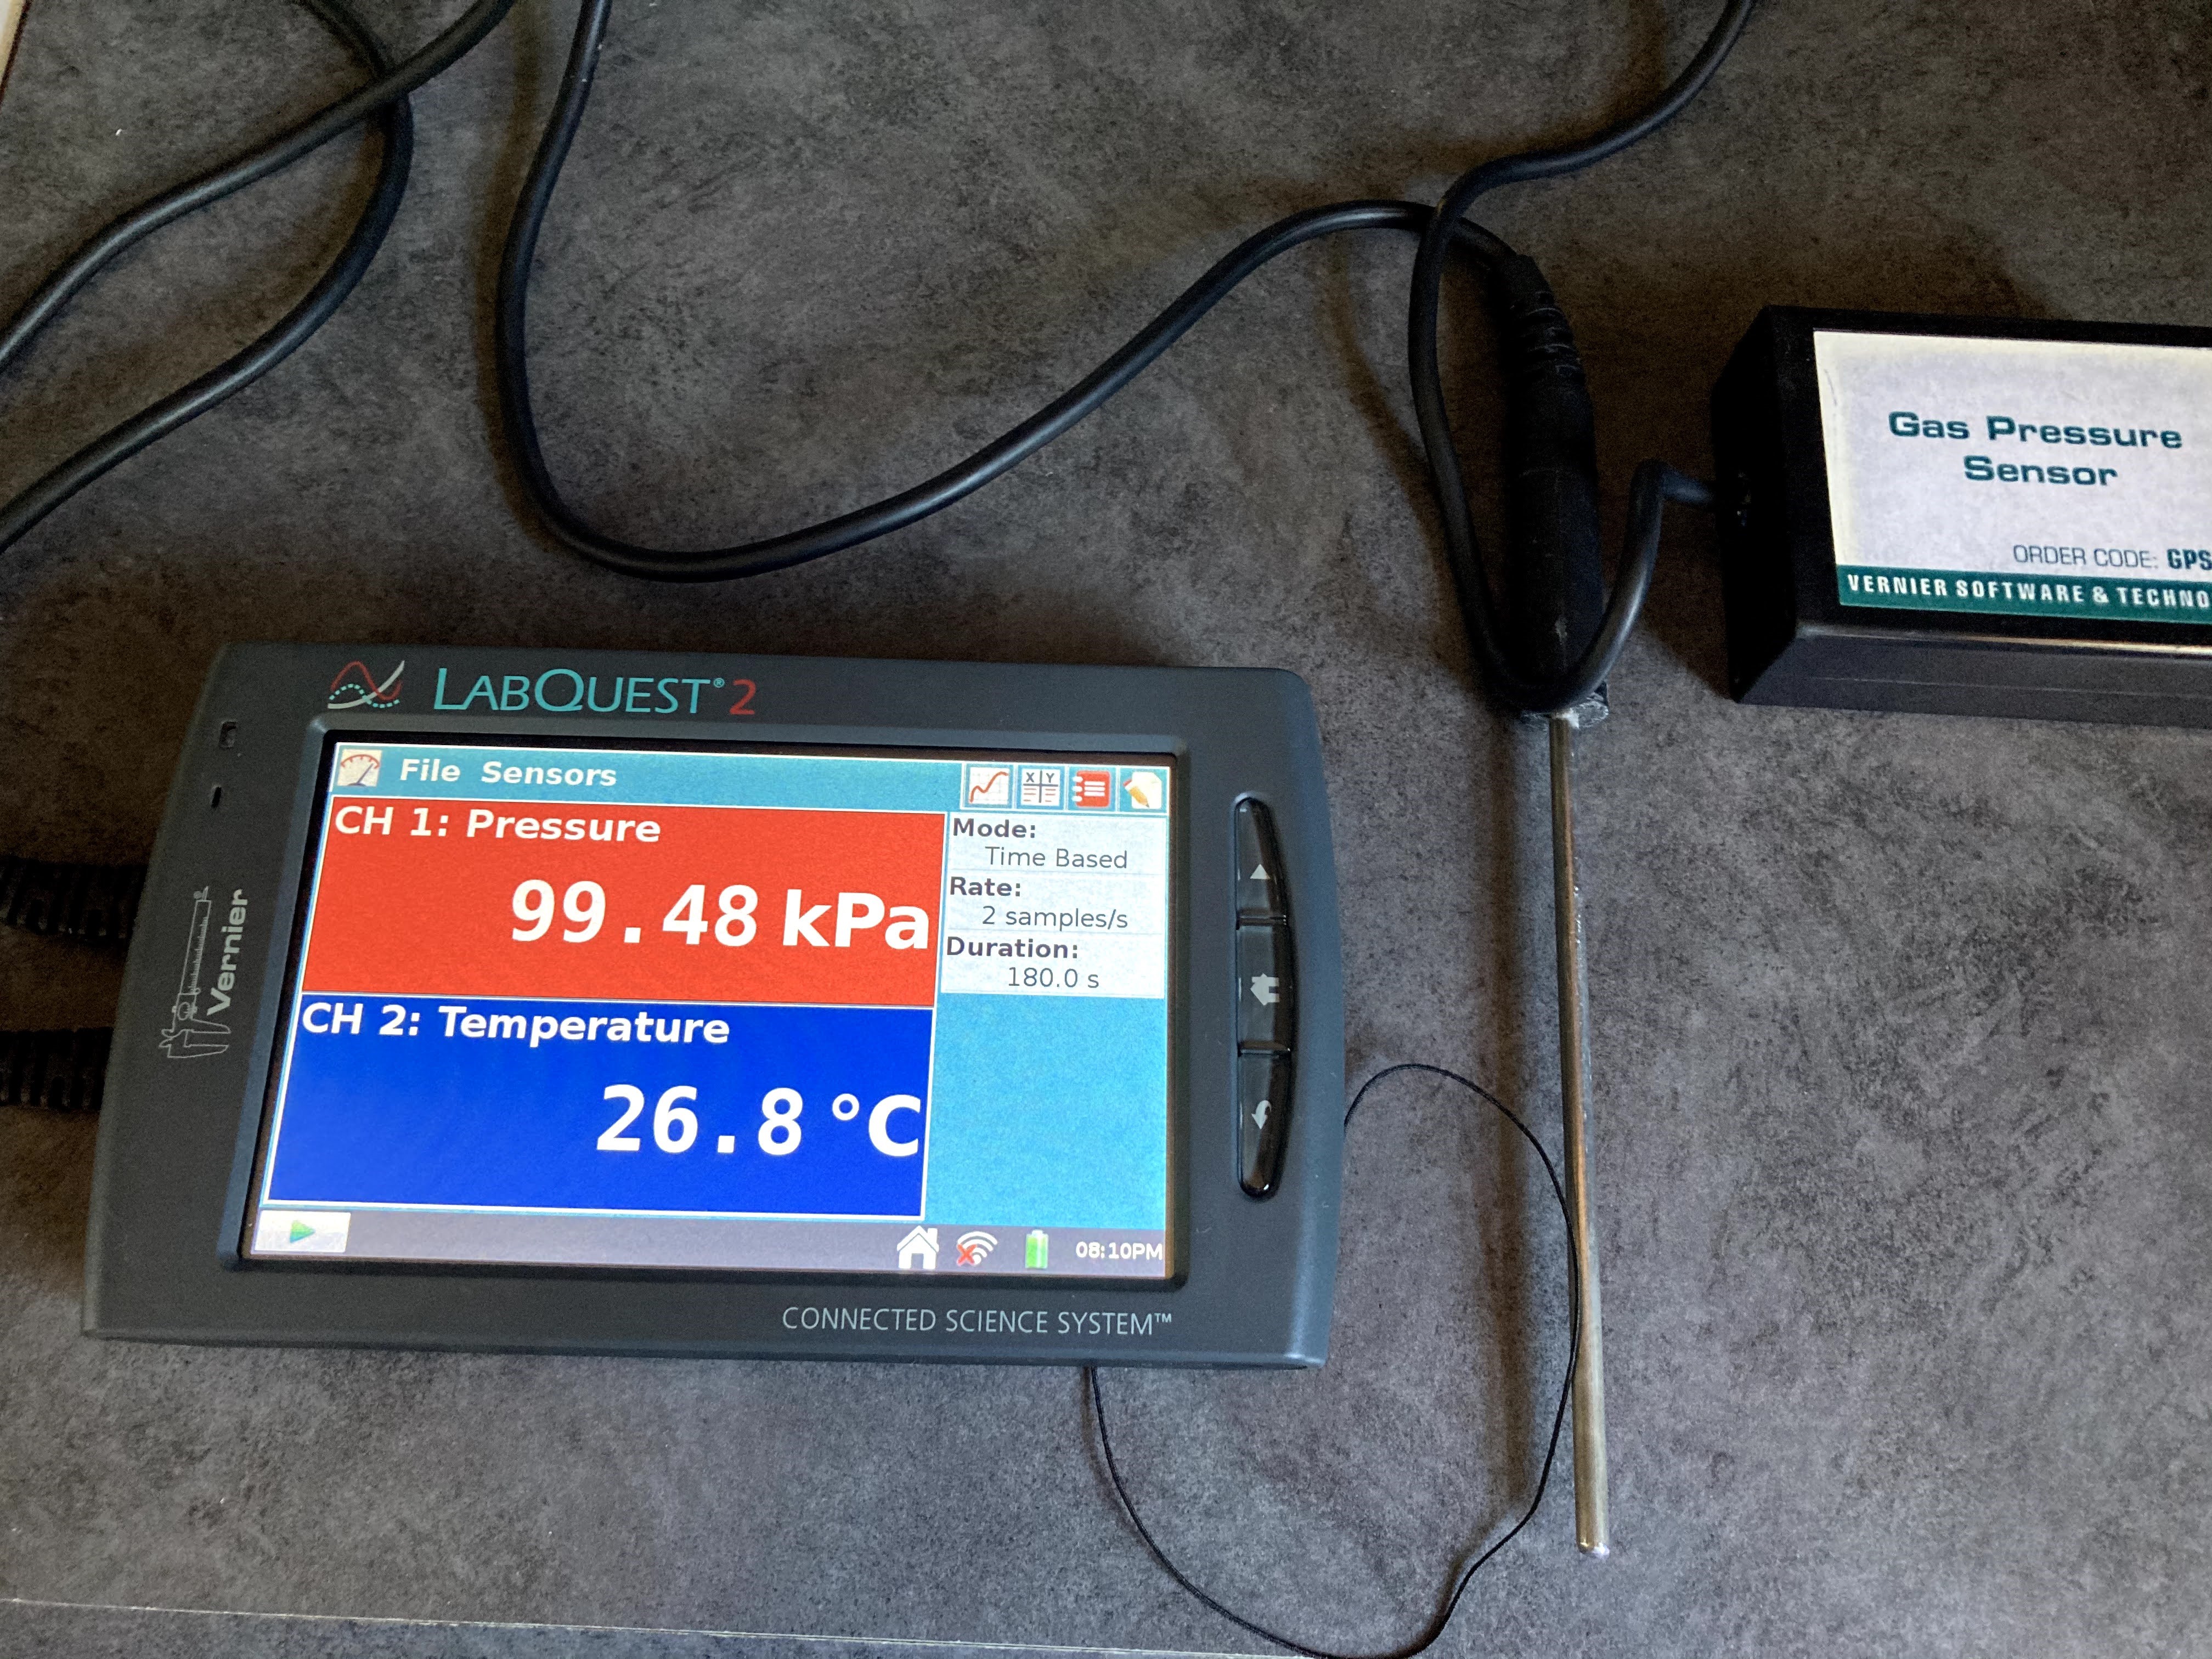
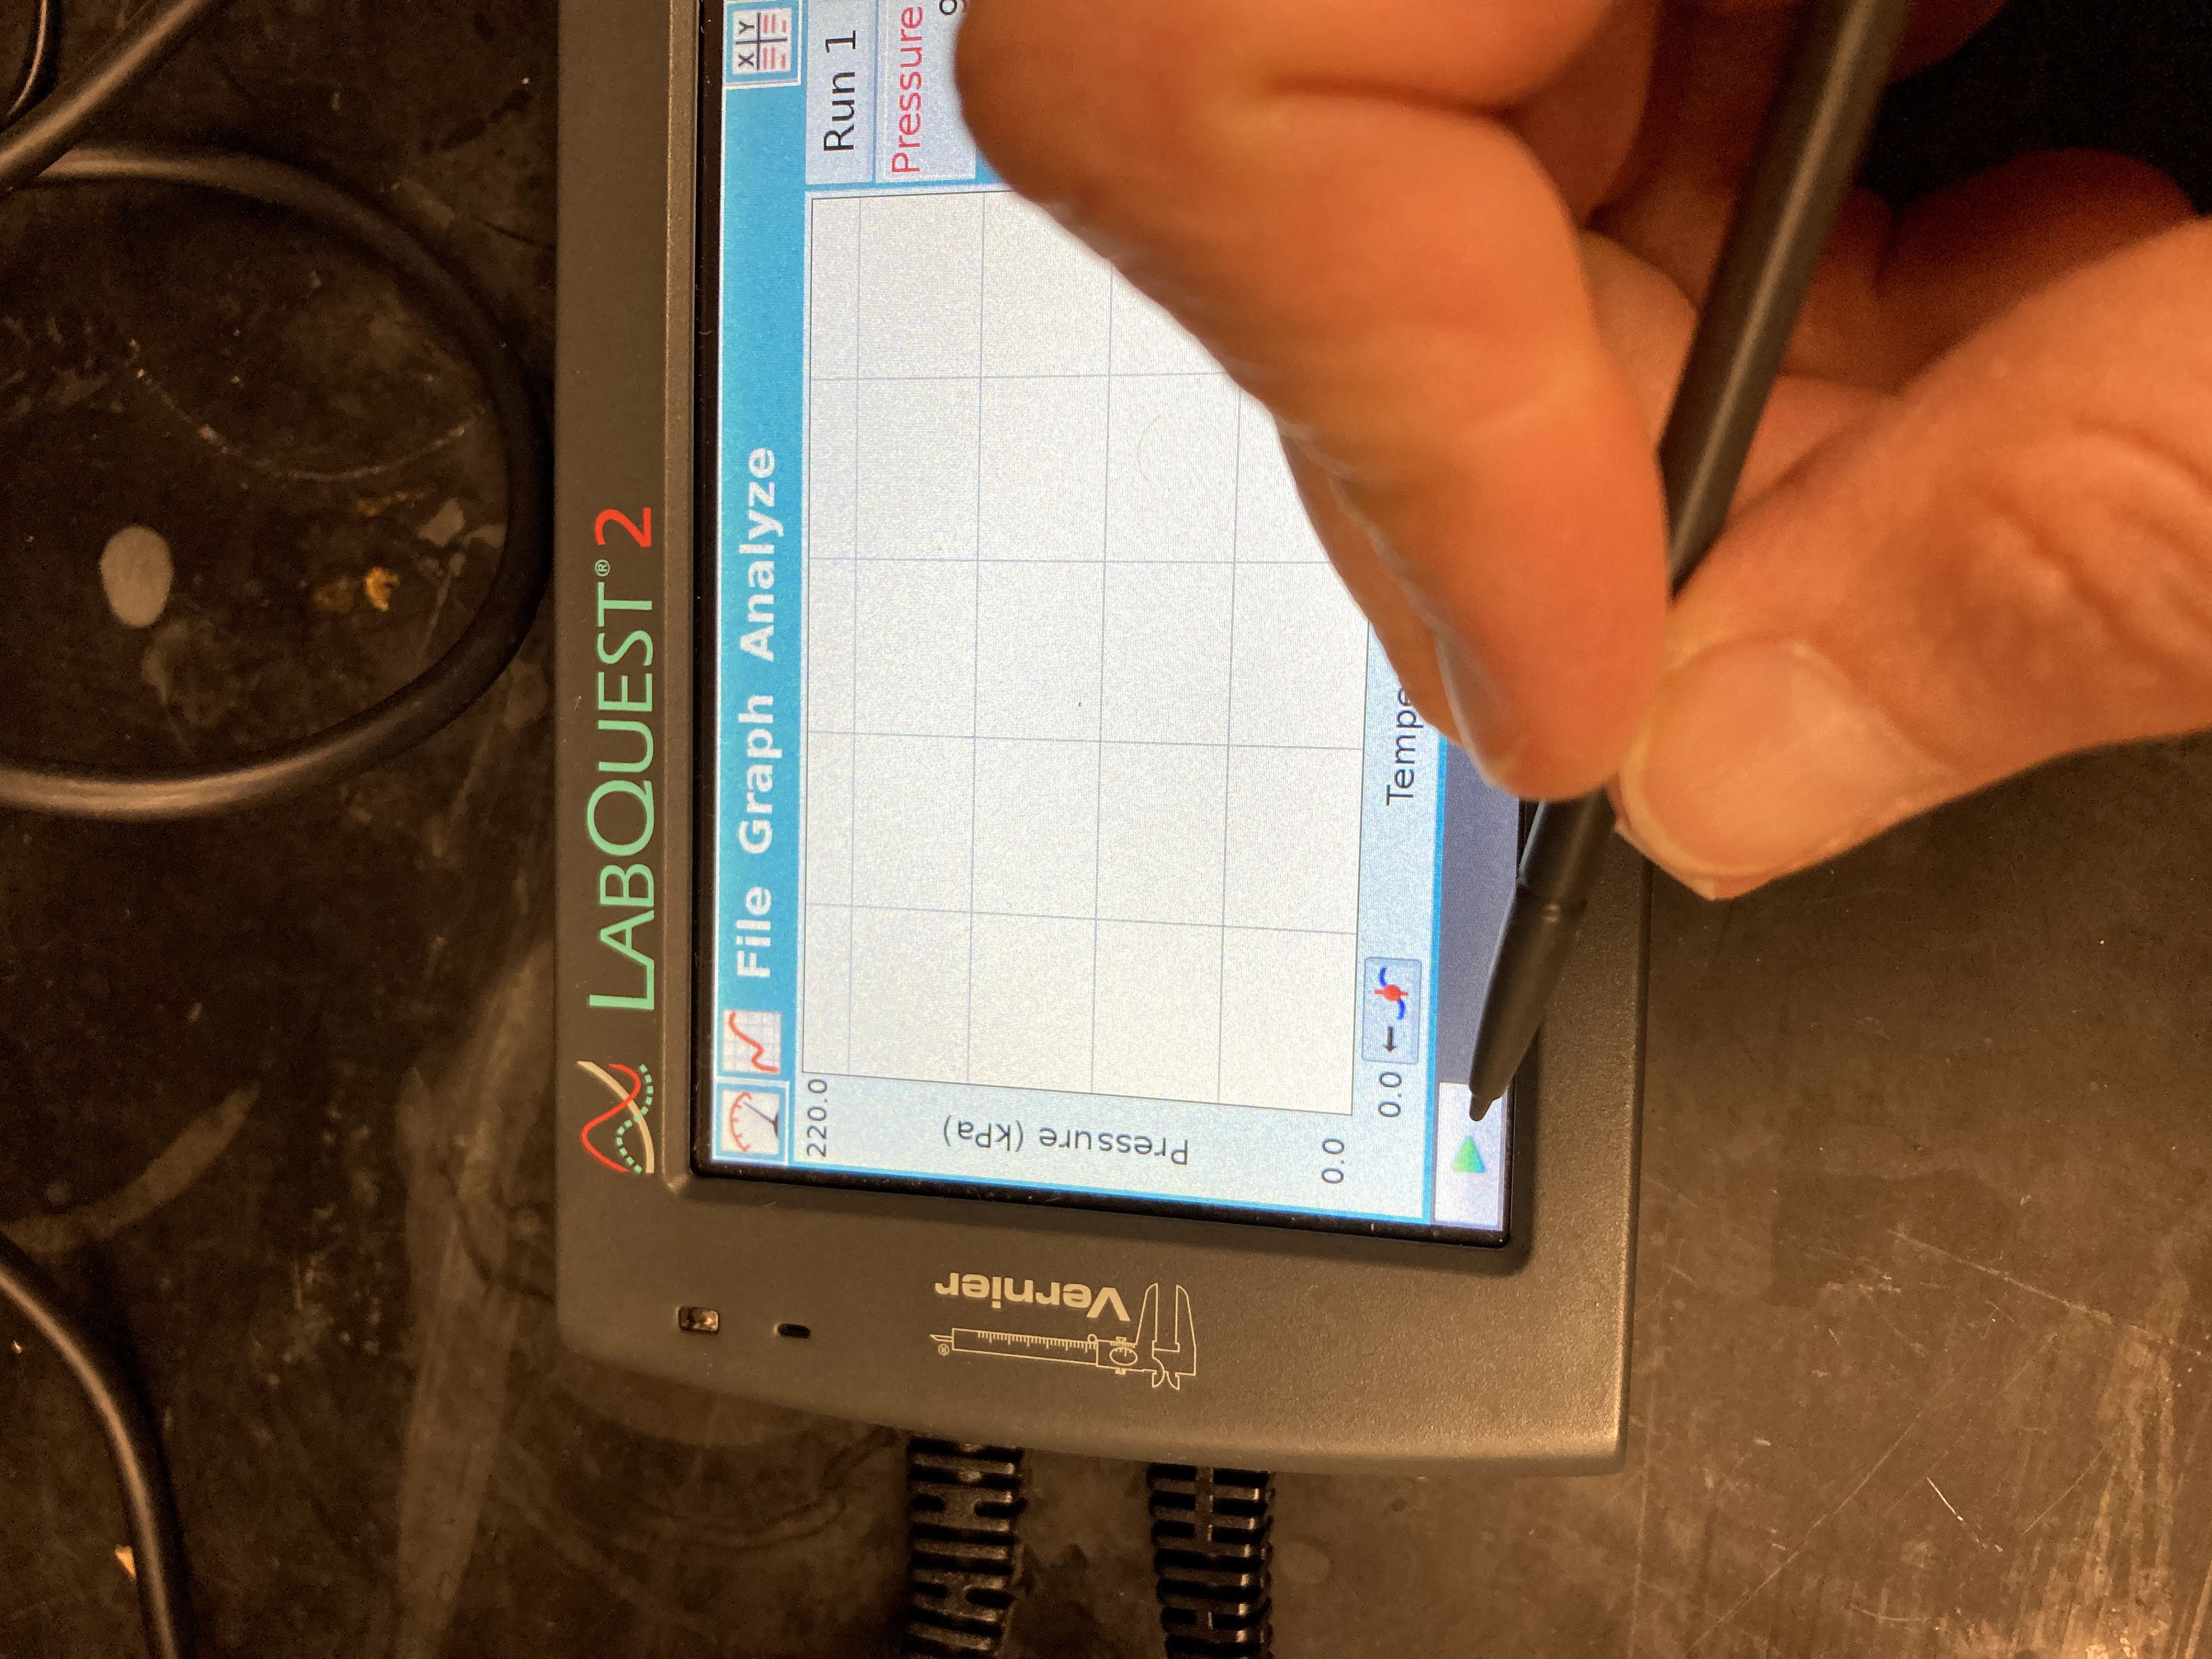 Start data collection. Pressure readings (in kPa) and temperature readings (in °C) and are displayed on the screen.
Step 12
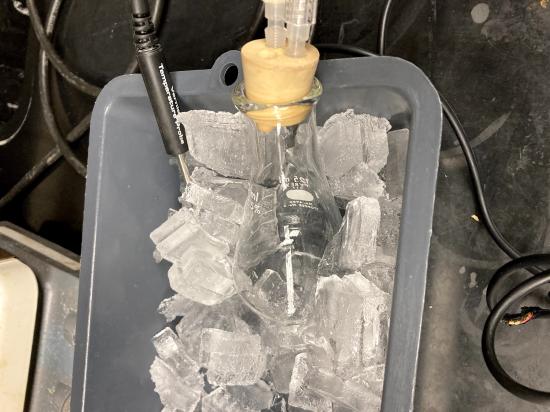 Collect pressure vs. temperature data for your gas sample. Place the flask into the ice water bath. Make sure
 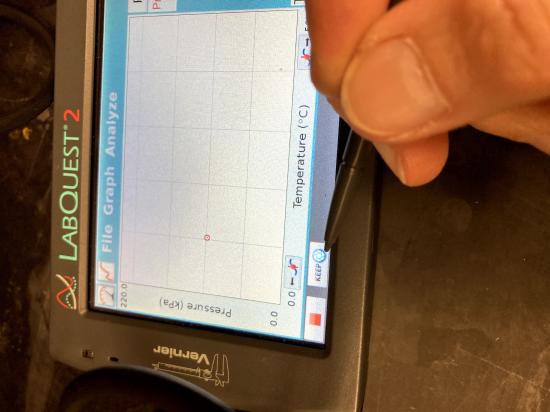 the entire flask is covered. Place the Temperature Probe into the ice water bath. When the temperature and pressure readings have both stabilized, tap Keep to store the temperature and pressure readings.
Step 13
 Repeat Step 12 using the room temperature bath.
Step 14
Repeat Step 12 using the warm water bath.
Step 15
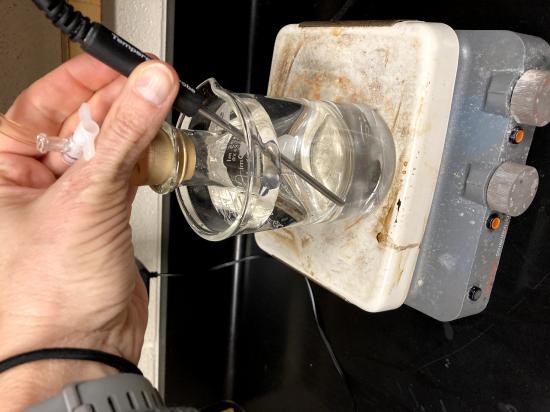 CAUTION: Do not burn yourself or the probe wires with the hot plate. Keep all wiring and tubing away from the hot plate surface. It will melt the plastic. Place the temperature probe in the hot water bath. After the Temperature Probe has been in the hot water for a few seconds, place the flask into the hot water bath and repeat Step 12. Stop data collection and remove the flask and the Temperature Probe.
Step 16
 Examine the data points along the displayed graph of pressure vs. temperature (°C). To examine the data pairs on the displayed graph, tap any data point. As you tap each data point, the temperature and pressure values are displayed to the right of the graph. Record the data pairs in your data table.
Step 17
Repeat these experiments with the second gas if your instructor directs you to do this.
Part III – Molar Volume of Gas
Step 1
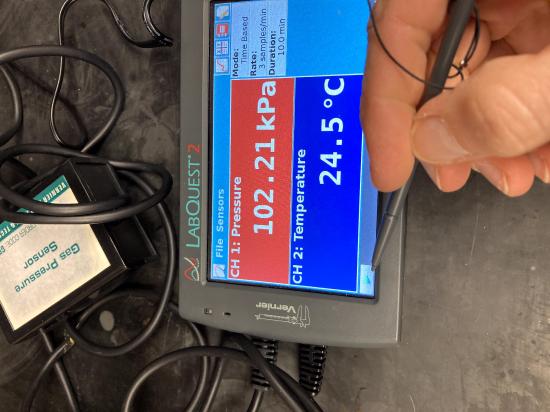
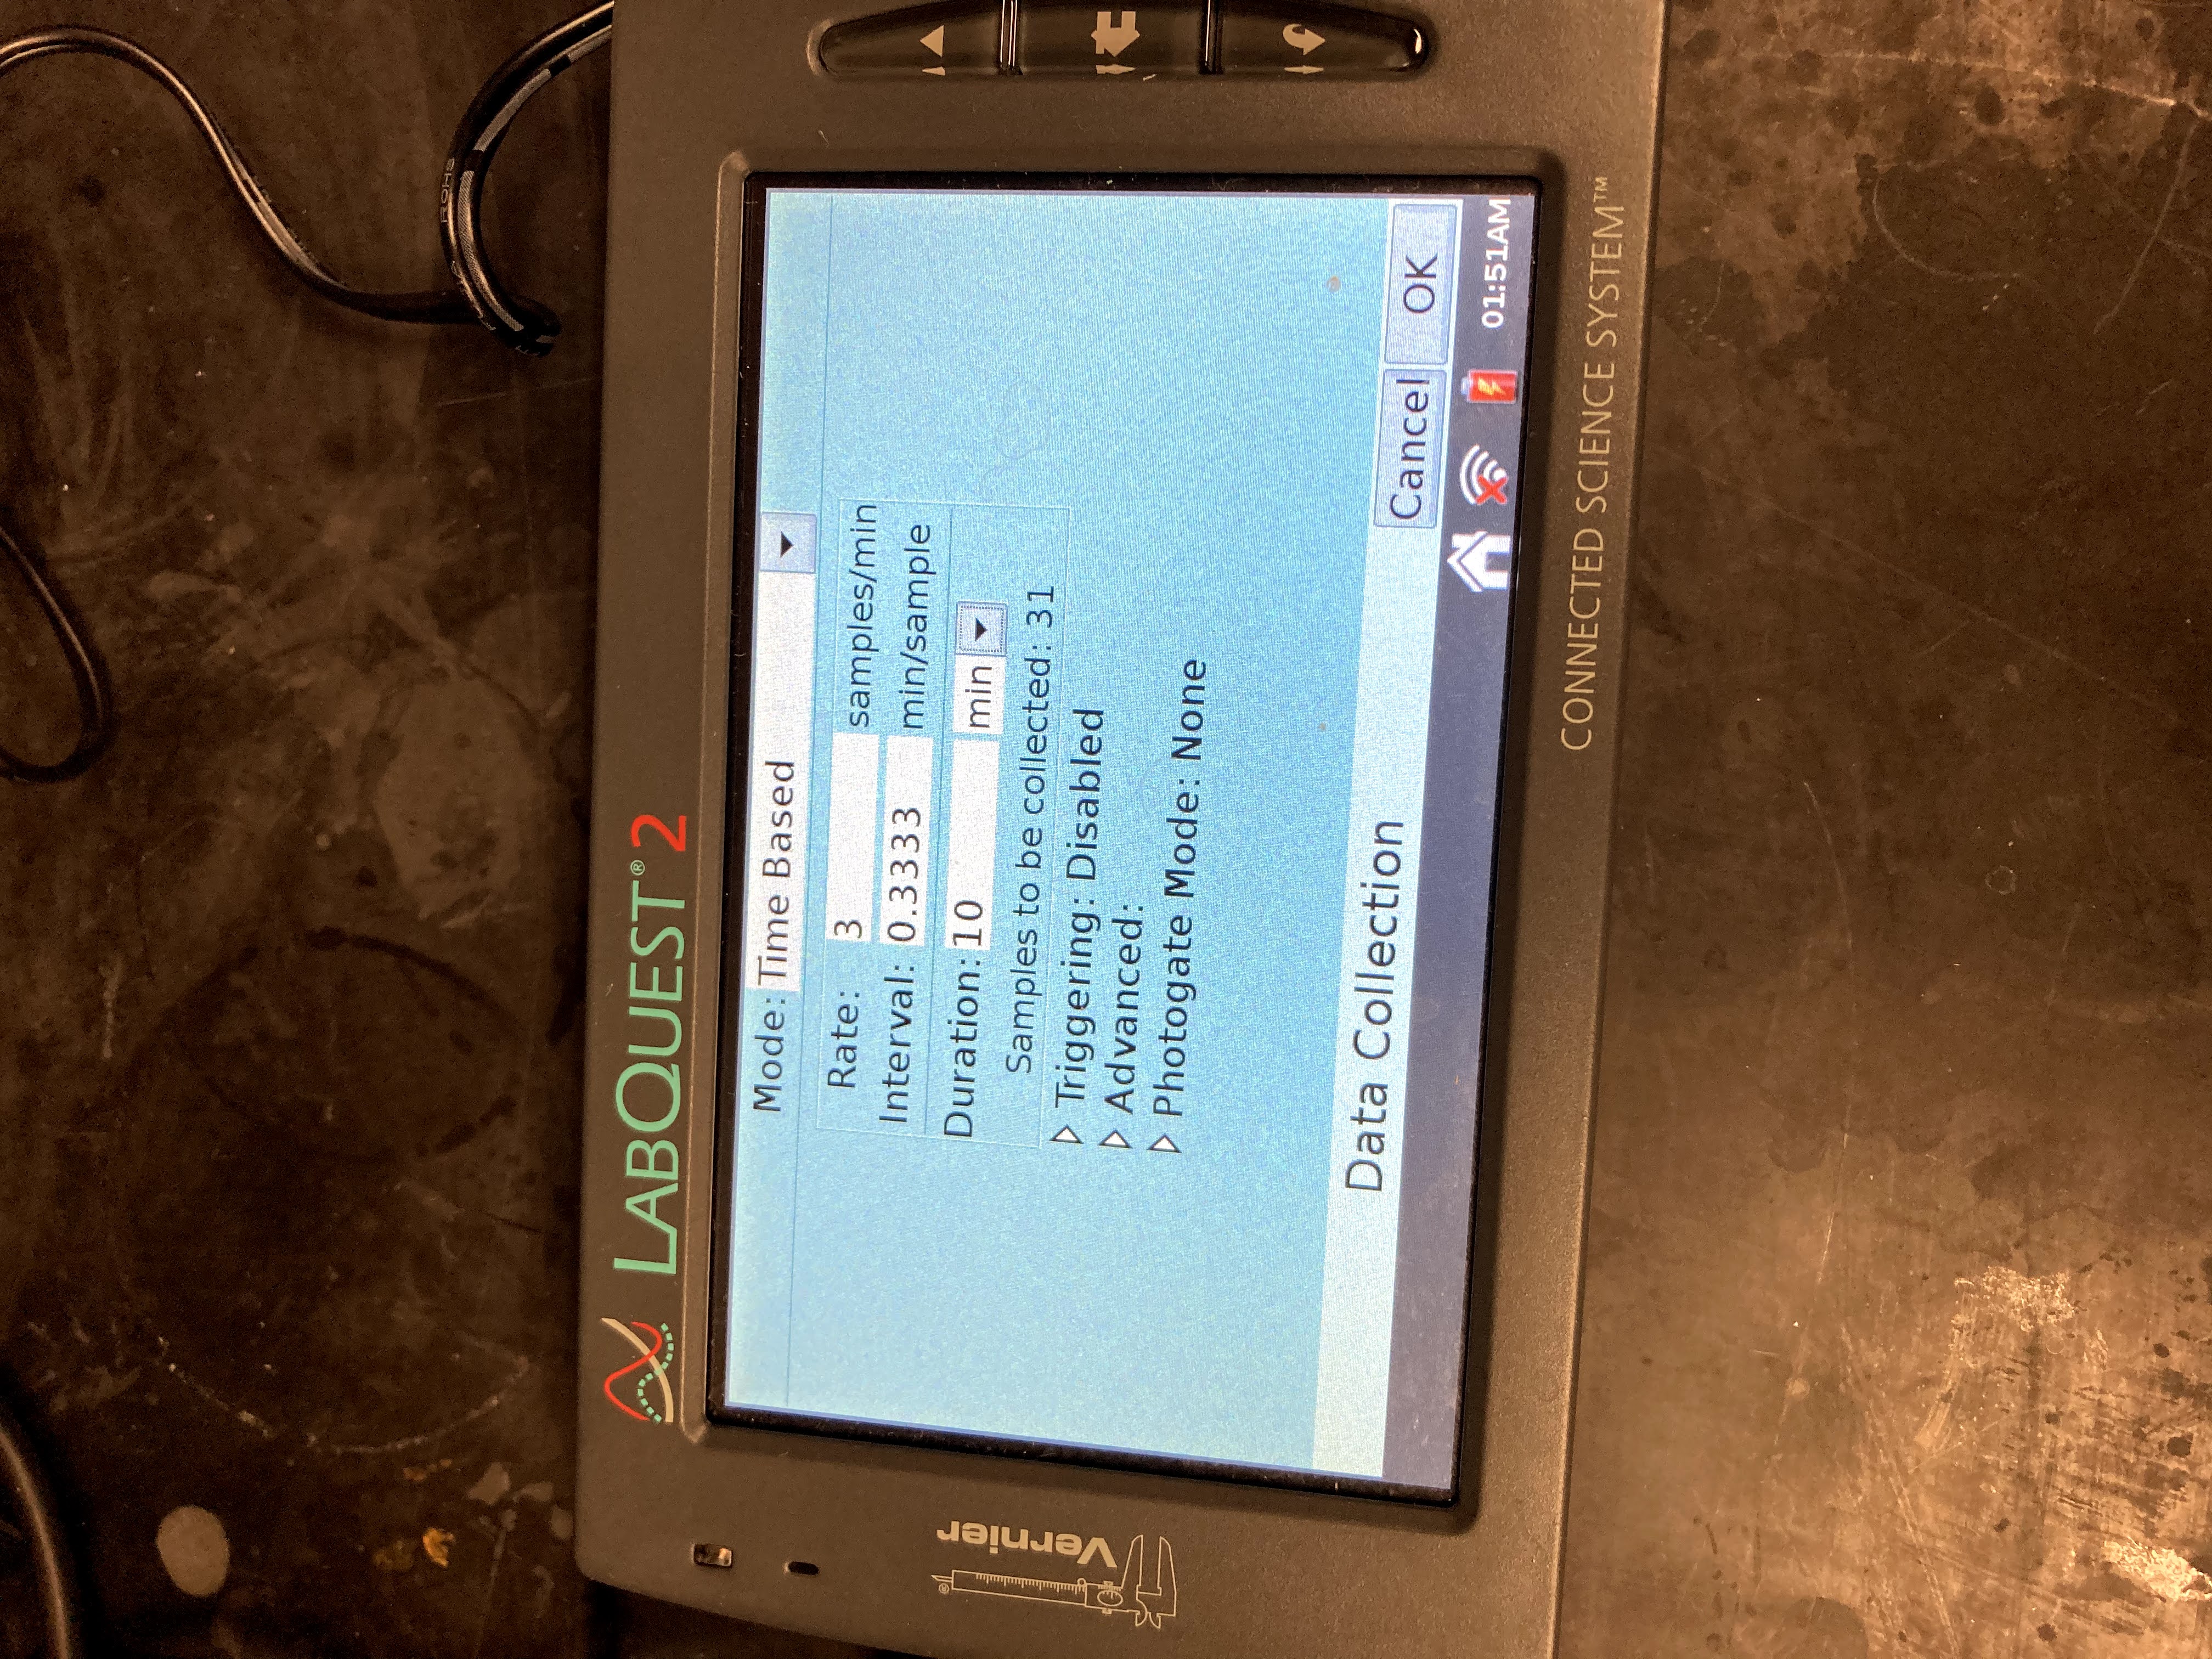 Attach the pressure probe to Channel 1 on the LabQuest, and attach the temperature probe to Channel 2. On the right hand screen, change the mode to “Time Based.” Set the duration for 10 minutes and the rate at 3 samples per minute.
Step 2
Determine the exact volume of gas held in your 125 mL Erlenmeyer flask (after accounting for the stopper and the acid you will be adding).
Step 3
Prepare a room temperature water bath in a 600 mL beaker. Make sure that there is enough water to cover the entire flask, but be careful that displaced water does not spill out.
Step 4
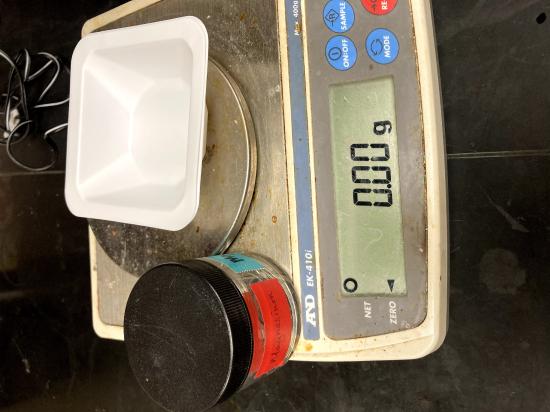 Weigh about 0.01 g of magnesium and record the exact mass in your lab notebook. Put the magnesium in your 125 mL flask.
Step 5
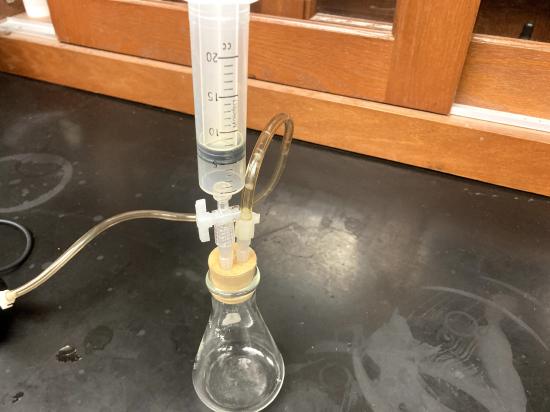 Measure out about 6 mL of 1 M HCl into a small beaker, and draw 5 mL into the syringe from part 1. Attach the syringe to the two way stopper. Make sure that the valve connected to the syringe is closed (turn the knob perpendicular).
Step 6
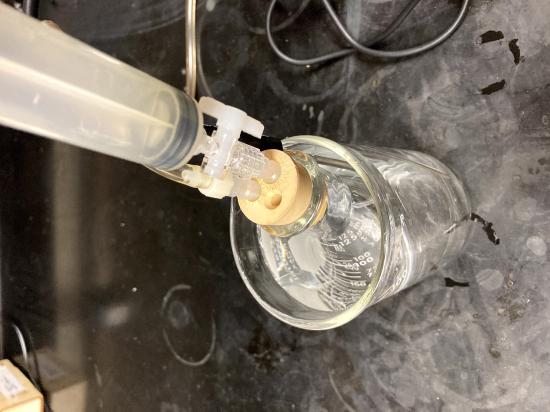
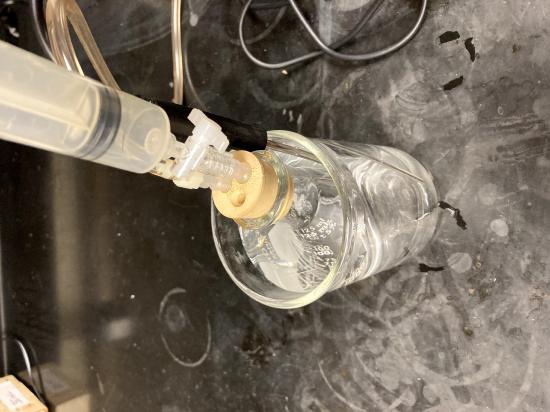 Put the stopper in the flask, and place the flask in the water bath. Also insert the temperature probe into the water bath.
Step 7
 Press the green play button on the Vernier. 20 seconds after pressing “play,”
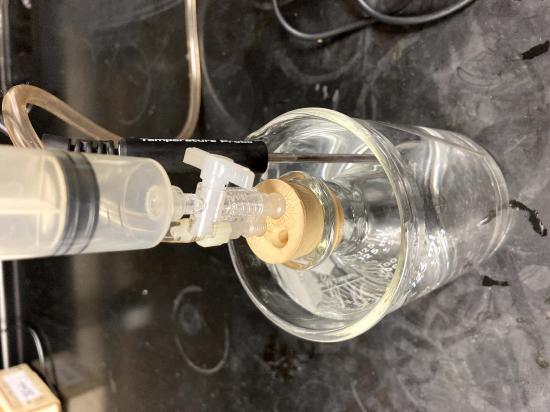
 open the valve below the syringe and empty the HCl into the flask. Return the syringe to the 5 mL position and close the valve.
Step 8
Allow data collection to continue for the next 10 minutes.
Step 9
Analyze the data. From the “Analyze” menu, select “statistics” and then “pressure.” Repeat for temperature. Record the minimum pressure and maximum pressure. If the pressure peaked and then dropped again before 1 minute had passed, click the table icon and determine the maximum pressure from the table. Do not use the pressure “spike” as your maximum pressure. Record the mean temperature.
PART IV – Calculations
Step 1
Using the data gathered from Part I and Part II, create graphs using excel. Be sure to convert your temperature in Celsius to Kelvin before creating the graph for part II.
Step 2
For Part III, write out the balanced chemical equation for the reaction of magnesium with hydrochloric acid.
Step 3
Calculate the change in pressure.
Step 4
Use the equation for reaction and the amounts of reactants used to determine the limiting reactants and the molar amount of gas produced.
Step 5
Using STP (Standard temperature and pressure) values and the conditions in your trial, determine the volume of the gas you produced at STP using the equation \(\frac{P_{1}V_{1}}{T_{1}}= \frac{P_{2}V_{2}}{T_{2}}\)
Step 6
Divide your calculated STP volume by the number of moles of gas produced to determine the molar volume of gas at STP. Compare to the theoretical molar volume of an ideal gas (22.4 \(\frac {L}{mol}\)).