
1.1: Installing and Accessing R and RStudio
- Page ID
- 218844

\( \newcommand{\vecs}[1]{\overset { \scriptstyle \rightharpoonup} {\mathbf{#1}} } \)
\( \newcommand{\vecd}[1]{\overset{-\!-\!\rightharpoonup}{\vphantom{a}\smash {#1}}} \)
\( \newcommand{\id}{\mathrm{id}}\) \( \newcommand{\Span}{\mathrm{span}}\)
( \newcommand{\kernel}{\mathrm{null}\,}\) \( \newcommand{\range}{\mathrm{range}\,}\)
\( \newcommand{\RealPart}{\mathrm{Re}}\) \( \newcommand{\ImaginaryPart}{\mathrm{Im}}\)
\( \newcommand{\Argument}{\mathrm{Arg}}\) \( \newcommand{\norm}[1]{\| #1 \|}\)
\( \newcommand{\inner}[2]{\langle #1, #2 \rangle}\)
\( \newcommand{\Span}{\mathrm{span}}\)
\( \newcommand{\id}{\mathrm{id}}\)
\( \newcommand{\Span}{\mathrm{span}}\)
\( \newcommand{\kernel}{\mathrm{null}\,}\)
\( \newcommand{\range}{\mathrm{range}\,}\)
\( \newcommand{\RealPart}{\mathrm{Re}}\)
\( \newcommand{\ImaginaryPart}{\mathrm{Im}}\)
\( \newcommand{\Argument}{\mathrm{Arg}}\)
\( \newcommand{\norm}[1]{\| #1 \|}\)
\( \newcommand{\inner}[2]{\langle #1, #2 \rangle}\)
\( \newcommand{\Span}{\mathrm{span}}\) \( \newcommand{\AA}{\unicode[.8,0]{x212B}}\)
\( \newcommand{\vectorA}[1]{\vec{#1}} % arrow\)
\( \newcommand{\vectorAt}[1]{\vec{\text{#1}}} % arrow\)
\( \newcommand{\vectorB}[1]{\overset { \scriptstyle \rightharpoonup} {\mathbf{#1}} } \)
\( \newcommand{\vectorC}[1]{\textbf{#1}} \)
\( \newcommand{\vectorD}[1]{\overrightarrow{#1}} \)
\( \newcommand{\vectorDt}[1]{\overrightarrow{\text{#1}}} \)
\( \newcommand{\vectE}[1]{\overset{-\!-\!\rightharpoonup}{\vphantom{a}\smash{\mathbf {#1}}}} \)
\( \newcommand{\vecs}[1]{\overset { \scriptstyle \rightharpoonup} {\mathbf{#1}} } \)
\( \newcommand{\vecd}[1]{\overset{-\!-\!\rightharpoonup}{\vphantom{a}\smash {#1}}} \)
Installing R and RStudio
You can download and install R from the R-Project website. On the left side of the page, click on the link to CRAN under the title “Downloads.” Scroll through the list of CRAN mirror sites and click on the link to a site located near you. Versions are available for Mac OS, for Windows, and for Linux. Follow the directions for your operating system.
You can download and install the RStudio Desktop Interface from the RStudio website. Click on the Download button for the free version of RStudio Desktop. From the list of available installers, click on the link that is appropriate for your operating system and follow the directions.
Navigating RStudio
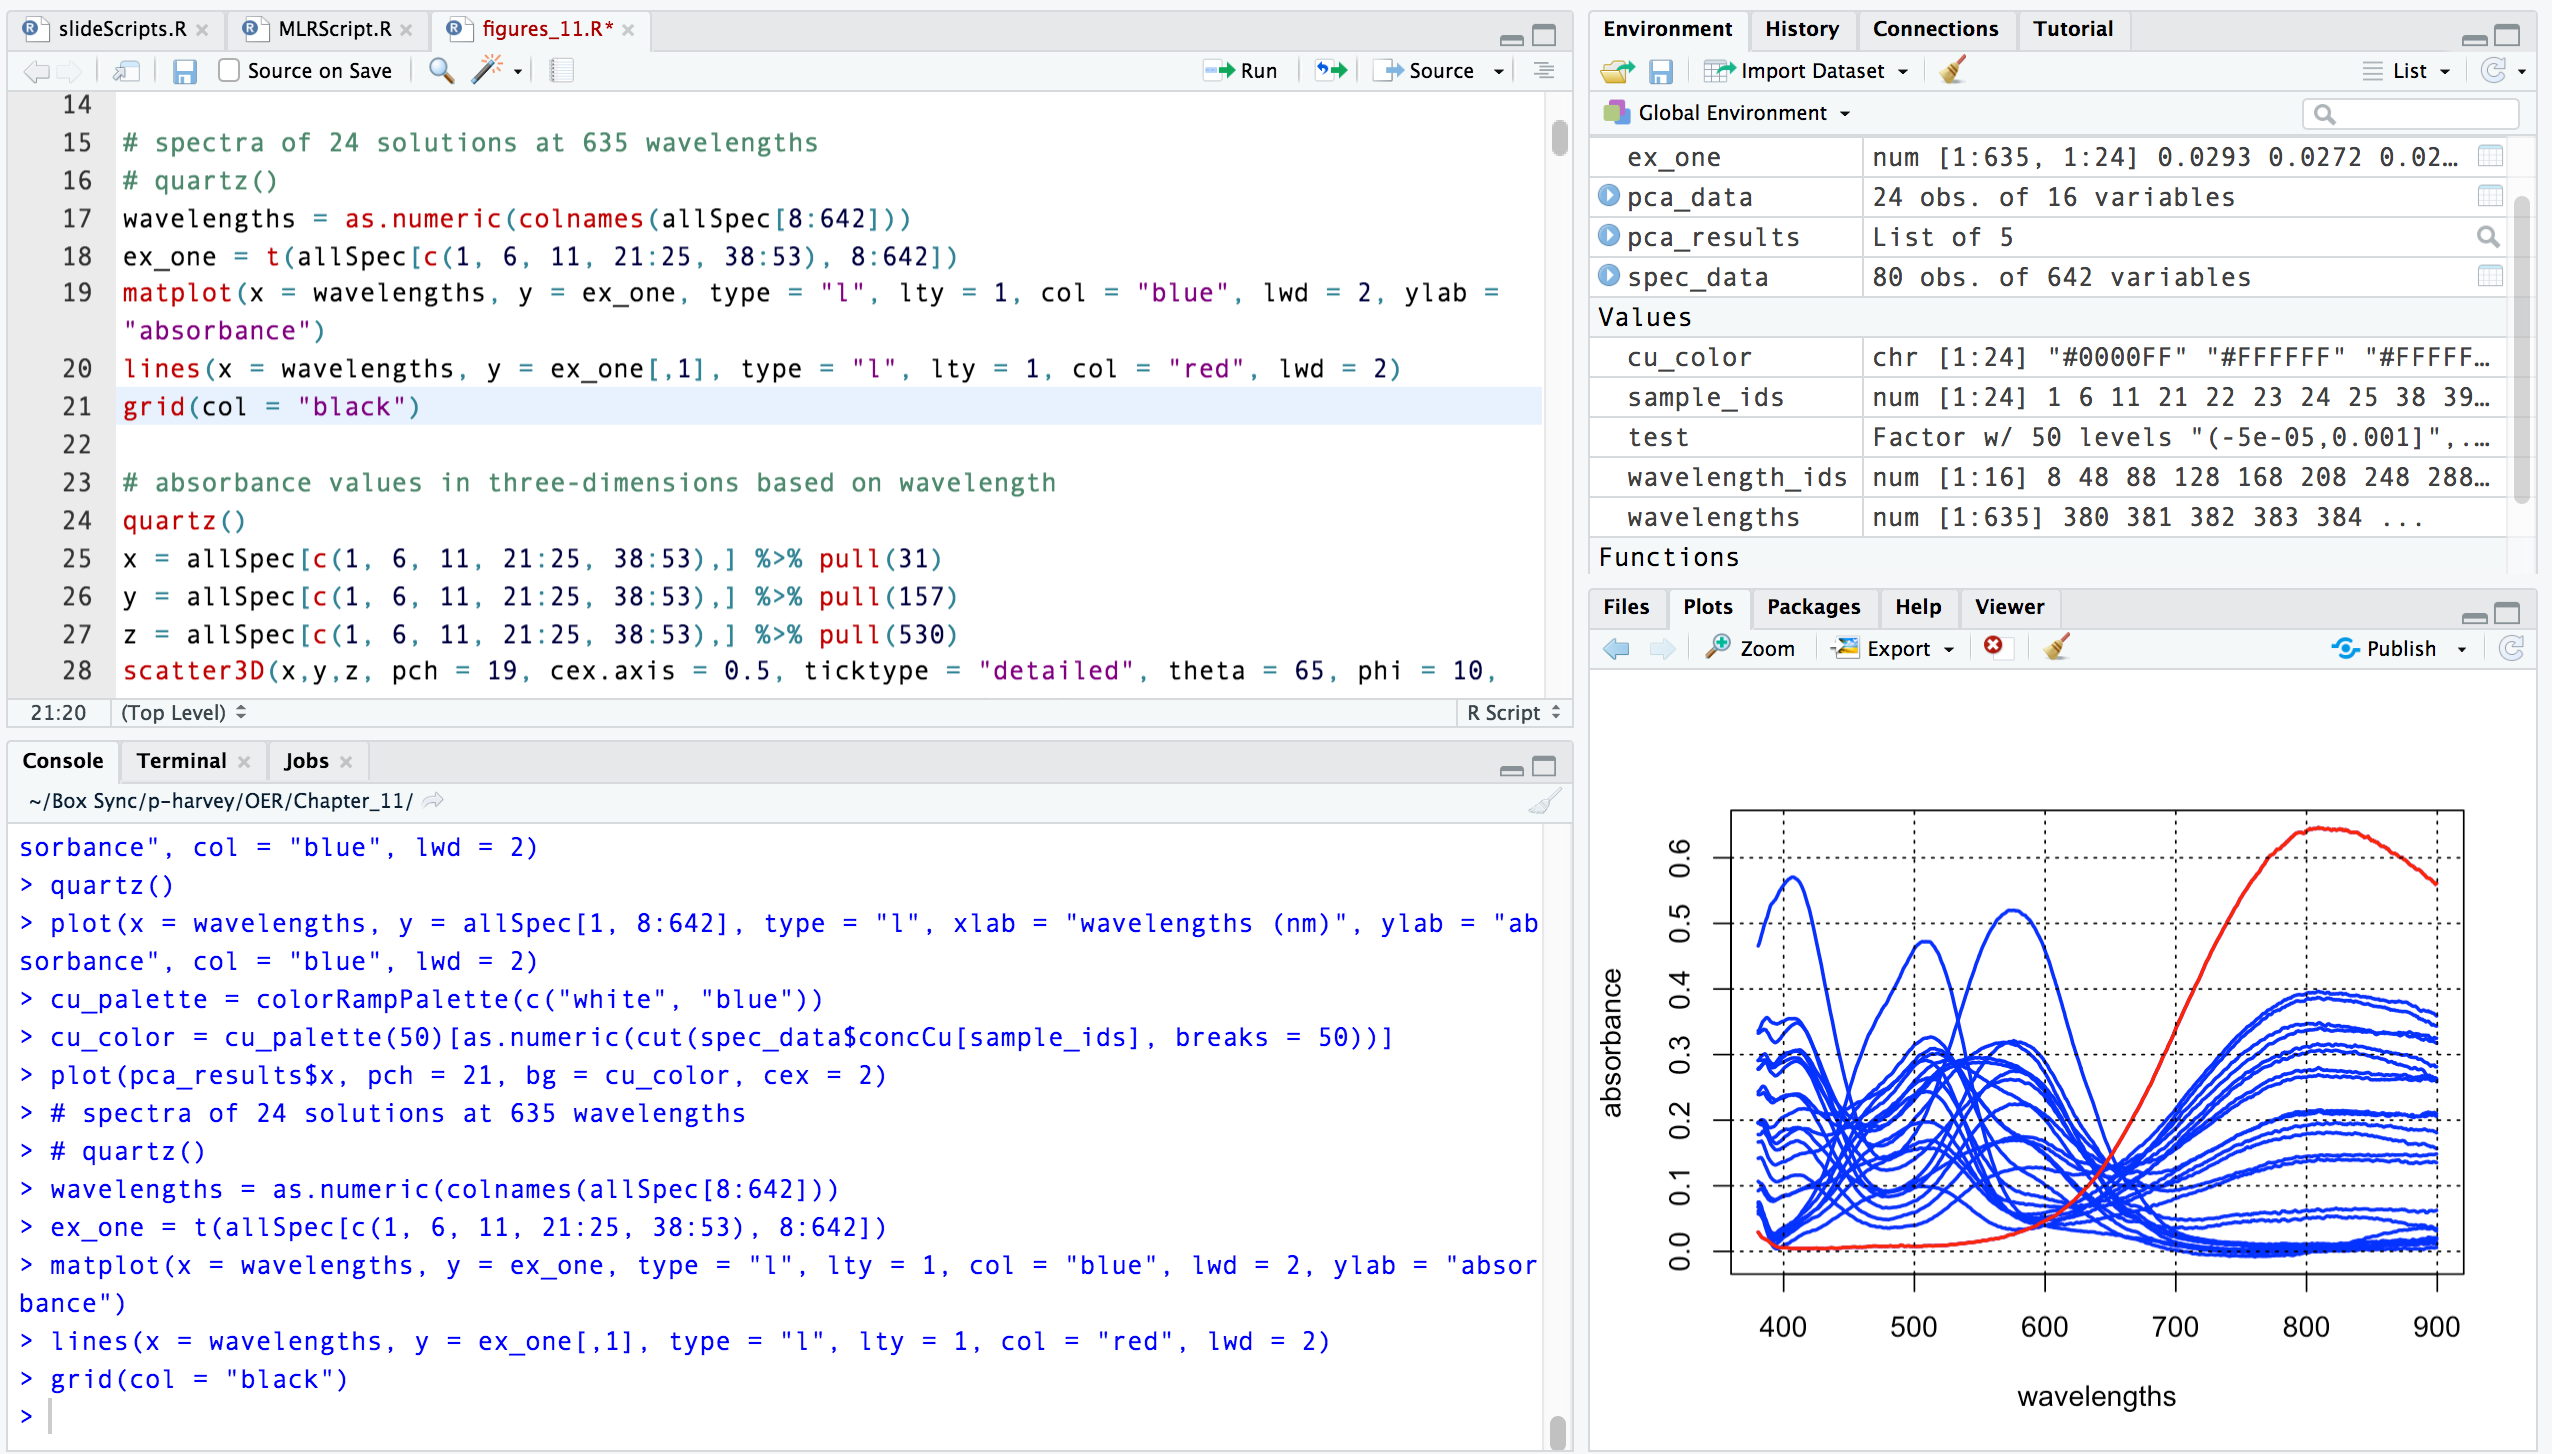
When you launch RStudio, the program opens with the four panes as shown in Figure \(\PageIndex{1}\) (although some panes may be minimized).
Beginning in the lower left corner and moving clockwise, these panes are
- the Console, which provides access to R; this is where you can directly enter commands as you work on problems.
- the Source Pane, which provides access to a variety of different types of documents, including script files, which end with an extension of .R (more on these later). The source pane also provides a way to submit code to the console by highlighting the code and clicking on the Run button; this usually is a more efficient way to work.
- the Environment & History Pane, which provides access to your data and the functions you create while using R.
- the Files, Plots, Packages, Help & Viewer Pane, which provides access to your computer's file structure, to help files for R commands, to a list of R packages available to you (packages provide access to additional commands beyond those available to you when you first launch R; more on this in later chapters), to plots that you create, and to an internal web-like browser.
As you work with R, take time to examine each pane so that you become comfortable with them. For example, Figure \(\PageIndex{1}\) shows my RStudio screen after I highlighted lines 15–21 in the script file "figures_11.R" and clicked Run, sending the lines of code to the console where R processed them to create the figure in the lower right pane.