
6.6: Aftermath of Bombings
- Page ID
- 106762
\( \newcommand{\vecs}[1]{\overset { \scriptstyle \rightharpoonup} {\mathbf{#1}} } \)
\( \newcommand{\vecd}[1]{\overset{-\!-\!\rightharpoonup}{\vphantom{a}\smash {#1}}} \)
\( \newcommand{\id}{\mathrm{id}}\) \( \newcommand{\Span}{\mathrm{span}}\)
( \newcommand{\kernel}{\mathrm{null}\,}\) \( \newcommand{\range}{\mathrm{range}\,}\)
\( \newcommand{\RealPart}{\mathrm{Re}}\) \( \newcommand{\ImaginaryPart}{\mathrm{Im}}\)
\( \newcommand{\Argument}{\mathrm{Arg}}\) \( \newcommand{\norm}[1]{\| #1 \|}\)
\( \newcommand{\inner}[2]{\langle #1, #2 \rangle}\)
\( \newcommand{\Span}{\mathrm{span}}\)
\( \newcommand{\id}{\mathrm{id}}\)
\( \newcommand{\Span}{\mathrm{span}}\)
\( \newcommand{\kernel}{\mathrm{null}\,}\)
\( \newcommand{\range}{\mathrm{range}\,}\)
\( \newcommand{\RealPart}{\mathrm{Re}}\)
\( \newcommand{\ImaginaryPart}{\mathrm{Im}}\)
\( \newcommand{\Argument}{\mathrm{Arg}}\)
\( \newcommand{\norm}[1]{\| #1 \|}\)
\( \newcommand{\inner}[2]{\langle #1, #2 \rangle}\)
\( \newcommand{\Span}{\mathrm{span}}\) \( \newcommand{\AA}{\unicode[.8,0]{x212B}}\)
\( \newcommand{\vectorA}[1]{\vec{#1}} % arrow\)
\( \newcommand{\vectorAt}[1]{\vec{\text{#1}}} % arrow\)
\( \newcommand{\vectorB}[1]{\overset { \scriptstyle \rightharpoonup} {\mathbf{#1}} } \)
\( \newcommand{\vectorC}[1]{\textbf{#1}} \)
\( \newcommand{\vectorD}[1]{\overrightarrow{#1}} \)
\( \newcommand{\vectorDt}[1]{\overrightarrow{\text{#1}}} \)
\( \newcommand{\vectE}[1]{\overset{-\!-\!\rightharpoonup}{\vphantom{a}\smash{\mathbf {#1}}}} \)
\( \newcommand{\vecs}[1]{\overset { \scriptstyle \rightharpoonup} {\mathbf{#1}} } \)
\( \newcommand{\vecd}[1]{\overset{-\!-\!\rightharpoonup}{\vphantom{a}\smash {#1}}} \)
\(\newcommand{\avec}{\mathbf a}\) \(\newcommand{\bvec}{\mathbf b}\) \(\newcommand{\cvec}{\mathbf c}\) \(\newcommand{\dvec}{\mathbf d}\) \(\newcommand{\dtil}{\widetilde{\mathbf d}}\) \(\newcommand{\evec}{\mathbf e}\) \(\newcommand{\fvec}{\mathbf f}\) \(\newcommand{\nvec}{\mathbf n}\) \(\newcommand{\pvec}{\mathbf p}\) \(\newcommand{\qvec}{\mathbf q}\) \(\newcommand{\svec}{\mathbf s}\) \(\newcommand{\tvec}{\mathbf t}\) \(\newcommand{\uvec}{\mathbf u}\) \(\newcommand{\vvec}{\mathbf v}\) \(\newcommand{\wvec}{\mathbf w}\) \(\newcommand{\xvec}{\mathbf x}\) \(\newcommand{\yvec}{\mathbf y}\) \(\newcommand{\zvec}{\mathbf z}\) \(\newcommand{\rvec}{\mathbf r}\) \(\newcommand{\mvec}{\mathbf m}\) \(\newcommand{\zerovec}{\mathbf 0}\) \(\newcommand{\onevec}{\mathbf 1}\) \(\newcommand{\real}{\mathbb R}\) \(\newcommand{\twovec}[2]{\left[\begin{array}{r}#1 \\ #2 \end{array}\right]}\) \(\newcommand{\ctwovec}[2]{\left[\begin{array}{c}#1 \\ #2 \end{array}\right]}\) \(\newcommand{\threevec}[3]{\left[\begin{array}{r}#1 \\ #2 \\ #3 \end{array}\right]}\) \(\newcommand{\cthreevec}[3]{\left[\begin{array}{c}#1 \\ #2 \\ #3 \end{array}\right]}\) \(\newcommand{\fourvec}[4]{\left[\begin{array}{r}#1 \\ #2 \\ #3 \\ #4 \end{array}\right]}\) \(\newcommand{\cfourvec}[4]{\left[\begin{array}{c}#1 \\ #2 \\ #3 \\ #4 \end{array}\right]}\) \(\newcommand{\fivevec}[5]{\left[\begin{array}{r}#1 \\ #2 \\ #3 \\ #4 \\ #5 \\ \end{array}\right]}\) \(\newcommand{\cfivevec}[5]{\left[\begin{array}{c}#1 \\ #2 \\ #3 \\ #4 \\ #5 \\ \end{array}\right]}\) \(\newcommand{\mattwo}[4]{\left[\begin{array}{rr}#1 \amp #2 \\ #3 \amp #4 \\ \end{array}\right]}\) \(\newcommand{\laspan}[1]{\text{Span}\{#1\}}\) \(\newcommand{\bcal}{\cal B}\) \(\newcommand{\ccal}{\cal C}\) \(\newcommand{\scal}{\cal S}\) \(\newcommand{\wcal}{\cal W}\) \(\newcommand{\ecal}{\cal E}\) \(\newcommand{\coords}[2]{\left\{#1\right\}_{#2}}\) \(\newcommand{\gray}[1]{\color{gray}{#1}}\) \(\newcommand{\lgray}[1]{\color{lightgray}{#1}}\) \(\newcommand{\rank}{\operatorname{rank}}\) \(\newcommand{\row}{\text{Row}}\) \(\newcommand{\col}{\text{Col}}\) \(\renewcommand{\row}{\text{Row}}\) \(\newcommand{\nul}{\text{Nul}}\) \(\newcommand{\var}{\text{Var}}\) \(\newcommand{\corr}{\text{corr}}\) \(\newcommand{\len}[1]{\left|#1\right|}\) \(\newcommand{\bbar}{\overline{\bvec}}\) \(\newcommand{\bhat}{\widehat{\bvec}}\) \(\newcommand{\bperp}{\bvec^\perp}\) \(\newcommand{\xhat}{\widehat{\xvec}}\) \(\newcommand{\vhat}{\widehat{\vvec}}\) \(\newcommand{\uhat}{\widehat{\uvec}}\) \(\newcommand{\what}{\widehat{\wvec}}\) \(\newcommand{\Sighat}{\widehat{\Sigma}}\) \(\newcommand{\lt}{<}\) \(\newcommand{\gt}{>}\) \(\newcommand{\amp}{&}\) \(\definecolor{fillinmathshade}{gray}{0.9}\)Hiroshima
Sixteen hours after Little Boy was dropped, President Harry S. Truman announced publicly that a nuclear weapon had been used against Japan. Up until that time, Japanese scientists were unsure as to what had happened to their community. There was so discussion as to whether chemical or biological warfare had occurred. Fear spread that disease could be spread by being in contact with a resident of Hiroshima. Healthcare professionals were warned to not enter this area due to fear of contraction of an infectious disease.
Individuals working at the Shima Hospital noted how all of the x-ray films had mysteriously been exposed. From this observation, resident healthcare workers dismissed this weapon to be chemical or biological in nature. Knowing this, the Japanese had to determine how to combat the effects of this new weapon. Fires burned upon Hiroshima for long periods of time. Water was scarce and contaminated. Families were separated and locating individuals was near to impossible. Communication had been severed from neighboring communities. Moreover, there were no medications designed to fight radiation sickness.
Note: Please be aware of graphic images shown in times 16:30 -16:50 , 18:26-18:55 , and 27:00 - 27:30 of this video.
Watch the through the 30-minute mark of this video and answer the questions below:
- What distance (in feet) from the epicenter resulted in almost 100% mortality for the residents of Hiroshima?
- What are the atomic shadows? How did scientists use these images to assist in understanding the atomic bomb detonation?
- Richard Rhodes (atomic bomb book author) describes the melting of what types of materials at 3200ºF?
- Describe the lunch box that was found 1/3 mile from ground zero. Did the owner of this object survive the bombing?
- How long does it take for the shock wave to flatten Hiroshima? What was the approximate number of buildings destroyed by shock waves?
- When the shock wave occurred, how far away were the crew of the Enola Gay?
- What was the radius of heavy damage from the shockwave?
- Did any people survive from being inside the A-bomb dome? This is the building that survived the atomic blast at Hiroshima.
- Where was Takashi (the schoolboy) when the atomic blast occurred? How did he survive?
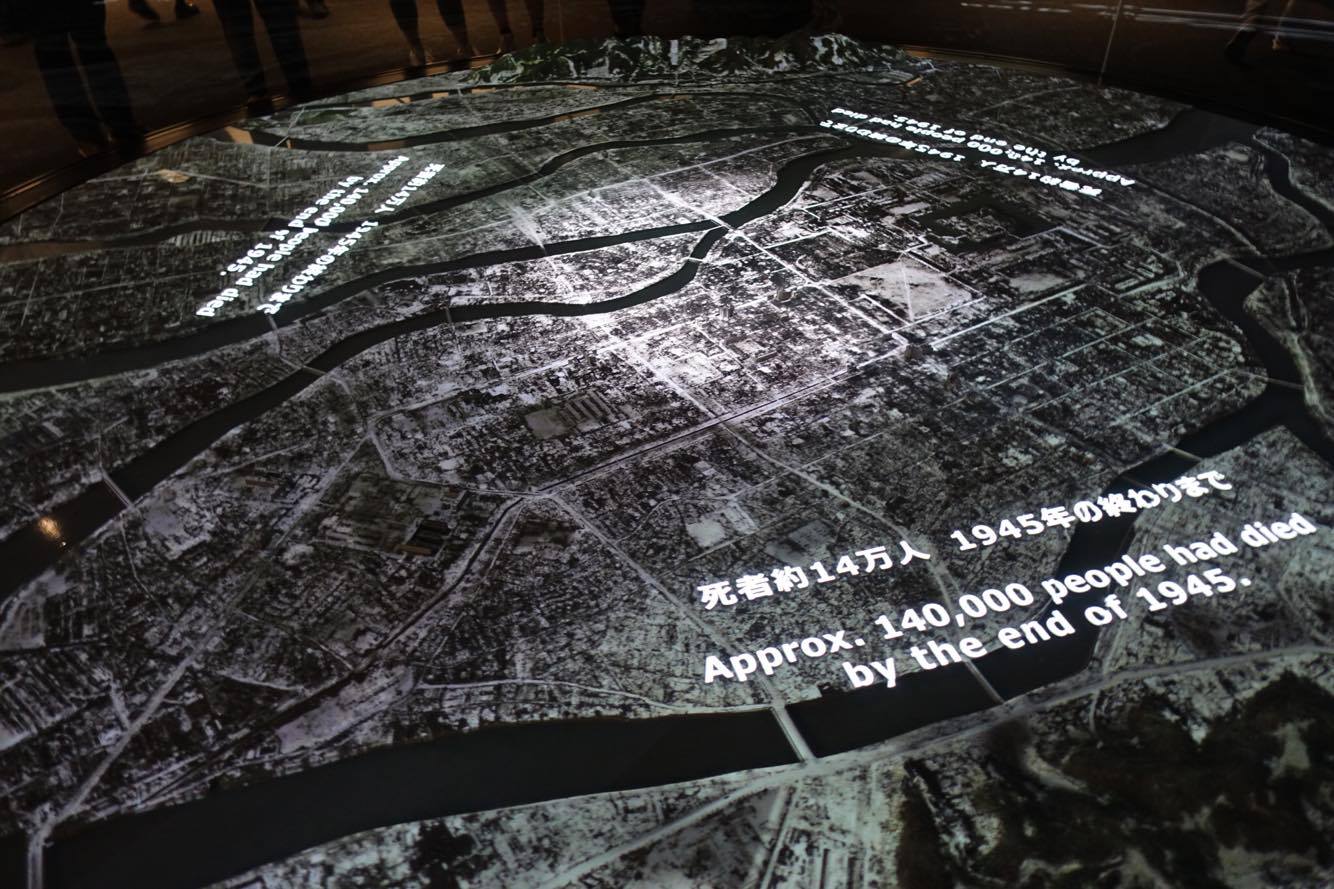
- How long did the fires burn after the bomb was dropped? How many square miles of the city were burned?
Typically, individuals who were outside and close (within 0.2 miles) to the epicenter were vaporized or severely burned. Some survivors as close as .4 miles lived if there were inside a concrete based building. Other types of structures offered little to no protection. In many cases, people inside of a structure were crushed to death. People outside during the explosion were exposed to flying debris and extreme pressure changes.
Remembering this event, it is important to people of all backgrounds and cultures. By viewing artifacts and listening to survivor testimonies, one can gain a small amount of insight as to what the residents experienced on August 6, 1945. In addition, listening to Threnody to the Victims of Hiroshima by Penderecki can provide an auditory experience of the sheer terror of nuclear warfare.
Today, Hiroshima has many museums and monuments dedicated to the survivors of Little Boy. One of the most notable sites is the A-bomb dome. This structure was approximately 600 meters from the hypocenter (ground zero) and 160 meters from the epicenter (air detonation). Unfortunately, none of the individuals inside this structure survived due to their close proximity to the explosion.

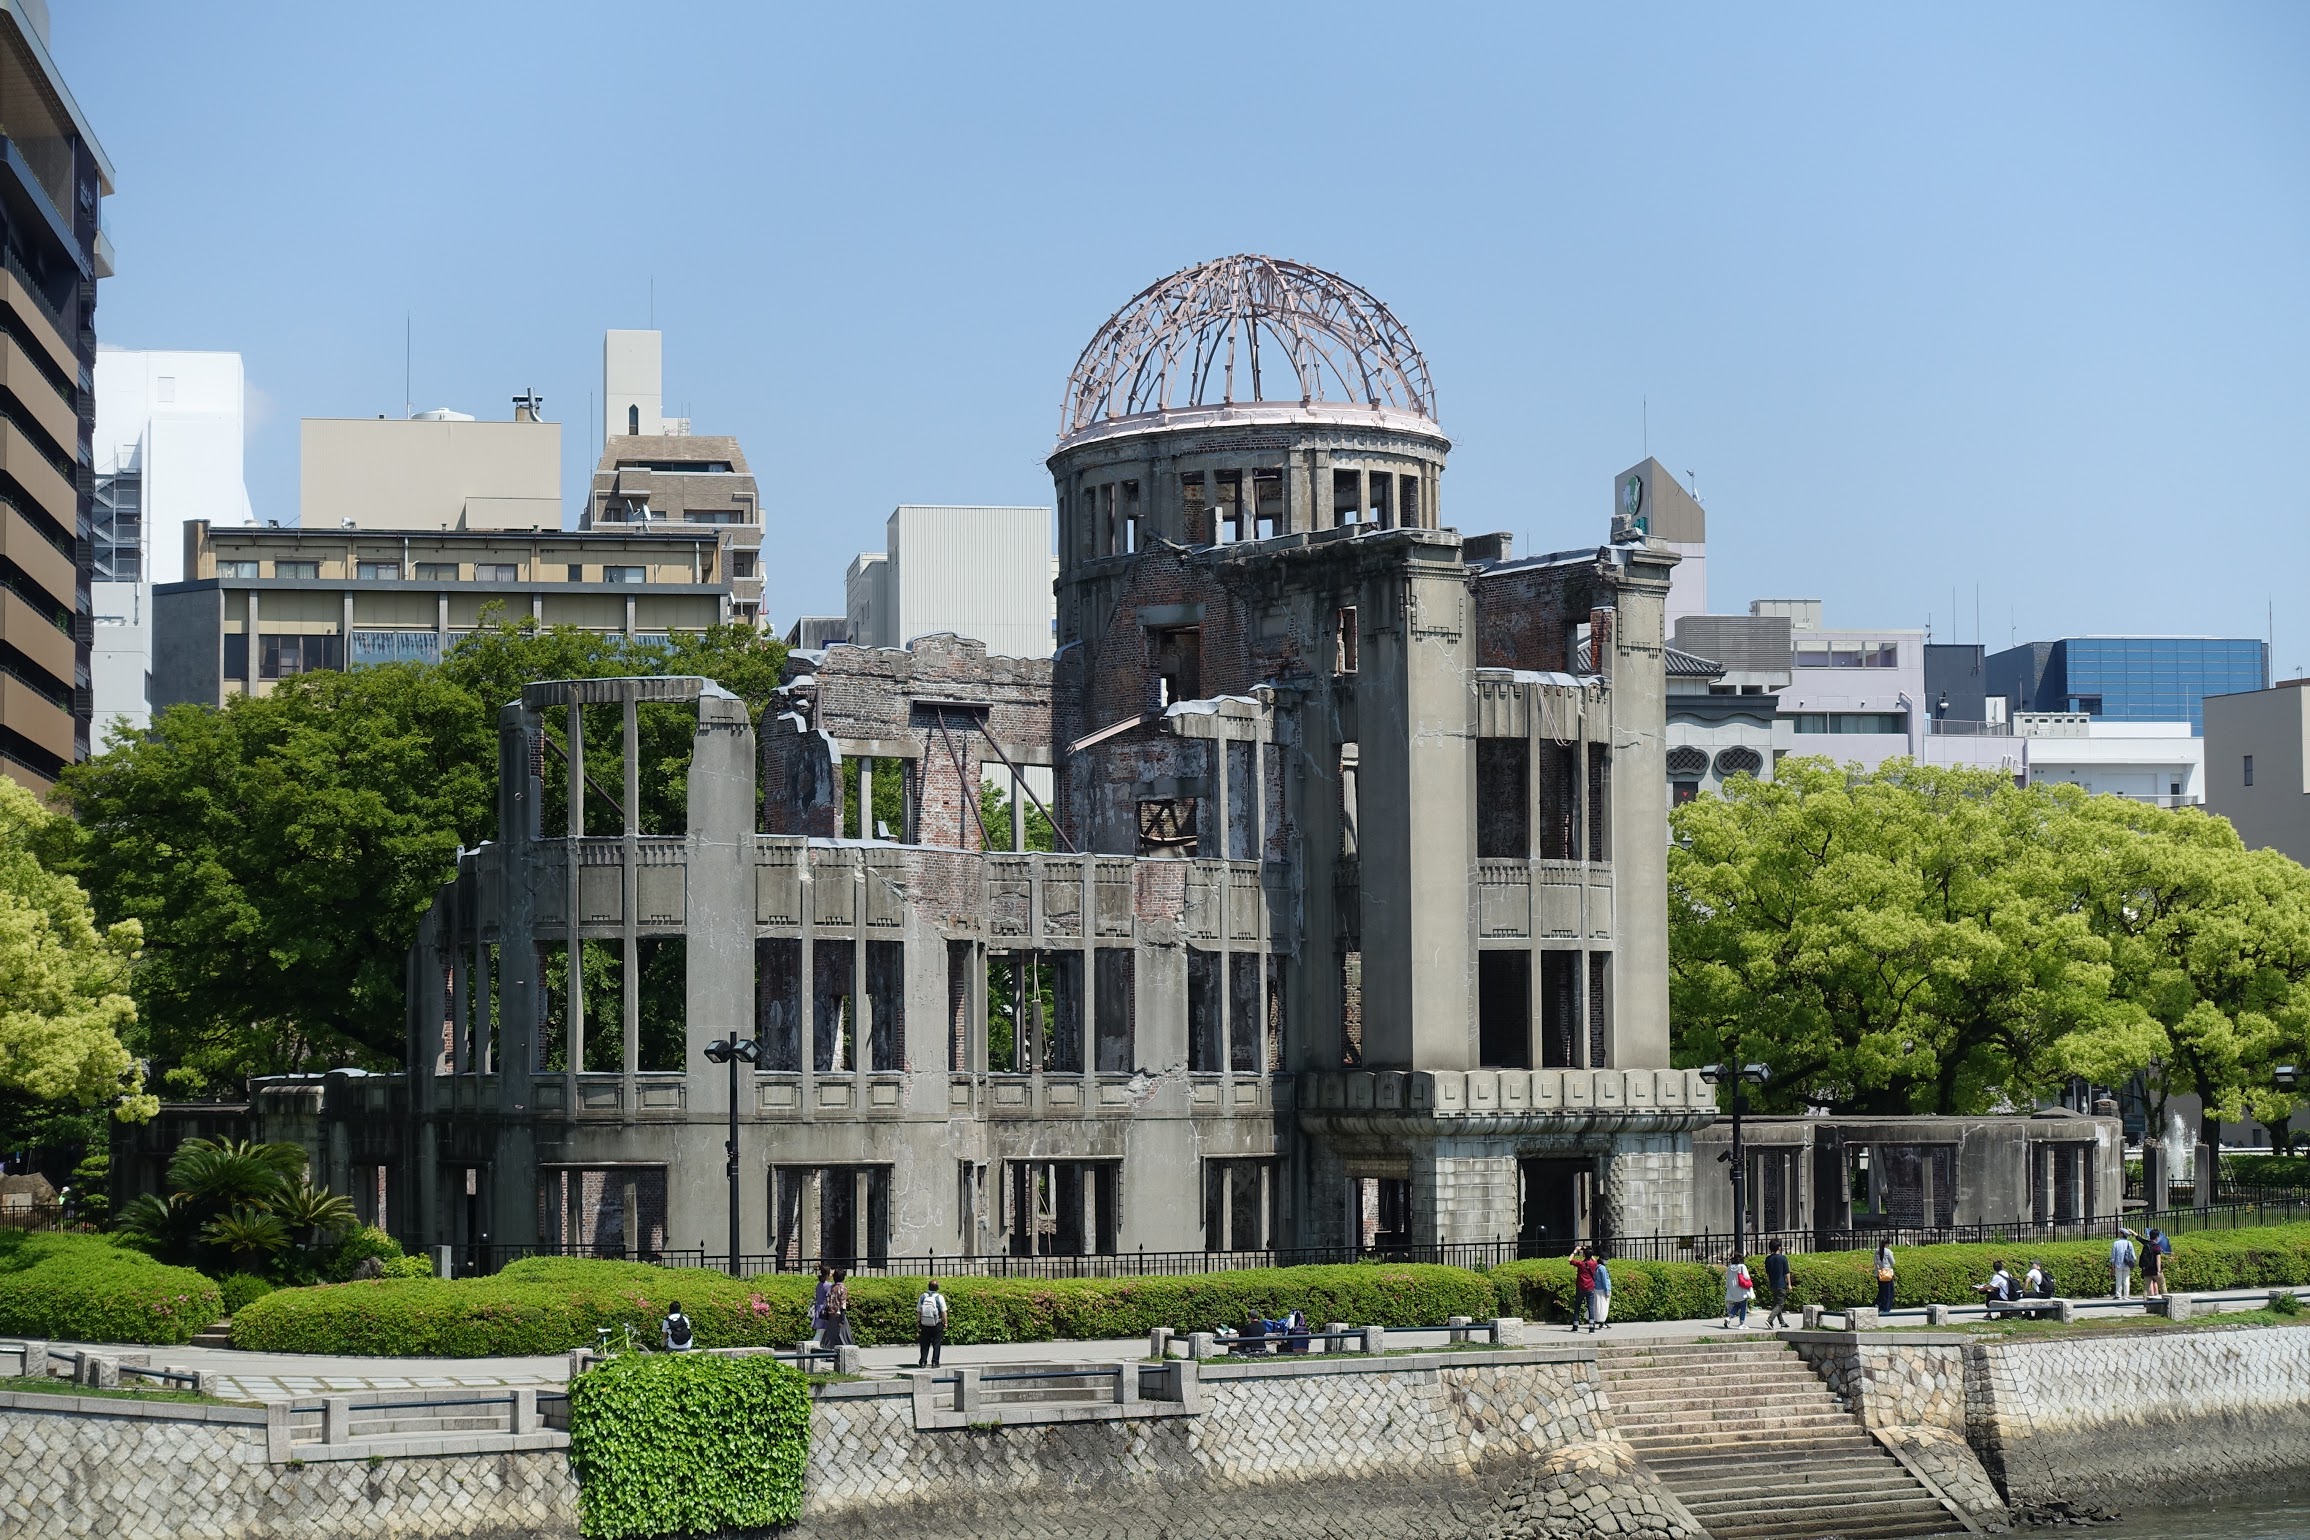
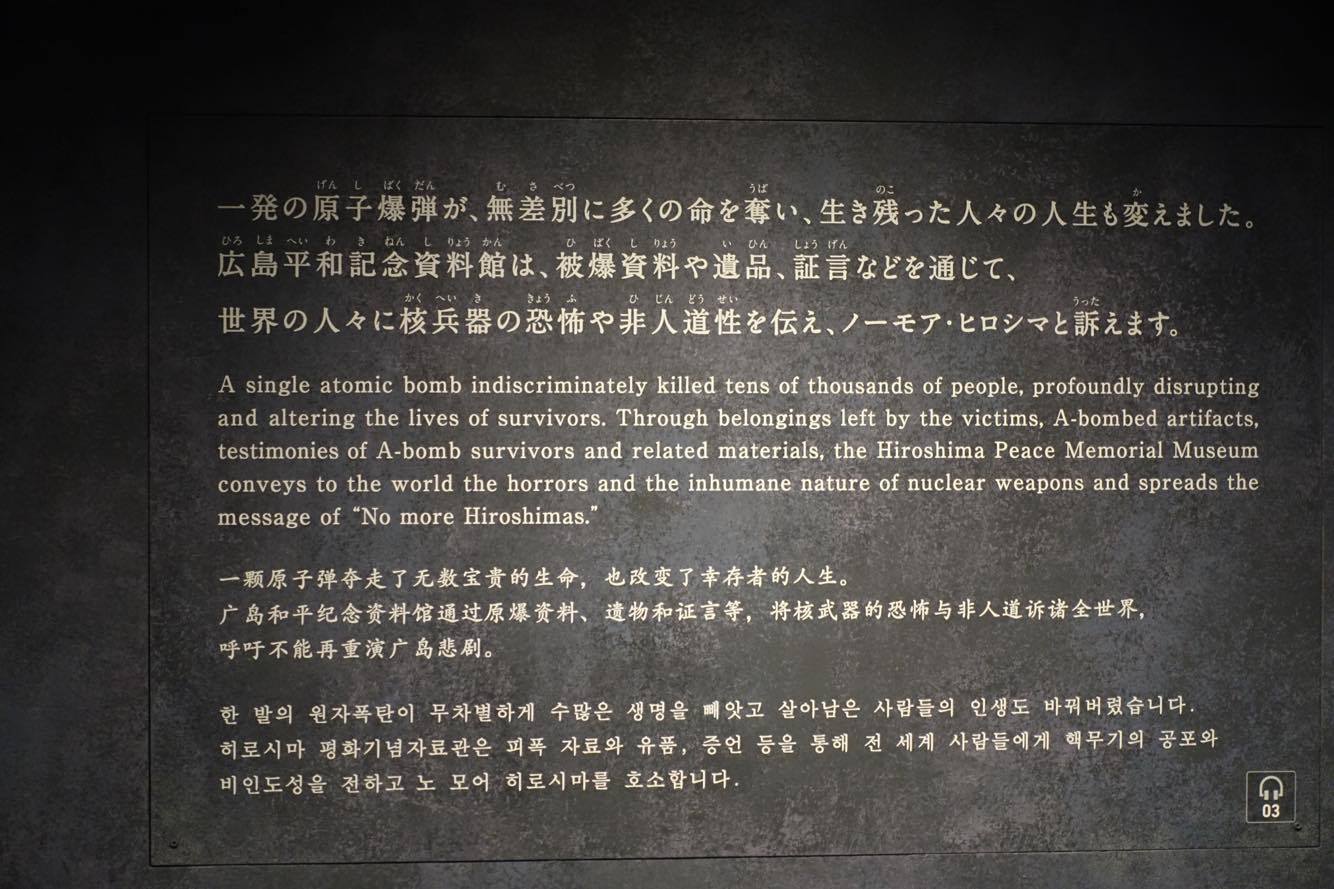
Over the years, the A-bomb Dome has undergone many restorations. Other monuments have been constructed and dedicated as well. Click here to see a comprehensive link to these sites. For people who cannot travel to Hiroshima, The Hiroshima Peace Museum offers a virtual tour. Clicking on this link, one can access testimonies, images of Hiroshima and its inhabitants, and messages of peace.
Nagasaki
Unlike the flat terrain of Hiroshima, Nagasaki was located in a valley between mountains. The 20 kiloton blast was contained in this region affecting a shipbuilding center and two Mitsubishi industrial parks. The population of this city was more dispersed than that of Hiroshima. Residents of Nagasaki lived in the valley as well in mountainous regions of this area. Unlike Hiroshima, most of the buildings were composed of wood and not concrete or brick. This material did not adequately protect residents and collapsed easily. Moreover, wooden structures became deadly projectiles of shrapnel during the detonation of Fat Man.
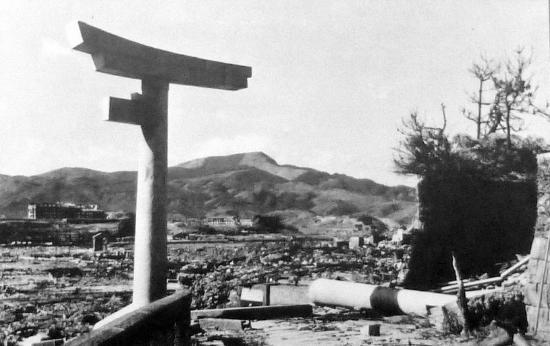
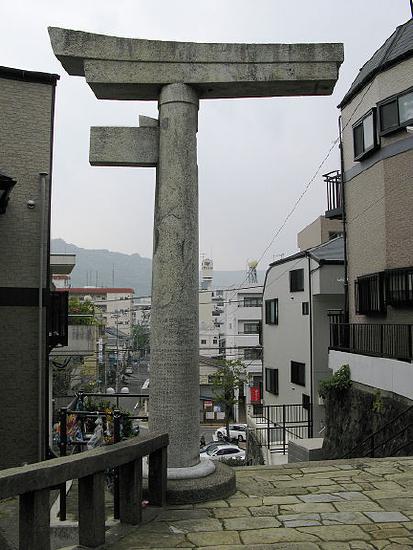
The most famous structure that survived the bombing of Nagasaki is the one-legged entrance to the Sanno Shrine. This building was approximately 800 meters from the bomb's hypocenter. Today, it has been incorporated into the newly constructed buildings of the city.
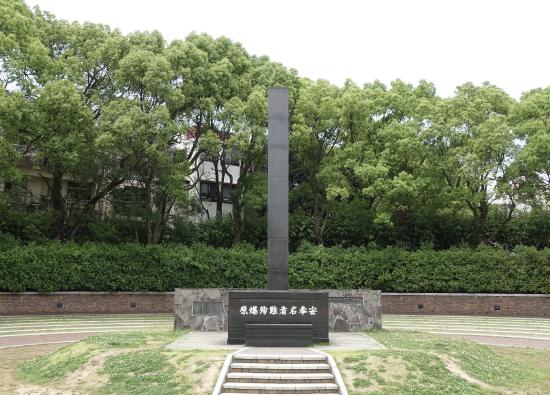
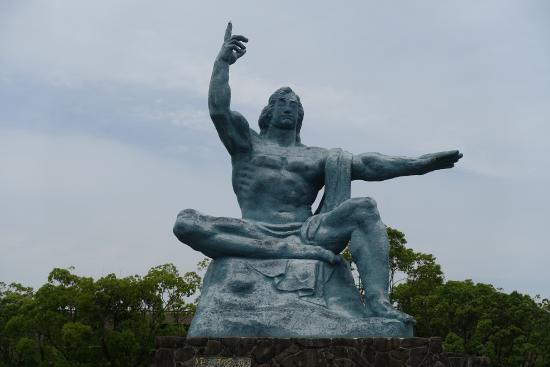
Like Hiroshima, Nagasaki has numerous statues and a peace museum memorializing August 9, 1945. A tall tower has been erected at the hypocenter distance of 500 meters. At the base of this tower, a black stone describes the nuclear bombing and its effects. Each year, a memorial service is held at this site to celebrate survivors, remember victims, and promote peace. Just down from this tower, a large bronze statue (9.7 meters in height and 30 tons in weight) sits with its arms outstretched to the sky. Designed by a local sculptor, Seibo Kitamura, this Peace Statue symbolizes different aspects of nuclear weapons and the bombing of Nagasaki. The vertically raised arm represents the threat of nuclear bombing. The left hand with palm-held flat symbolizes peace for all the world's inhabitants. The crossed leg illustrates quiet meditation while the left leg shows an intense readiness to rescue and provide assistance to those affected by the destruction. Lastly, the face is not limited to one culture with eyes closed to offer prayers for those who perished.
For a quick overview of some of the memorials, click on the video underneath this paragraph. The videographer provides interesting footage of the inside of the Nagasaki Peace Museum. You will see preserved artifacts and a three-dimensional image of the blast radius. Once outside, he shows the hypocenter tower, Peace Statue, gardens, and various other memorials. For an explanation to the other memorials shown in his video, click on this link.