
3: Pipets
- Page ID
- 347232

Using a Pipet
Step 1
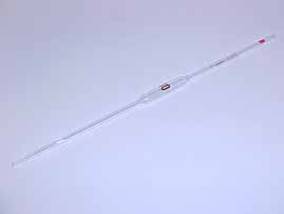
Keep the index finger of your dominant hand near the mouth of the pipet. Then place pipet tip into container where liquid is to be removed. Do not let the tip touch the bottom or sides of the container.
Step 2
Using your other hand, squeeze the rubber bulb and place it over the mouth of the pipet. NEVER PLACE YOUR MOUTH ON THE PIPET!
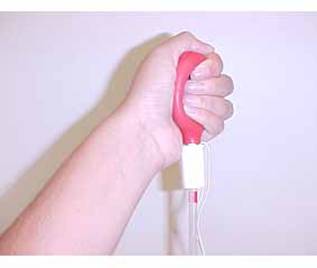
Step 3

Release the bulb slowly in order for the pipet to obtain a specific amount of liquid. Allow the liquid level to rise so that it is 1-2cm above the calibration mark. If not enough liquid enters the pipet, quickly remove and squeeze the bulb and then place it back on the pipet and release. DO NOT LET THE LIQUID ENTER THE BULB. THIS MAY CAUSE CONTAMINATION.
Step 4
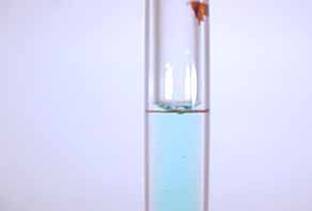
Figure 44: Step 4
Quickly remove the bulb and simultaneously place your index finger tightly over the top of the pipet to prevent any liquid from escaping. Now slightly move your finger in order to release the liquid until the meniscus is even with the calibration mark.
Step 5

Some liquid remains in the tip of a volumetric TD pipet
Figure 55: Step 5
Place the pipet, with your finger still on the mouth, over the container to which you will transfer the liquid. Release your finger and let the liquid drain completely out of the pipet. If a drop of liquid remains in the pipet tip, do not blow into the pipet to force the liquid out. The pipet is calibrated to deliver an accurate volume in spite of some liquid remaining in the tip.
Note: Some TD pipets you will use in upper level courses (mohr and serological pipets) are calibrated to require blowout, but in this class TD pipets do not require blowout.