
Use of a Volumetric Pipet
- Page ID
- 77634

In this course you will use three types of precision calibrated glassware: burets, pipets and flasks. This type of calibrated glassware is usually referred to as volumetric glassware. This precision glassware is capable of measurements of volume that are good to four significant digits and is consequently expensive. You should be careful in handling this type of equipment so that breakage losses are minimized. Be particularly careful with the tips of pipets and burets.
The only volumetric glassware in your lockers are 50, 100 and 250 mL volumetric flasks. These are characterized by long slender necks with a graduation mark on them. Volumetric pipets are stored in drawers on the west wall of the lab and the burets are kept in a cabinet on the wall near the door to the weighing room. Any other glassware in your locker with graduation marks is not volumetric. Such equipment is machine-made and not individually calibrated. It can be used for less accurate measurements but should never be used when high, analytical accuracy is required. It takes some practice to use volumetric glassware properly and before you begin using such equipment you should inspect the pieces of glassware you plan to use, washing them in the Alconox solution provided if necessary, followed by rinsing first in tap water and then three or four rinses with distilled water. It is usually not necessary to dry volumetric ware. As for reading volumetric ware, take advantage of the Web links which illustrate the proper use of a buret and the proper use of a pipet
You must never expose any volumetric glassware to sources of heat since such exposure will adversely affect the calibration. Thus, you must never dry any volumetric glassware in a drying oven.
It is important that the volumetric glassware be completely clean before you use it. It must drain in such a manner that a smooth film of solution adheres to the inside, there must be no beading or droplet formation on the inside walls of the vessel. If you observe such droplets, wash the glassware with small amounts of warm Alconox solution. If necessary use a brush. If Alconox treatments do not suffice, it may be necessary to clean the glassware using other methods. Contact your lab instructor if you feel that this is required.
Volumetric pipets and burets that have recently been cleaned will not be dry on the inside. Before you use such wet glassware it must be rinsed with small portions of the solution to be measured. If you don't know how this is done consult your instructor.
Discussion
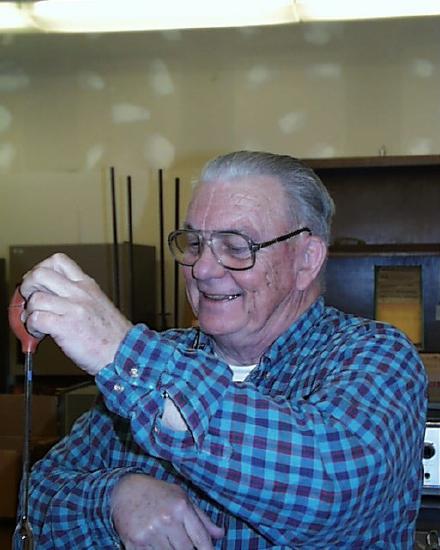
The volumetric analysis exercises will make use of a 25 mL volumetric pipet. Dr. Reilly, always willing to lend a hand, is going to be our demonstrator on the proper use of a volumetric pipet. Our pipets are kept in the drawers at the west end of lab. Pick out a 25 mL pipet and practice a few times with distilled water before using it to draw in any reagent.
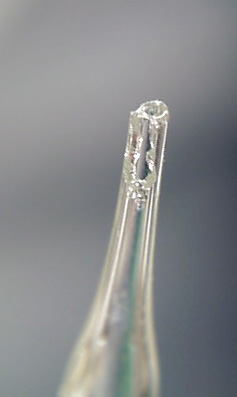
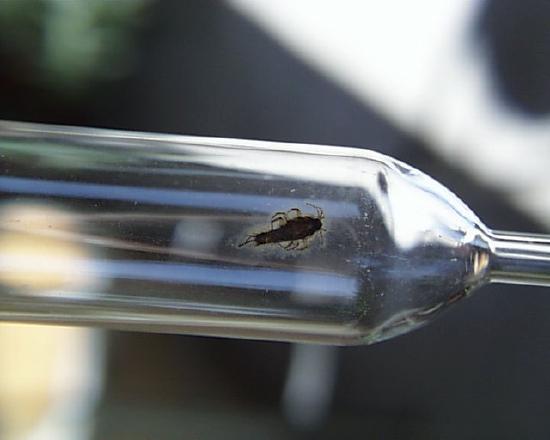
It is always a good idea to examine each pipet you take from the drawer because occasionally you will find a stowaway who got in and couldn't get out. Here's one that got stuck a long time ago, maybe even before Proposition 13. We wouldn't know how old he is without first doing some C-14 dating on him (far right). You ought also to examine the tip for breakage. Many breaks are trivial. That is they show minor chipping around the edge of the tip, but here's one (near right) in which the entire wall has fractured at one point. You can just barely see the intact nozzle, but the pipet is unusable because the liquid path has been compromised. Better discard this one.
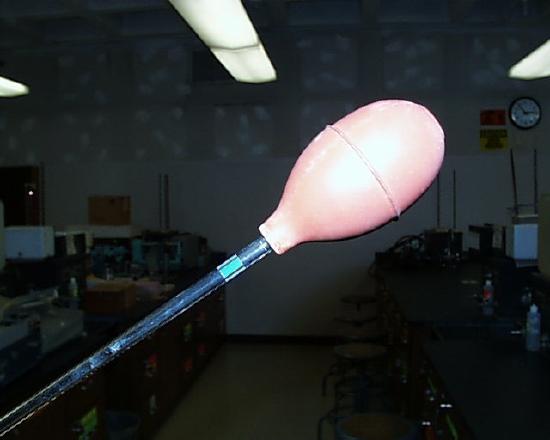
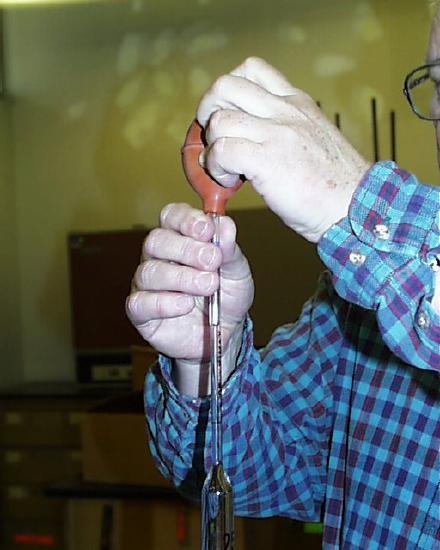
You're going to use one of two kinds of suction devices to fill the pipet. If your suction device is a rubber bulb, it ought NOT to be placed so that it is attached to the mouth of the pipet.
It ought instead to be pressed so that the hole of the bulb makes an air-tight seal against the mouth of the pipet. Note here that Dr. Reilly has squeezed the bulb before he pressed it against the mouth of the pipet. The tip of the pipet can then be placed in the solution which is to be drawn up and the bulb slowly released. This method requires a little practice but in the final analysis may be considerably more practical and satisfying than the use of the high-tech bulb Dr. Reilly will show you next.
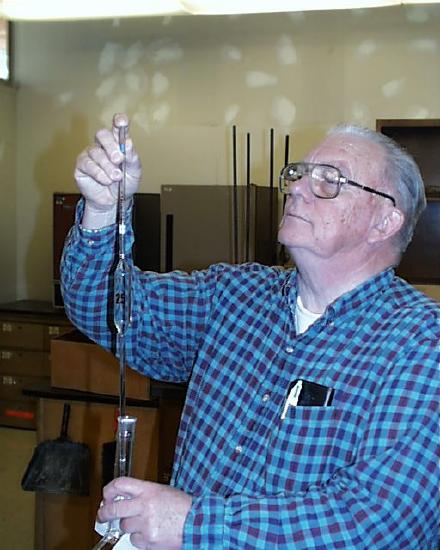
You must exercise care not to allow the tip of the pipet to break the surface of the liquid while you are drawing in the solution or the sudden decrease in viscosity at the tip will cause a large amount of liquid to contaminate the inside of your rubber bulb because of the entry of air pushing the liquid up beyond the mouth of the pipet. Draw up the solution until the meniscus is several centimeters above the calibration line, then quickly put your finger over the open hole of the pipet.
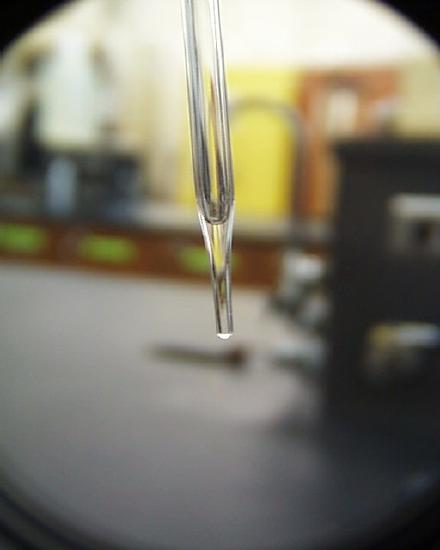
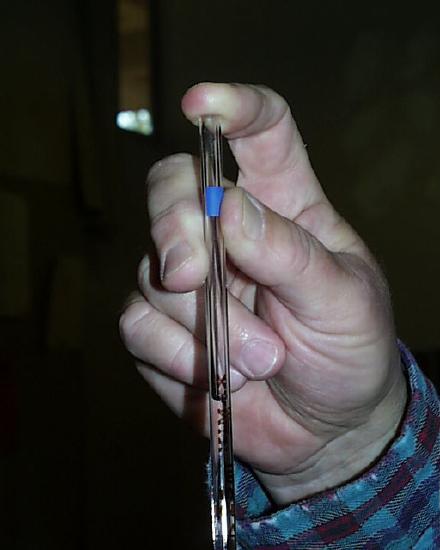
Making sure that your line of sight is perpendicular to the length of the pipet, allow a tiny amount of air in so that the meniscus drops to the calibration mark, as Dr. Reilly is showing at the right.
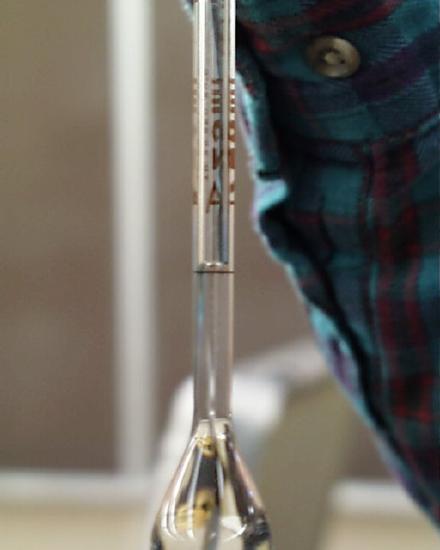
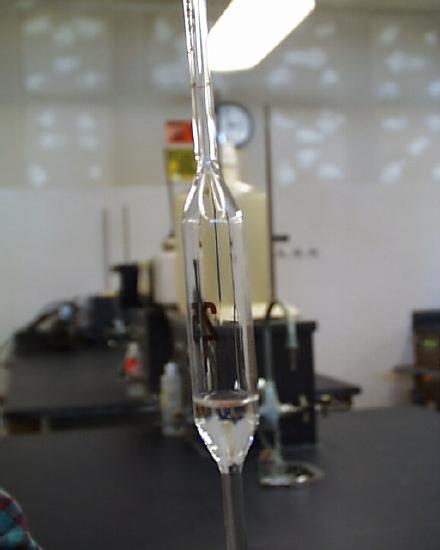
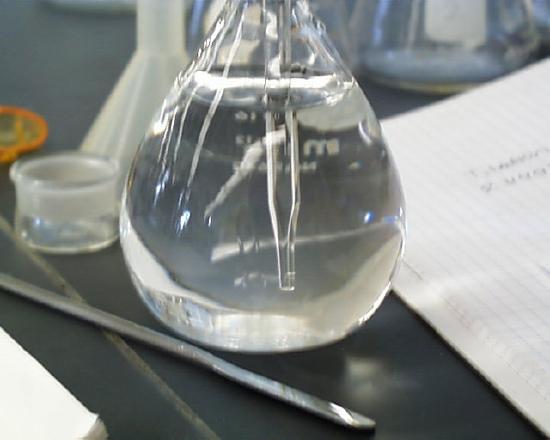
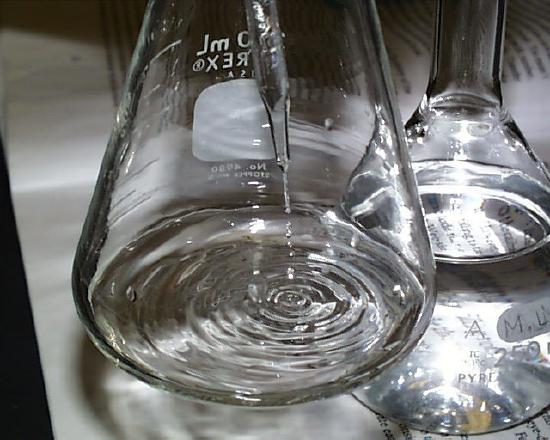
When the bottom of the meniscus coincides with the calibration mark, your pipet contains a precisely measured volume, as in the image at the left.
The pipet can then be removed from your reagent solution, transferred to the receiving flask and allowed to drain.
A volumetric pipet should not be "blown out" to eject all liquid at the tip because volumetric pipets are calibrated in a manner that takes into account the solution which remains at the tip due to surface tension.
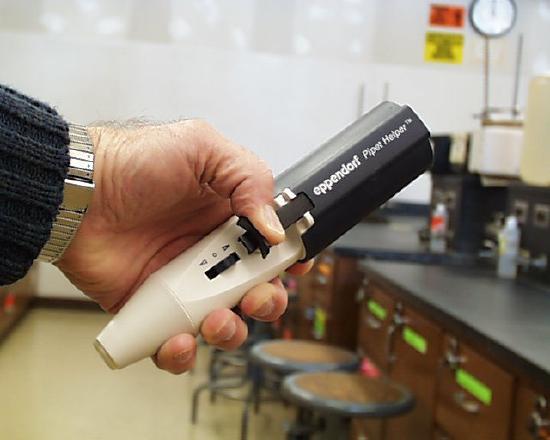
The "high-tech"pipet bulb is an Eppendorf bulb. It can be placed firmly on the mouth of the pipet.
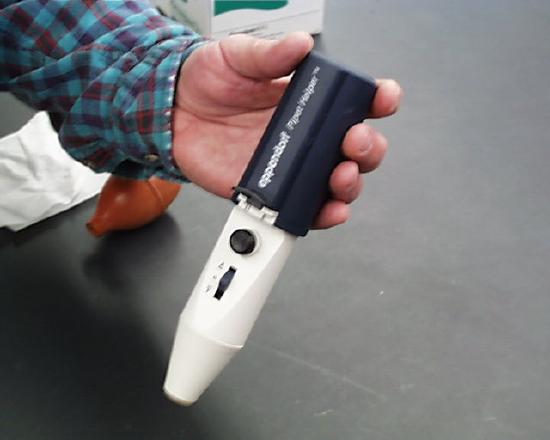
At the side of the Eppendorf is a protruding lever attached to a slide. Pull it down to create a vacuum inside the bulb.
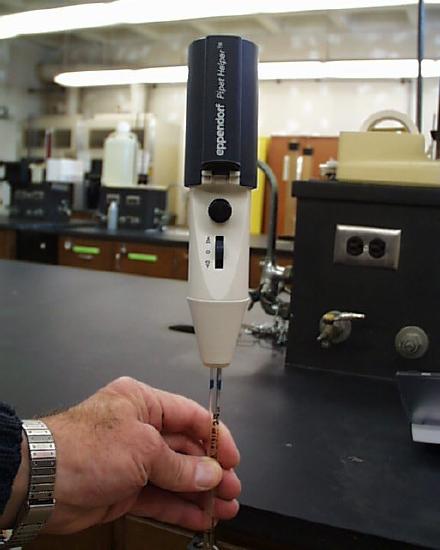
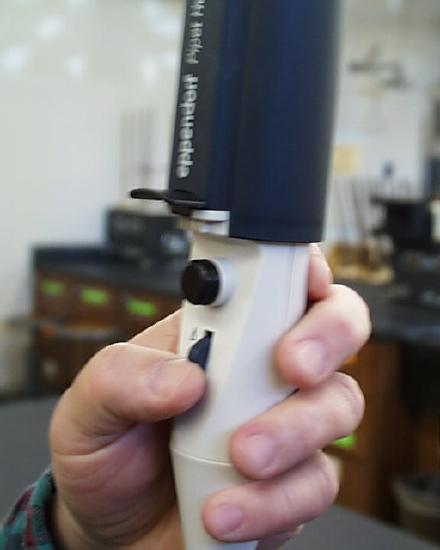
Use your thumb to push the two way valve up when you are ready to draw your solution into the pipet, as shown at the left, but make sure the nozzle of your pipet remains below the surface of the solution (right) so that you don't suck air into your pipet causing lots of solution to pass into the filter in the bulb area which will require disassembly, drying out and replacement of parts.
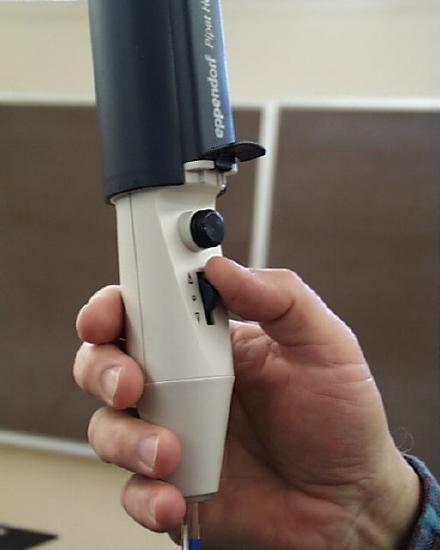
When a sufficient amount of the solution has been drawn in so that the meniscus is above the calibration mark, use your thumb to slide the two-way valve down, as shown at the left. Do it gently so that the meniscus drops slowly to the calibration mark. Then you can transfer the solution in the pipet to the receiving flask and push the two-way valve lever down to empty the pipet. The nozzle of the pipet can be kept in the open air for the transfer, as shown at the right.
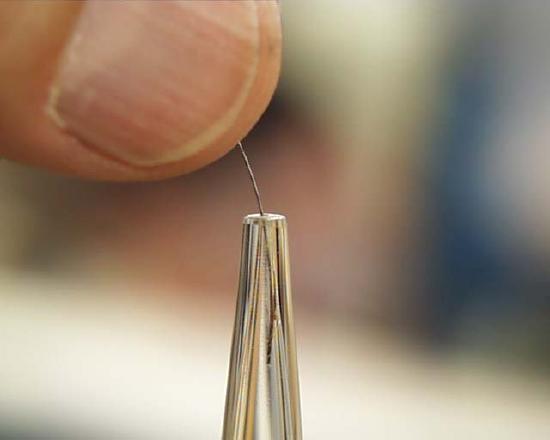
Finally, pipettes and burettes accumulate inert solid material which must be removed from time to time. Here at the left is the nozzle of a burette which has material which will not pass through. You may have to use a wire, available on the lower ledge of the burette case, to clean out this material. It is best to do it with the petcock valve removed so that when you do a reverse wash after poking it free, the material can be washed out at the point of the valve instead of at the other end of the burette cylinder.

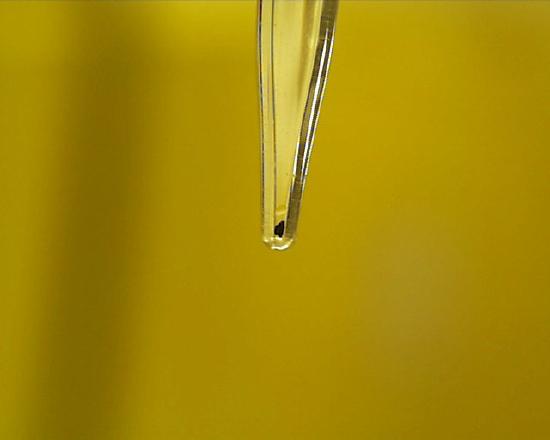
To illustrate that sometimes things just don't work out as we wish, look at the piece of solid material lodged in the nozzle of the pipette on the left. Usually, poking the material with a piece of wire breaks it up so that it flows freely out the nozzle, but in this case the material won't be broken (right photo).
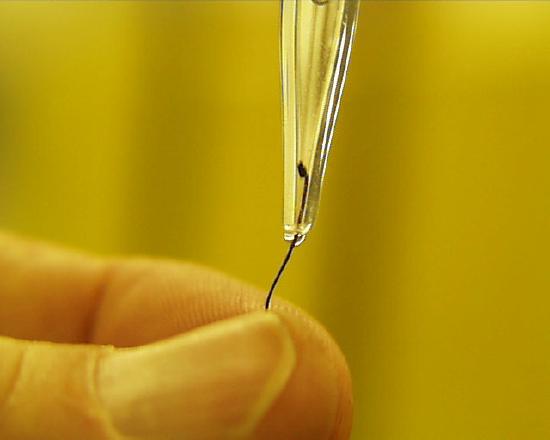
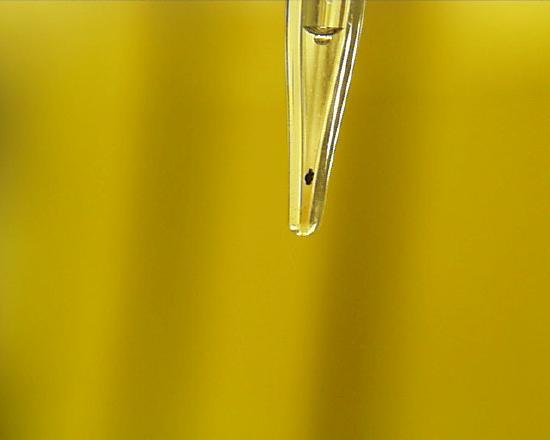
Water from a wash bottle was squirted in the upper neck of the pipette to wash the material out through the nozzle, but it wouldn't budge. The only solution here is to do a normal filling of the pipette with distilled water and then a reverse drain through the upper neck so as to wash the particle out the other end.
Contributor
- Oliver Seely (California State University, Dominguez Hills).