5.2: The Microscale Extraction Techniques
- Page ID
- 212586

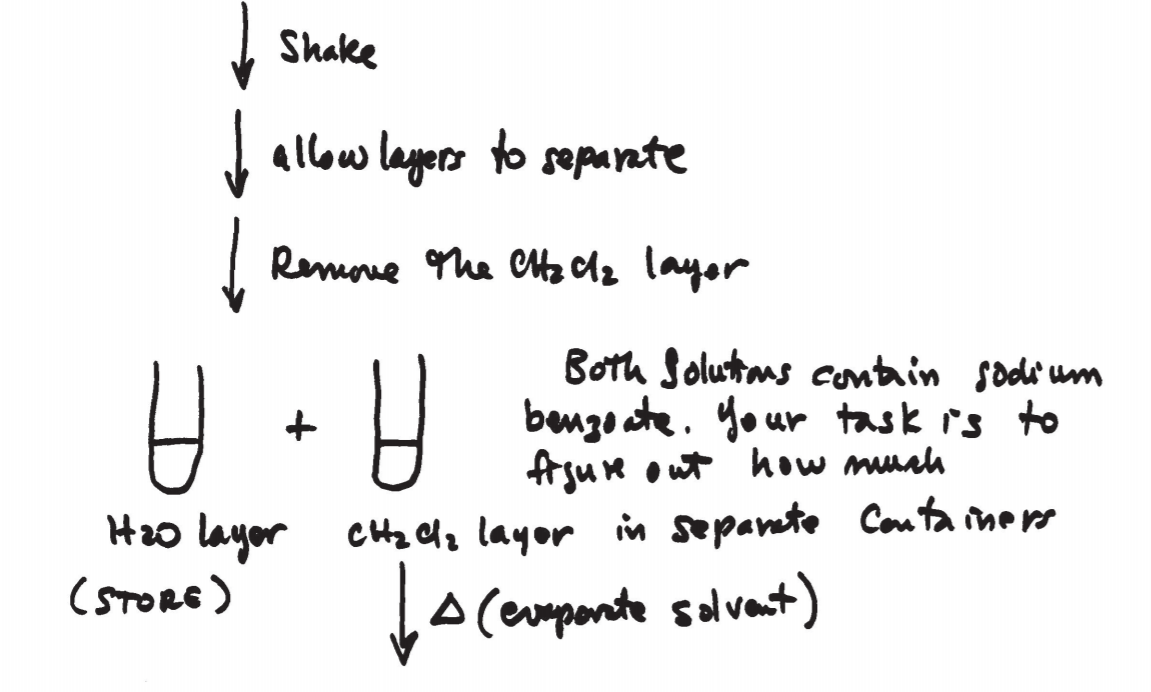
The equipment and technique used in microscale extractions is shown in figs. 12.5 and 12.6 on p. 674 and 675. A conical vial or centrifuge tube is used to perform the operation. A Pasteur pipette is then used to separate the two layers. The bottom layer can be completely drawn out and transferred to another container.
To perform an extraction, simply combine the original solution and the extracting solvent. Make sure the vial is closed and shake gently by turning the vial upside down and vice versa a few times. Do not shake vigorously, or an emulsion might form, which is difficult to separate. As you shake, pressure might build up inside the vial. It is important to vent the system by carefully removing the cap once in a while during the extraction.
After shaking, allow the mixture to rest undisturbed until the solvent layers separate.
TELLING THE LAYERS APART
It is frequently the case that the original solvent is water and the extracting solvent is an organic one such as ether, benzene, or methylene chloride. All of these solvents are colorless, so the issue comes up of how to tell the solvents apart once the layers separate. The first thing to keep in mind is that the heavier layer will go the bottom and the lighter layer will stay at the top. It is therefore the relative densities of the two solutions that determine their relative positions. Now, most of the times you can guide yourself by the relative densities of the pure solvents, which you can find in tables. But keep in mind that in some cases the density of the actual solution can be substantially different from that of the pure solvent if large amounts of heavy solutes are dissolved in it. A table of densities for common extracting solvents is given on p. 673. Thus, if the original solvent is water and the extracting solvent is methylene chloride, the organic layer (methylene chloride) is expected to be the bottom layer because it is “heavier” than water. The following guidelines may apply:
1. Halogenated solvents such as methylene chloride (CH2Cl2), chloroform (CHCl3), and carbon tetrachloride (CCl ) are heavier than water and go to the bottom. 4
2. Low molecular weight hydrocarbons such as ligroin, petroleum ether, and benzene are lighter than water and go to the top.
3. Diethyl ether (frequently called simply “ether”) typically goes to the top.
4. If possible test the layers by adding a drop of either solvent and see which layer dissolves it. This procedure can be tricky due to the effect of the surface tension.
DEALING WITH EMULSIONS AND “THIRD LAYERS”
An emulsion is different from a true solution in that it consists of two or more phases, but clear boundaries between the phases are not obvious because they coexist intimately. As an example consider a mixture of water and oil. This mixture is typically heterogeneous and the boundary between the oil and the water is clearly visible. However, if some soap is added and the mixture stirred, an emulsion forms and the boundary becomes blurred. But this emulsion is not a true solution.
Emulsions form because:
1. The relative densities of the layers become too similar, taking longer for the layers to separate.
2. The relative polarities of the two layers become too similar due to the nature of the solutes dissolved in them.
3. Sometimes emulsions form because the layers were shaken too long and/or too vigorously.
A “third layer” is an emulsion that forms between the two layers with no clear separation. To avoid these problems shake gently and allow enough time for the layers to separate (patience!).
HOW TO BREAK UP EMULSIONS
1. Change the concentration of one of the solutions by adding more of that solvent (preferably the original one). Shake gently again and allow separation.
2. Change the density of the aqueous layer by adding a neutral salt such as NaCl or KCl. Shake gently again and allow separation. This will have the added benefit of decreasing the solubility of the sample in water.
3. Place the emulsion in a centrifuge tube and spin for about 3 min.
4. Filter the emulsion through filter paper using gravity filtration. However this technique works better for macroscale extractions and it can be tricky to perform).
See note on emulsions on p. 684.
ADDITIONAL GUIDELINES
1. With a favorable distribution coefficient (5 or greater, as is the case with most of the solvents used in this course), it is not necessary to perform more than 2 or 3 extractions to obtain a good percent recovery of the sample. More extractions will actually start to bring out the impurities we’re trying to get rid of.
2. “Washing” the organic layer means to shake it with distilled water and then discard the water.
3. “Drying” the organic layer means to remove trace amounts of water from it by treating it with a drying agent such as anhydrous sodium sulfate (a table is shown on p. 681). This can be done by adding the drying agent with a spatula, or by filtering the solution through a column containing the drying agent. This method is not effective if the solvent contains large amounts of water (see table 12.3 on p. 683). Drying agents pick up water from the atmosphere. Do not leave the containers open for long periods of time.
4. Never discard any layers until you’re sure you’ve recovered your sample and the experiment is finished.
TO INCLUDE IN YOUR LAB REPORT:
As part of your lab report, include items 1 and 2 under the heading “Experiment 4A” on p. 41 of the textbook. Also include also items 1 and 2 under the heading “Experiment 4B” on the same page. These items should be part of the results and discussion sections.